
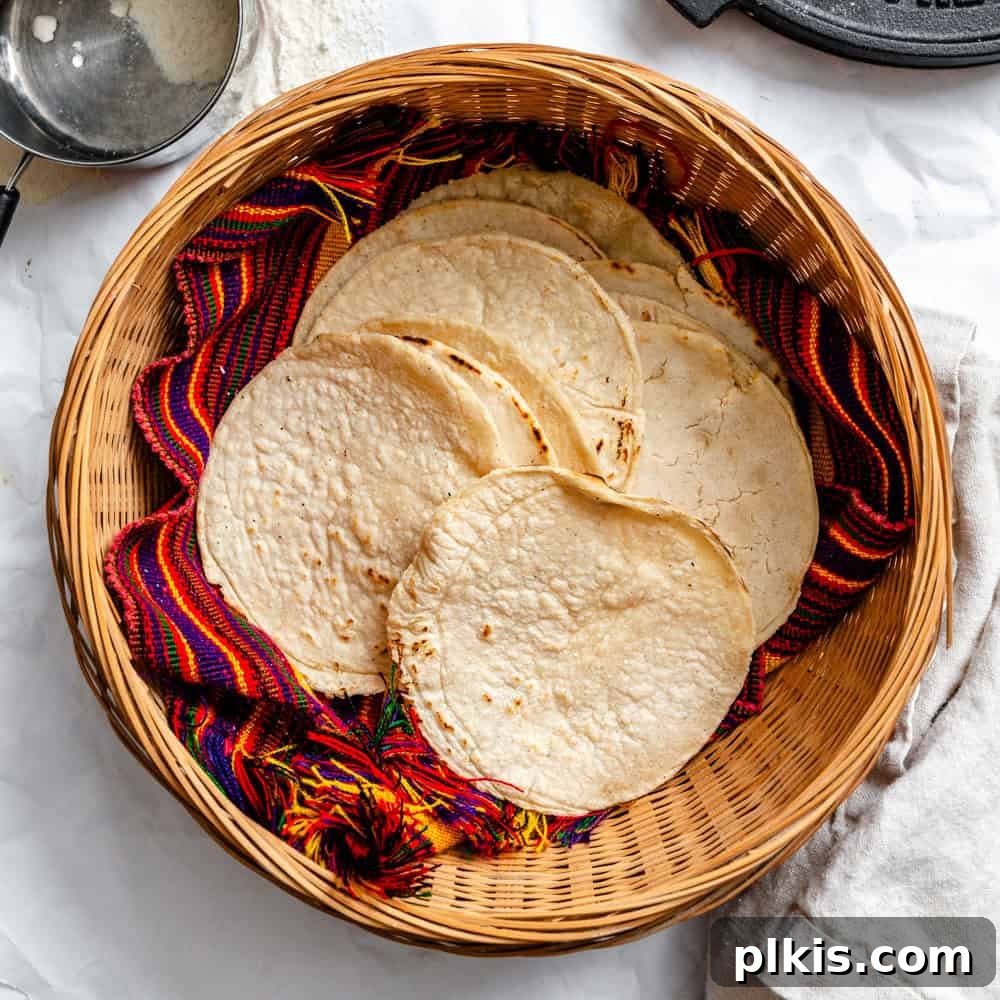
Unlock the secrets to crafting exceptional, homemade corn tortillas that are not only naturally gluten-free but also wonderfully soft, effortlessly foldable, and bursting with authentic flavor. This comprehensive, step-by-step guide will transform your kitchen into a Mexican taqueria, allowing you to enjoy fresh tortillas far superior to anything store-bought.
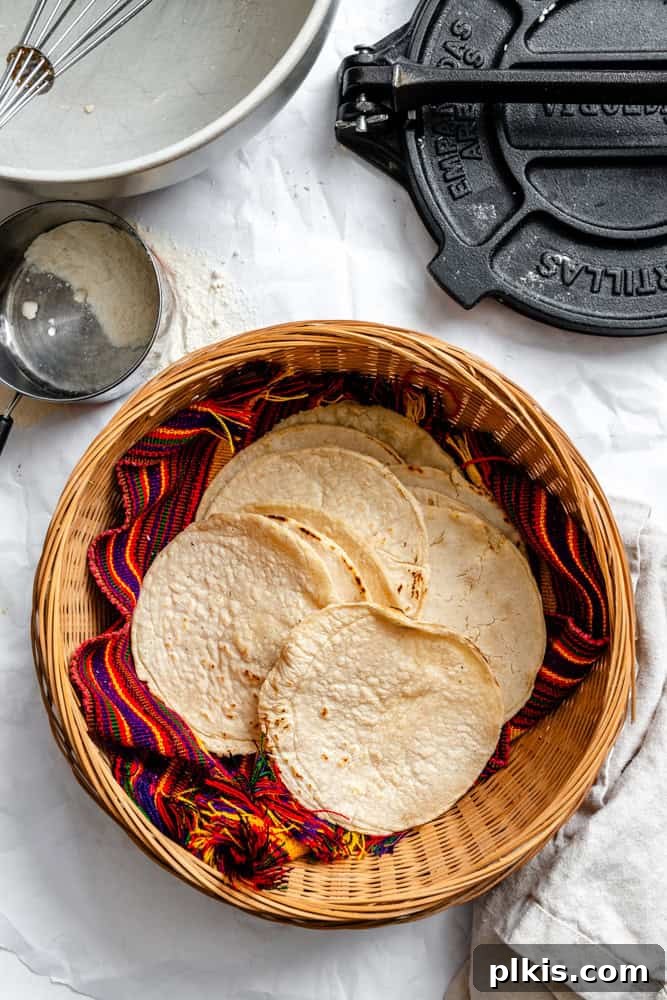
Why Making Your Own Corn Tortillas is a Game Changer
For any enthusiast of Mexican cuisine, mastering the art of making corn tortillas is a truly rewarding experience. While you might have already perfected light and airy flour tortillas for delicious burritos, like these sweet potato burritos, diving into corn tortillas opens up a world of authentic flavors and textures. What if we told you that creating soft, pliable, and utterly delicious homemade corn tortillas requires just three simple, budget-friendly ingredients and is naturally gluten-free? The difference between homemade and store-bought is monumental – a fresh tortilla offers an unparalleled taste and aroma that truly elevates any meal.
The journey to perfect corn tortillas might seem daunting at first, as it takes a little practice to intuitively understand the dough’s consistency and the precise amount of liquid needed. However, with our expert tips and clear, sequential instructions, you’ll be effortlessly pressing out fluffy, flavorful corn tortillas in no time. Whether you have a dedicated tortilla press or rely on common kitchen tools, achieving restaurant-quality results is entirely within reach. These homemade delights are the perfect foundation for everything from vibrant vegan tacos and savory enchiladas to countless other Mexican-inspired dishes.
Once you’ve become proficient with masa harina tortillas, we highly encourage you to explore other delightful recipes using this versatile ingredient. Consider whipping up a batch of vegan pupusas for a hearty, cheese-filled treat or embarking on the delightful challenge of making traditional vegan tamales. The possibilities are endless when you have a bag of masa harina in your pantry.
Craving more plant-based Mexican-inspired recipes to complement your fresh tortillas? Be sure to try our easy grilled veggie fajitas, savory vegan black bean tacos, a hearty fully-loaded burrito with mole sauce, and the comforting vegan calabacitas. Each dish is designed to bring authentic flavors to your table with minimal effort.
Essential Ingredients for Authentic Corn Tortillas
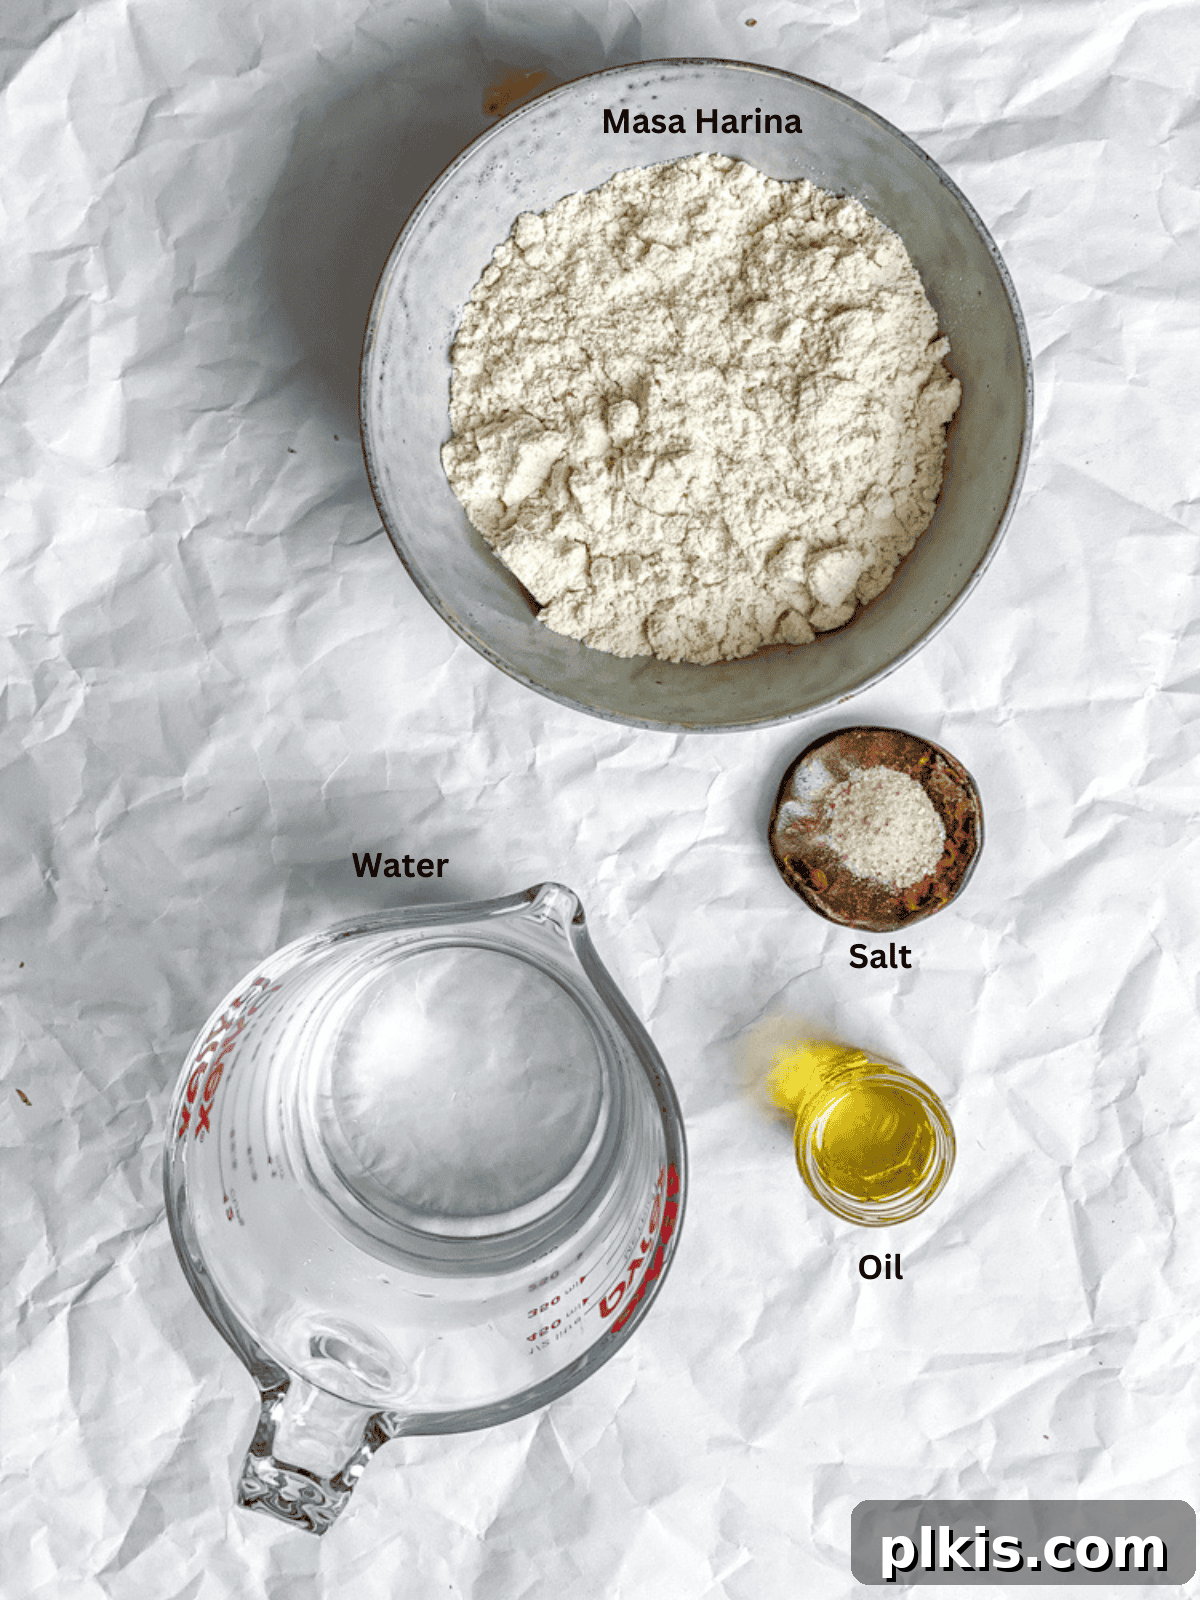
Simplicity is at the heart of this recipe. You’ll be amazed at how quickly and easily these incredible homemade corn tortillas come together with just three core ingredients. No complex additives or hard-to-find items are necessary – just pure, wholesome goodness ready to be transformed into culinary magic. The beauty of these tortillas lies in the quality and interaction of these fundamental components.
Understanding Masa Harina: The Heart of Your Tortillas
Masa harina, which translates to ‘dough flour’ in Spanish, is the cornerstone of authentic corn tortillas and many other traditional Latin American dishes. It’s not just any corn flour; it undergoes a unique process called nixtamalization. This ancient technique involves soaking corn kernels in an alkaline solution, typically limewater (calcium hydroxide), and then hulling, washing, and grinding them into a wet dough (masa). This dough is then dried and finely ground to create masa harina. Nixtamalization not only softens the corn and enhances its flavor but also significantly increases its nutritional value, making essential nutrients like niacin more bioavailable. This specialized flour gives corn tortillas their distinctive taste, aroma, and the perfect pliable texture needed for folding without cracking. Look for high-quality masa harina from reputable brands for the best results, often found in the international aisle of your grocery store or at Latin American markets.
The Role of Water and Salt
Beyond masa harina, the remaining ingredients are straightforward yet crucial. **Warm water** is essential as it helps to properly hydrate the masa harina, resulting in a more pliable and less crumbly dough. The exact amount can vary based on your climate and the specific brand of masa, so always add it gradually until the desired consistency is achieved. **Salt** is added not just for flavor, but it also helps to bring out the natural sweetness of the corn, balancing the overall taste profile of your tortillas. While technically optional, a tiny bit of **oil** can be used to lightly coat your cooking surface, ensuring non-stick cooking and contributing to a beautiful golden finish on your tortillas.
Step-by-Step Guide: Crafting Your Perfect Corn Tortillas
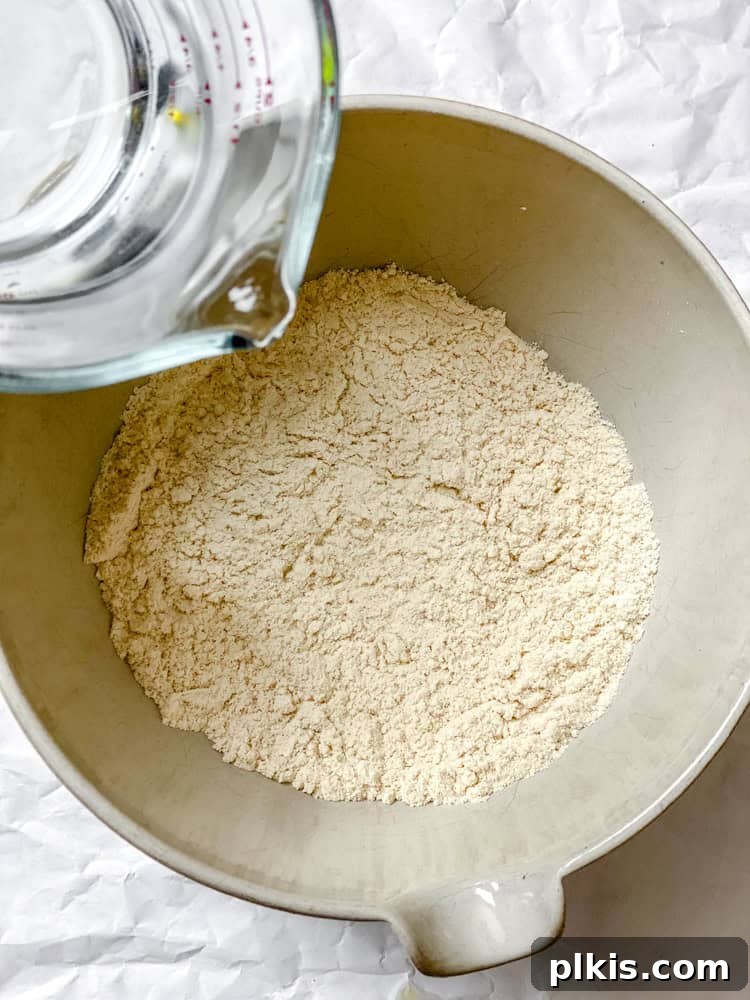
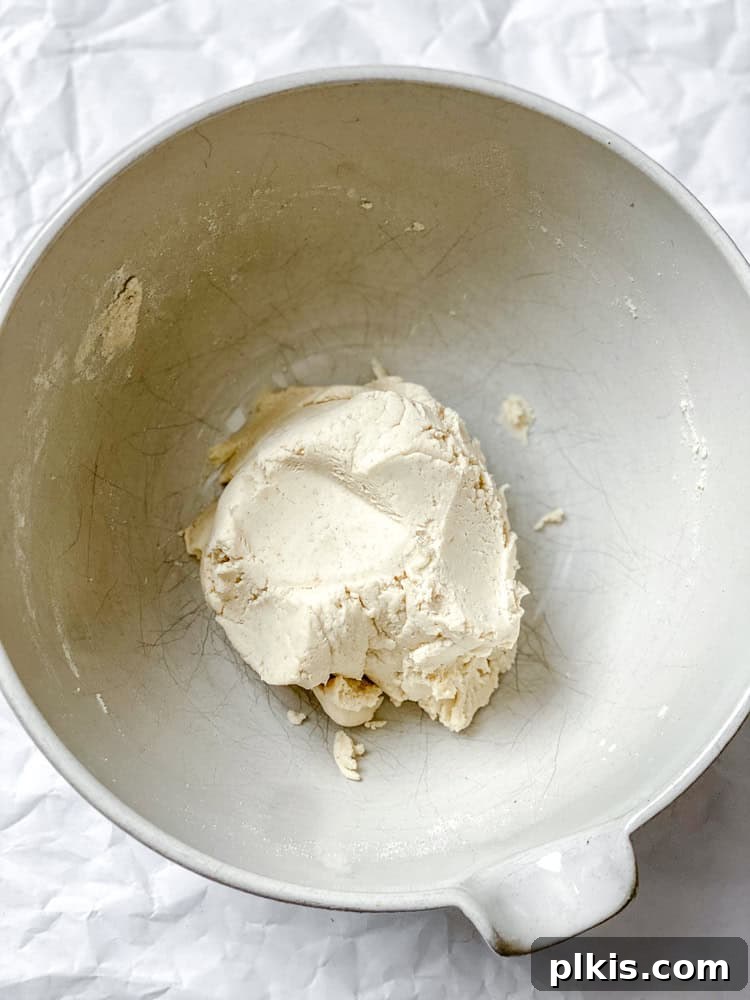
Step 1: Prepare the Dough. In a spacious mixing bowl, combine the masa harina and salt, ensuring they are well integrated. Begin adding the warm water gradually. Start with about half of the recommended amount, then incorporate the rest one tablespoon at a time, kneading continuously. Your goal is to achieve a soft, pliable dough that mimics the consistency of Play-Doh – it should be firm but springy, holding its shape without feeling sticky or crumbly. If the dough feels too dry and cracks at the edges when pressed, add a tiny bit more water. If it’s too wet, a sprinkle of masa harina will help. Knead for a few minutes until smooth.
Step 2: Rest and Divide. Once your dough reaches the perfect consistency, cover the bowl with a clean, damp kitchen towel. Allow the dough to rest for 20-30 minutes. This resting period is crucial, as it allows the masa harina to fully hydrate, resulting in more flexible and less crack-prone tortillas. After resting, divide the dough into uniform balls. For standard 5-6 inch tortillas, use a 2-tablespoon scoop (approximately 30-35g). For larger 8-9 inch tortillas, use 3-4 tablespoons. While you’re shaping the dough, preheat a flat griddle (comal) or a heavy-bottomed pan over medium heat. A very light coating of oil is optional for a subtle crispness and to prevent sticking.
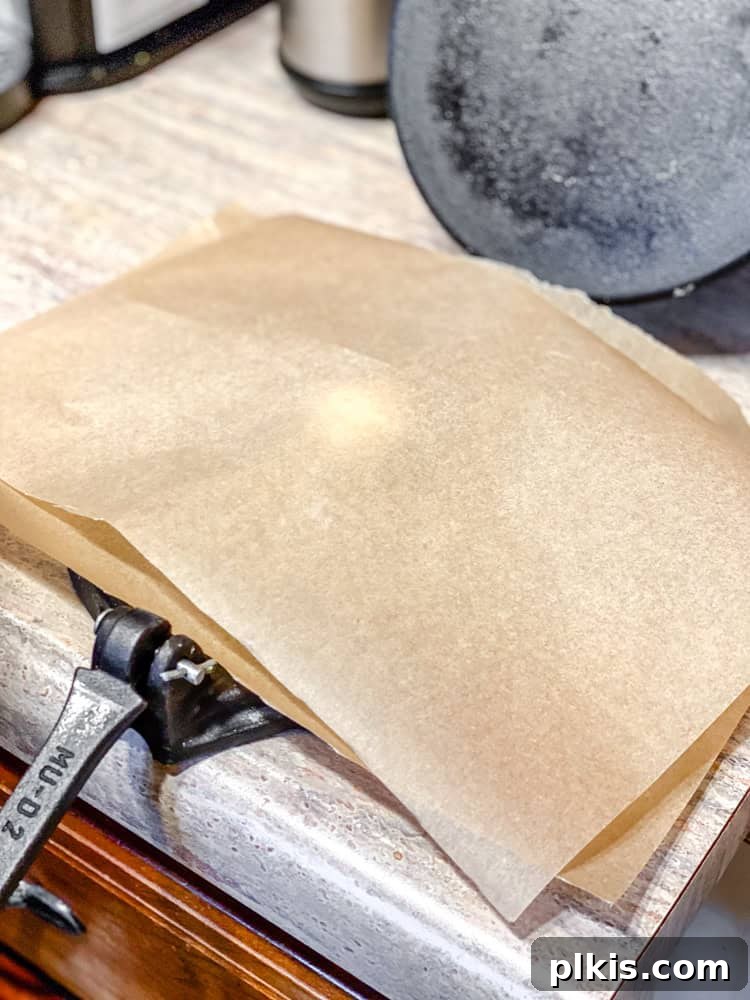
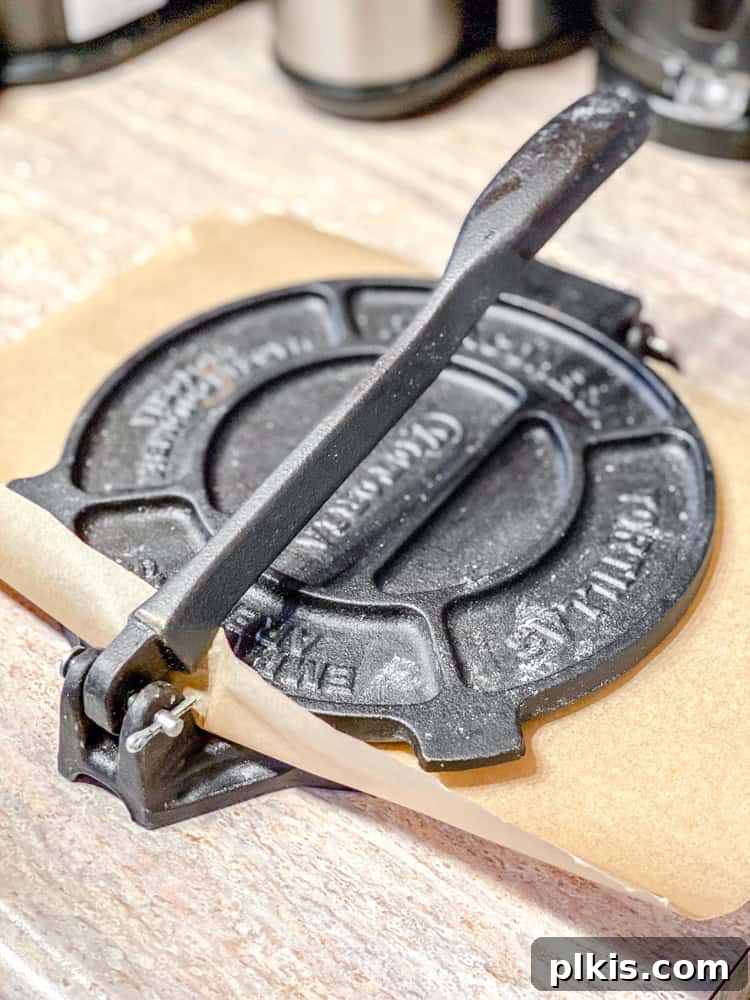
Step 3: Pressing the Tortillas. Working with one dough ball at a time, place it between two sheets of parchment paper or inside a plastic bag (like a Ziploc bag cut along the seams to create two flat sheets). This prevents sticking and makes removal easy. Position the dough in the center of your tortilla press.
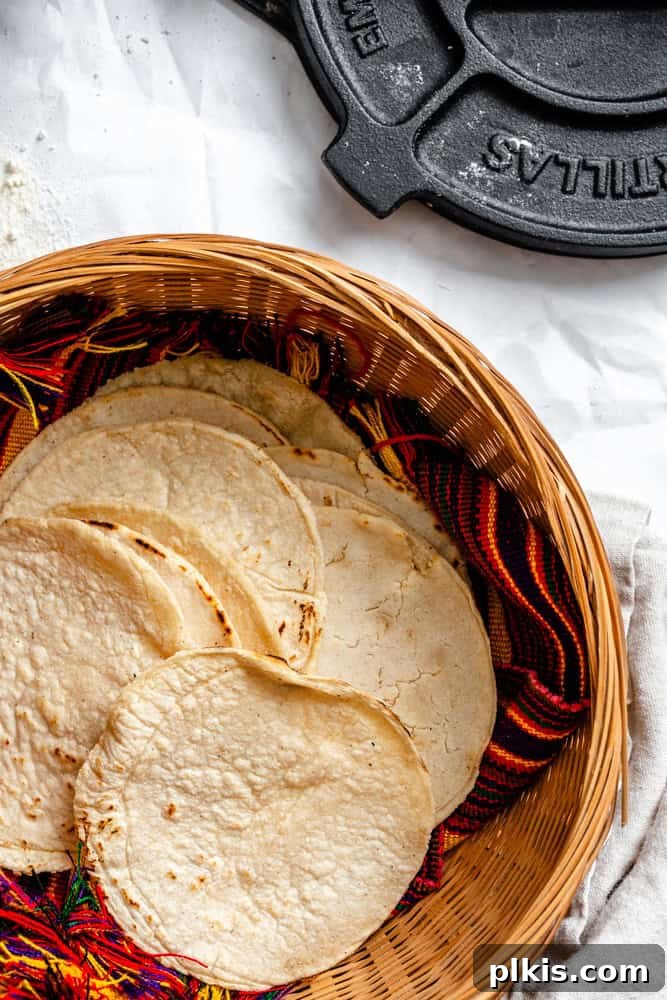
Step 4: Cook to Perfection. Gently press down on the tortilla press until the dough is fully flattened into an even, thin disc. Carefully peel away the top layer of parchment or plastic from the flattened tortilla. Then, gently flip the tortilla onto your open palm and peel away the other side. With care, transfer the tortilla to your preheated hot pan. Cook each side for approximately 1 minute, or until the tortilla begins to puff up and develops light brown spots. This puffing indicates proper hydration and cooking. While one tortilla cooks, you can press the next one to maintain efficiency. Once cooked, transfer the warm tortillas to a tortilla warmer or a basket/plate lined with a clean kitchen towel to keep them soft and pliable. Repeat this process until all the dough is used. For an even fluffier result, try cooking for 20 seconds, flipping for 50-60 seconds, then flipping once more for 30 seconds.
If you don’t have a tortilla press, fear not! A heavy skillet or a flat-based dish can be used to press the dough, following the same method of placing the dough between parchment or plastic sheets. A rolling pin will also work, though it requires a bit more effort and time to achieve a consistently round and even tortilla.
Frequently Asked Questions About Corn Tortillas
Yes, authentic masa corn tortillas are naturally gluten-free as they are made entirely from corn flour. However, when buying store-bought versions, it’s always wise to double-check the ingredients list to ensure there are no added gluten-containing ingredients or non-vegan components like lard, if applicable to your dietary needs.
Dryness and cracking are typically signs that your dough is too dry. The key to pliable tortillas is proper hydration. To troubleshoot, press a small test tortilla. If the edges crack by more than about ¼-inch, gradually sprinkle a little more warm water over your dough and knead it in until the consistency improves. The dough should feel soft and moist, but not sticky.
There are a few effective ways to revive dry corn tortillas. You can wrap a few in a damp paper towel and microwave them for 10-20 seconds (or 30-60 seconds for a larger stack). Alternatively, heat them in a dry skillet over medium heat, lightly spritzing them with a bit of water before heating. The steam generated will help to rehydrate and soften them, making them pliable and ready for your favorite fillings.
Expert Tips for Flawless Homemade Corn Tortillas Every Time
- Always Use Warm Water: Warm water is superior to cold water for hydrating masa harina. It helps the flour absorb moisture more effectively and uniformly, leading to a more cohesive dough, fewer cracks during pressing, and ultimately, softer, more flexible homemade corn tortillas.
- Dough Consistency is Key: The amount of water needed can fluctuate based on the specific brand of masa harina you use, the humidity in your climate, and even altitude. Rather than strictly adhering to a measurement, focus on the dough’s feel. Add water incrementally until the dough feels like soft Play-Doh – it should not be sticky to the touch, nor should it be so dry that it cracks excessively when you try to press it.
- Invest in a Tortilla Press (or Improvise): If you plan to make tortillas frequently, a good quality tortilla press is invaluable. It ensures quick, consistent, and perfectly round tortillas with minimal effort. If a press isn’t available, don’t despair! A sturdy, flat-based skillet or a heavy casserole dish can serve as an excellent alternative. Simply place your dough ball between two layers of plastic wrap or parchment paper before pressing down firmly and evenly.
- Preheat Your Pan Thoroughly: A properly preheated griddle (comal) or cast-iron pan is crucial for achieving that characteristic “puff” and ensuring even, quick cooking. While cast iron is traditional and highly recommended for its heat retention, a good non-stick pan will also work. Adjust your heat as necessary; you’re looking for subtle brown spots to appear on the underside of the tortilla in about 60 seconds. If it browns too quickly, lower the heat; if it takes too long, increase it slightly.
- Keep Them Warm and Moist: As soon as tortillas come off the pan, transfer them to a tortilla warmer or wrap them tightly in a clean tea towel and place them in a basket. The residual heat and steam will continue to soften them, making them even more pliable. Always use tortillas from the bottom of the stack first, as they will have softened the most.
- Don’t Overcrowd the Pan: Cook tortillas one or two at a time, depending on the size of your pan. Overcrowding can lower the pan’s temperature and prevent them from cooking evenly or puffing up properly.
- Practice Makes Perfect: Don’t get discouraged if your first few tortillas aren’t perfectly round or don’t puff up. Like any culinary skill, making tortillas improves with practice. Pay attention to the dough’s feel and adjust your technique as you go.
Versatile Serving Suggestions: What to Pair with Your Homemade Corn Tortillas
Once you’ve mastered the art of making fresh corn tortillas, a world of culinary possibilities opens up! Their robust flavor and pliable texture make them the ideal canvas for a wide array of Mexican and Tex-Mex dishes. Here are just a few delicious ways to enjoy your homemade creations:
- Classic Tacos: The most obvious and perhaps most beloved use! Fill them with anything from Vegetable Fajita Tacos to savory Cauliflower Tacos, or your favorite seasoned beans and veggies.
- Hearty Enchiladas: Roll them up with delectable fillings for comforting dishes like Sweet Potato Enchiladas or a layered vegetarian Enchilada Casserole, drenched in your favorite sauce.
- Crispy Vegan Flautas: Fill, roll tightly, and lightly pan-fry or bake until golden and crisp for a delightful finger food.
- Cheesy Vegan Quesadillas: Sandwich your favorite vegan cheese and other fillings between two warm tortillas for a quick and satisfying meal, perhaps these vegan bean quesadillas.
- Crunchy Tostadas: Bake or lightly fry the tortillas until crisp, then top with refried beans, lettuce, salsa, and other fresh ingredients for an open-faced delight.
- Flavorful Vegan Huevos Rancheros: A fantastic breakfast or brunch option, where a fried tortilla serves as the base for beans, salsa, and scrambled tofu.
- Breakfast Delights: Serve them alongside a hearty vegan tofu scramble with veggies for a satisfying morning meal.
- Dipping and Scooping: Their sturdy nature makes them perfect for scooping up rich and flavorful dips like vegan refried beans, a decadent easy mole poblano, or a warming bowl of vegan white bean chili.
Don’t let any leftover corn tortillas go to waste! Transform them into crispy baked tortilla bowls for salads or chili, or cut them into wedges and make homemade air fryer tortilla chips. These chips are perfect for dipping into guacamole, building delicious vegan nachos, creating traditional chilaquiles, or adding a crunchy topping to soups and stews. The versatility of homemade corn tortillas truly knows no bounds!
Storage and Reheating Tips for Maximum Freshness
Ensuring your homemade corn tortillas remain fresh and delicious is simple with these storage and reheating guidelines:
Make Ahead (Dough): You can prepare the masa harina dough in advance. Wrap the entire dough ball tightly in plastic wrap to prevent it from drying out, and store it in the refrigerator for up to 3-4 days. This allows you to have fresh dough ready to press and cook whenever a craving strikes. If the dough seems a little dry when you’re ready to use it, simply sprinkle it with a few drops of water and knead briefly to restore its pliability. It is generally not recommended to freeze tortilla dough, as the texture can become crumbly upon thawing.
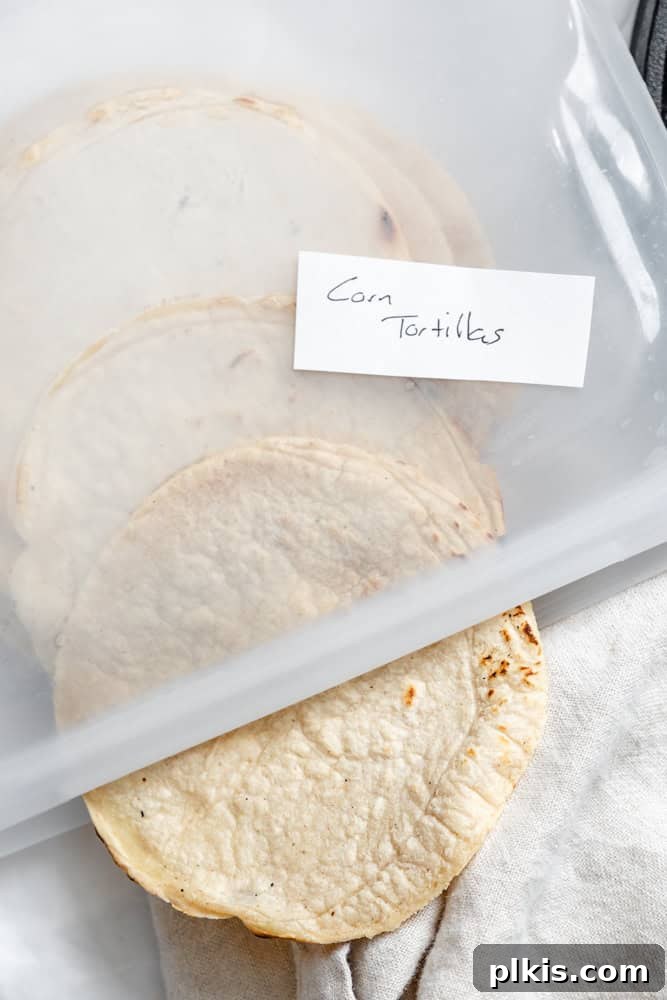
Fridge Storage (Cooked Tortillas): Once your corn tortillas are cooked, allow them to cool completely to room temperature. Stack them neatly and store them in an airtight container, such as a resealable plastic bag or a Stasher bag, in the refrigerator. They will remain fresh and pliable for up to 5 days, making them perfect for meal prep throughout the week.
Freezing (Cooked Tortillas): For longer storage, cooked corn tortillas can be frozen. To prevent them from sticking together, stack them with a piece of parchment paper between each tortilla. Place the stack into a freezer-safe resealable bag or an airtight container, ensuring as much air as possible is removed. They can be frozen for up to 3 months. When ready to use, thaw them in the refrigerator overnight before reheating.
Reheat: To bring your stored tortillas back to their soft, warm glory, heat them in a dry skillet over medium heat for about 30-50 seconds per side, or until they are warm and flexible. If the tortillas feel a bit dry, a light spritz of water before heating will help to re-steam and soften them beautifully.
Homemade Corn Tortillas
Equipment
-
Measuring Cups
-
Measuring spoons
Ingredients
- 1 cup of masa harina
- ½ teaspoon of salt
- ¾ cups of warm water plus more as needed
- Oil for cooking
Instructions
-
In a large bowl, mix the masa harina with the salt until well combined.
-
Gradually add the warm water, mixing thoroughly. Continue adding water 1 tablespoon at a time until a soft, smooth, and pliable dough forms that is not sticky to the touch. Knead for a few minutes. Cover the dough and let it rest for 20-30 minutes.
-
Preheat a large pan or comal over medium heat. If desired, lightly coat the surface with oil.
-
Using a 2-tablespoon scoop (approx. 30-35g), divide the dough into equal portions and roll each into a smooth ball. Place the dough balls on a clean surface.
-
Working one at a time, place a dough ball between two sheets of parchment paper or a cut plastic bag. Using a tortilla press (or a heavy flat object), flatten the dough ball into a thin, even tortilla. Carefully peel the tortilla off the parchment paper and transfer it to the hot pan.
-
Cook each tortilla for approximately 1 minute per side, or until it puffs up slightly and develops light brown spots. Avoid overcooking, which can lead to dry tortillas.
-
As each tortilla cooks, transfer it to a tortilla warmer or a basket lined with a clean kitchen towel to keep it warm and soft. Continue with the remaining dough balls.
Notes
- Use warm water: It hydrates the flour better than cold water for fewer cracks and softer homemade corn tortillas.
- Water amount varies: Based on the flour, climate, etc. Focus on the dough feel, adding water incrementally until Play-Doh-like – neither sticky nor dry/cracking when pressed.
- To press the tortillas: If you make them often, a tortilla press ensures quick, even, round tortillas. Alternatively, use a flat-based skillet/dish, placing the dough between layers of plastic/parchment paper.
- Use a preheated pan: That way, the tortillas puff up and cook quickly/evenly. Cast-iron pans/comals work best, but a non-stick pan works, too. Adjust the heat if needed so brown spots appear on the underside in about 60 seconds.