
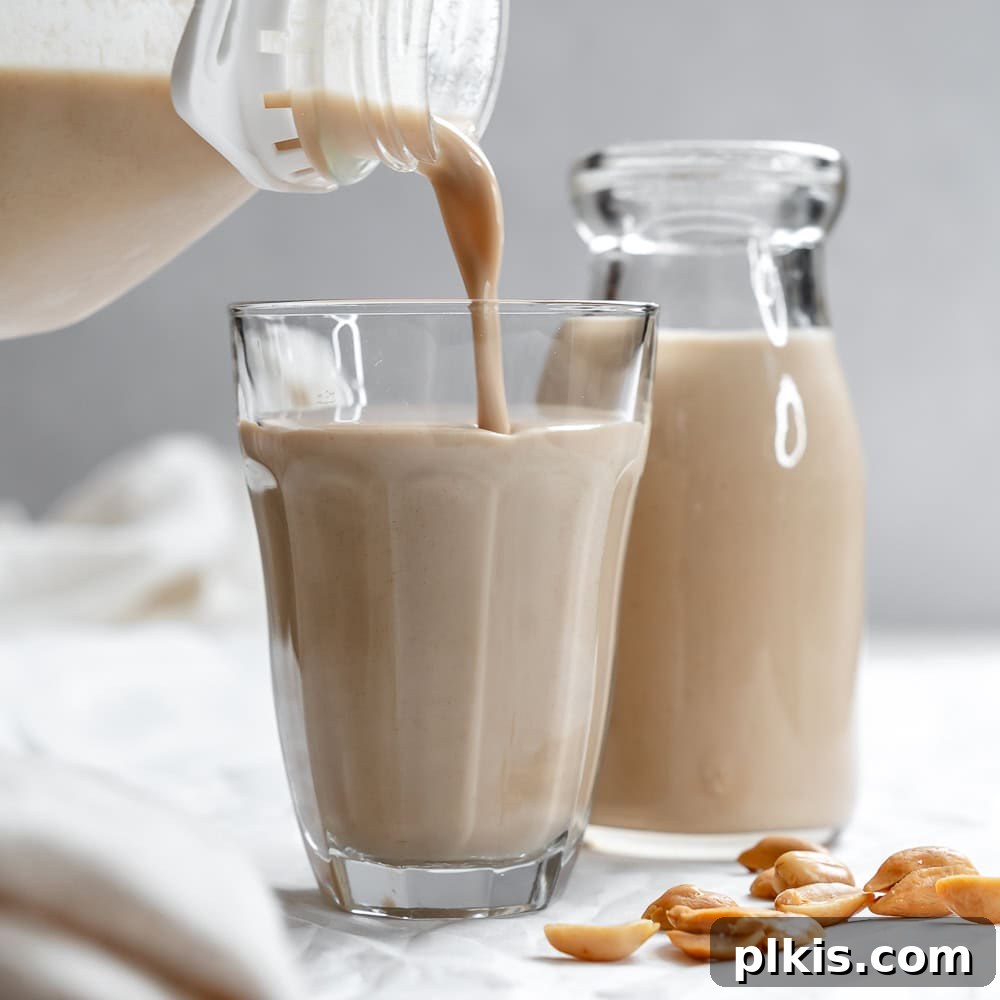
Discover how to craft your very own batch of incredibly creamy and silky homemade peanut milk with this incredibly simple, 3-ingredient recipe. Whether you use whole peanuts or creamy peanut butter, this budget-friendly, healthy, and absolutely delicious dairy-free milk alternative is set to become a staple in your kitchen. Perfect for those seeking a plant-based option, it boasts a naturally rich, nutty flavor that makes it a versatile addition to countless recipes, from morning smoothies and cereal to savory stir-fries and baked goods. Say goodbye to store-bought alternatives and embrace the freshness and goodness of homemade peanut milk.
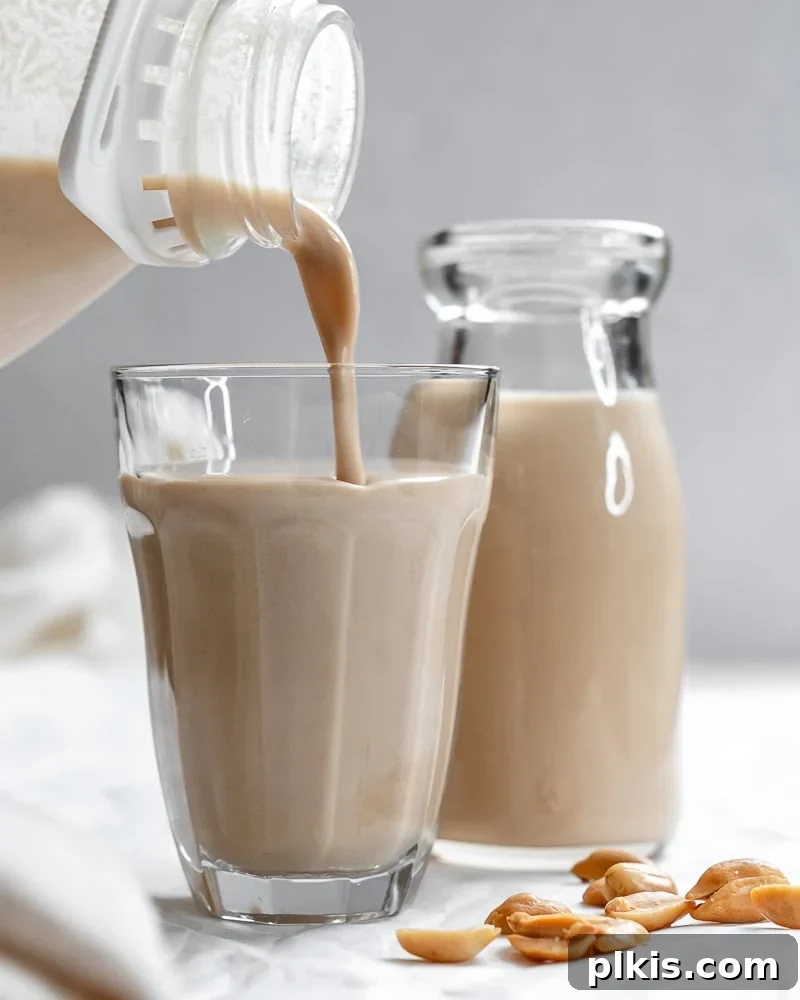
Unlock the Secret to Creamy, 3-Ingredient Homemade Peanut Milk
In recent years, the popularity of dairy-free milk alternatives has soared, and for good reason. From almond to oat, cashew to soy, the options are plentiful. However, we’ve found ourselves particularly enamored with exploring unique and often overlooked plant-based milks. After successfully creating luxurious homemade cashew milk, rich pecan milk, and even delightful chocolate oat milk, it was only a matter of time before our love for peanuts led us to this incredible peanut milk recipe. If you’re a peanut enthusiast, follow a lactose-free or dairy-free lifestyle, or simply want to try something new, this recipe is guaranteed to impress.
Our homemade peanut milk recipe stands out for its simplicity, requiring just three core ingredients to achieve a wonderfully creamy, silky, and distinctly nutty beverage. The flavor profile can vary subtly depending on whether you opt for raw or roasted peanuts, with roasted nuts offering a more pronounced, almost peanut butter-like taste. It’s naturally free from lactose and dairy, making it an excellent choice for those with dietary restrictions or ethical preferences. Plus, it’s incredibly versatile – enjoy it plain, flavored, warm, or chilled.
While our preferred method using whole peanuts involves an overnight soak (and an optional toasting step for enhanced flavor and texture), we understand that time isn’t always on your side. For those busy mornings, we even offer a lightning-fast ‘peanut butter milk’ hack that comes together in less than a minute. This quick alternative ensures you can always enjoy a nutritious, dairy-free milk, no matter how packed your schedule.
Beyond its fantastic taste and ease of preparation, peanut milk is a nutritional powerhouse. It’s packed with plant-based protein, dietary fiber, and heart-healthy fats, making it a satisfying and energy-boosting drink. You’ll also benefit from essential vitamins and minerals like magnesium, vitamin B6, and vitamin E. Making your own ensures you control the ingredients, avoiding added sugars, oils, and stabilizers often found in commercial plant milks. This guide will walk you through everything you need to know to create the perfect batch of homemade peanut milk, from selecting ingredients to creative serving suggestions.
Simple Ingredients for Superior Peanut Milk
Creating your own peanut milk requires minimal ingredients, making it not only healthy but also incredibly economical. Here’s what you’ll need to get started:
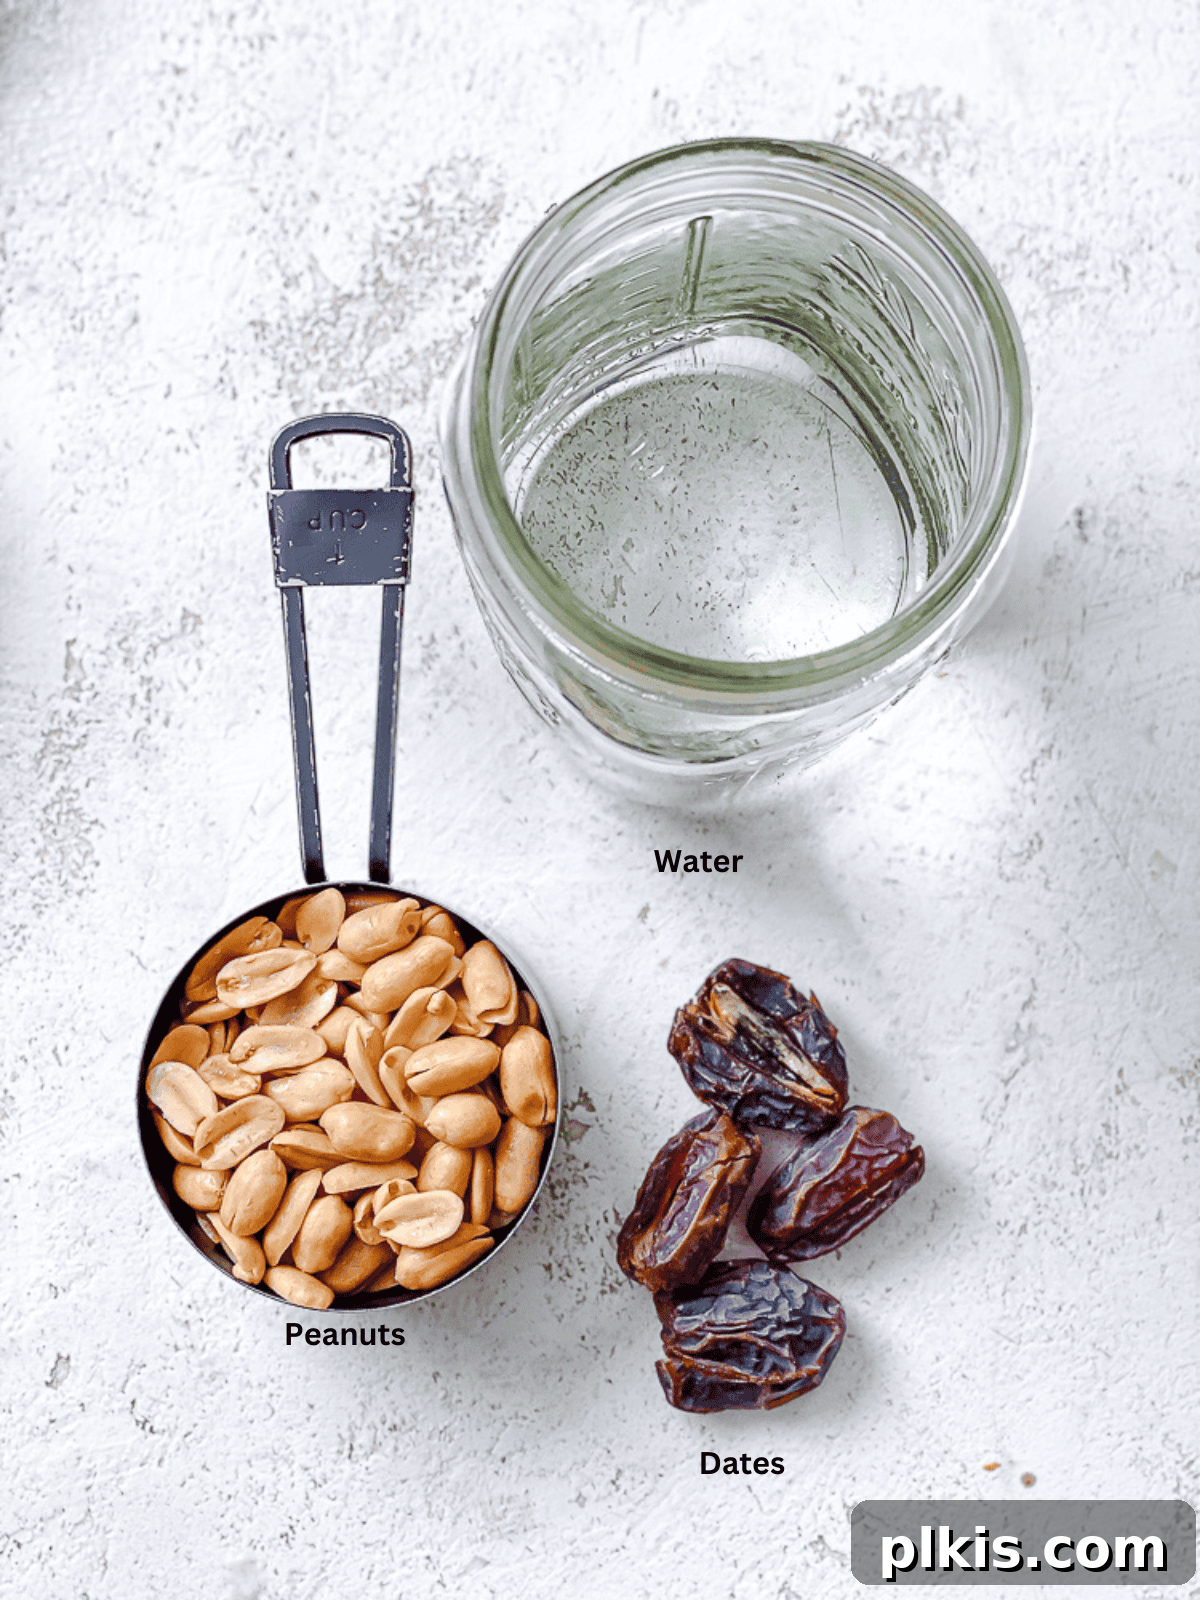
- Unsalted Roasted Peanuts: We recommend roasted peanuts for a richer, more pronounced peanut flavor that closely resembles peanut butter. However, raw peanuts can also be used, yielding a slightly milder taste. Ensure they are unsalted to control the overall sodium content of your milk. Soaking the peanuts is key to achieving a smooth, creamy texture and enhancing digestibility.
- Water: The primary liquid component that transforms the peanuts into milk. Filtered water is always recommended for the best taste. The amount of water can be adjusted to achieve your desired consistency – less water for a thicker, creamier milk, more for a lighter beverage.
- Raisins or Medjool Dates: These natural sweeteners add a touch of sweetness without the need for refined sugars. Dates offer a richer, caramel-like sweetness, while raisins provide a more subtle fruitiness. Both also contribute to the milk’s creamy texture when blended.
A small pinch of salt can work wonders to balance and elevate the natural nutty flavors, making the milk taste even more delicious.
Exciting Flavor Variations for Your Peanut Milk
While delicious on its own, homemade peanut milk is an excellent canvas for various flavor enhancements. Experiment with these additions to customize your milk to suit any mood or occasion:
- Vanilla Extract: Just half a teaspoon of natural vanilla extract can impart a wonderful warm depth and aromatic sweetness to your peanut milk, making it incredibly comforting and versatile.
- Warming Spices: Elevate your plant milk with a dash of spices. Cinnamon adds a classic warmth, pumpkin spice is perfect for autumnal notes, chai spice brings an exotic twist, and cardamom offers a unique floral aroma. Start with a quarter teaspoon and adjust to your taste.
- Citrus Zest: A tiny bit of fresh orange zest can introduce a bright, subtle citrusy flavor that beautifully complements the nuttiness of the peanuts. Lemon zest could also offer a refreshing zing.
- Cocoa Powder: Transform your regular peanut milk into a decadent vegan chocolate peanut milk. Add about 2 tablespoons of unsweetened cocoa powder (or cacao powder for an extra health boost) before blending for a rich, indulgent treat.
- Espresso or Coffee: For coffee lovers, replace an equal amount of water with 1-2 shots of espresso or strong brewed coffee. This creates a delicious peanut milk latte base, perfect for a morning pick-me-up.
- Maple Syrup or Agave: If you prefer a sweeter milk or don’t have dates/raisins on hand, a tablespoon or two of maple syrup or agave nectar can be blended in for a refined sugar-free sweetness.
Step-by-Step Guide: How to Make Peanut Milk
Making peanut milk at home is a straightforward process that yields incredibly rewarding results. Follow these simple steps for a perfect batch every time:
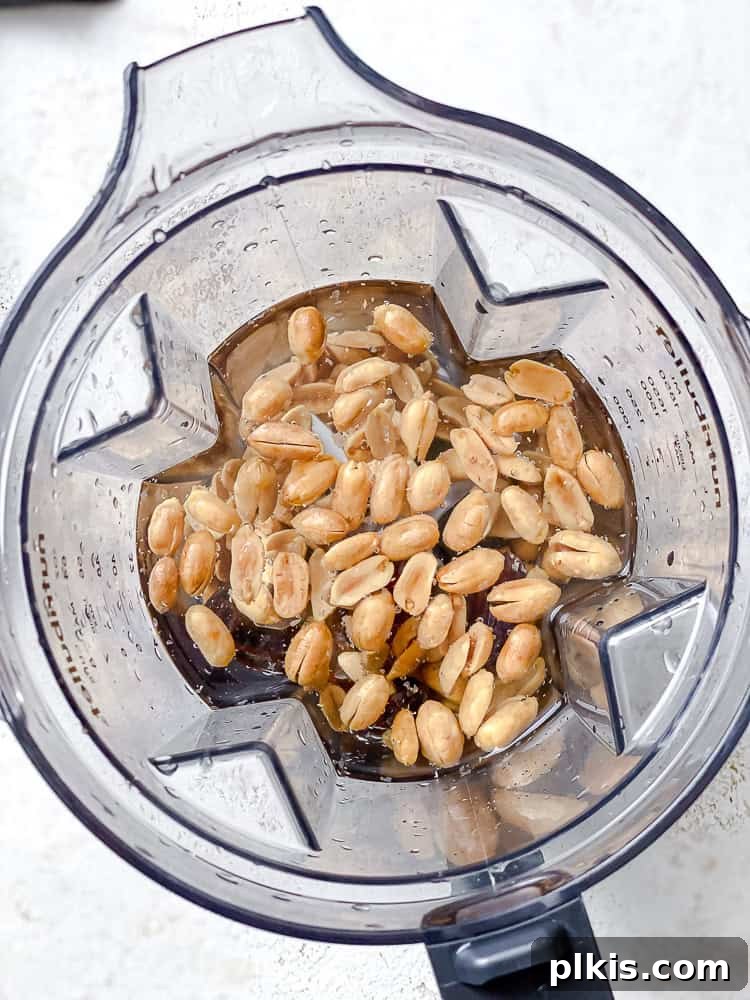
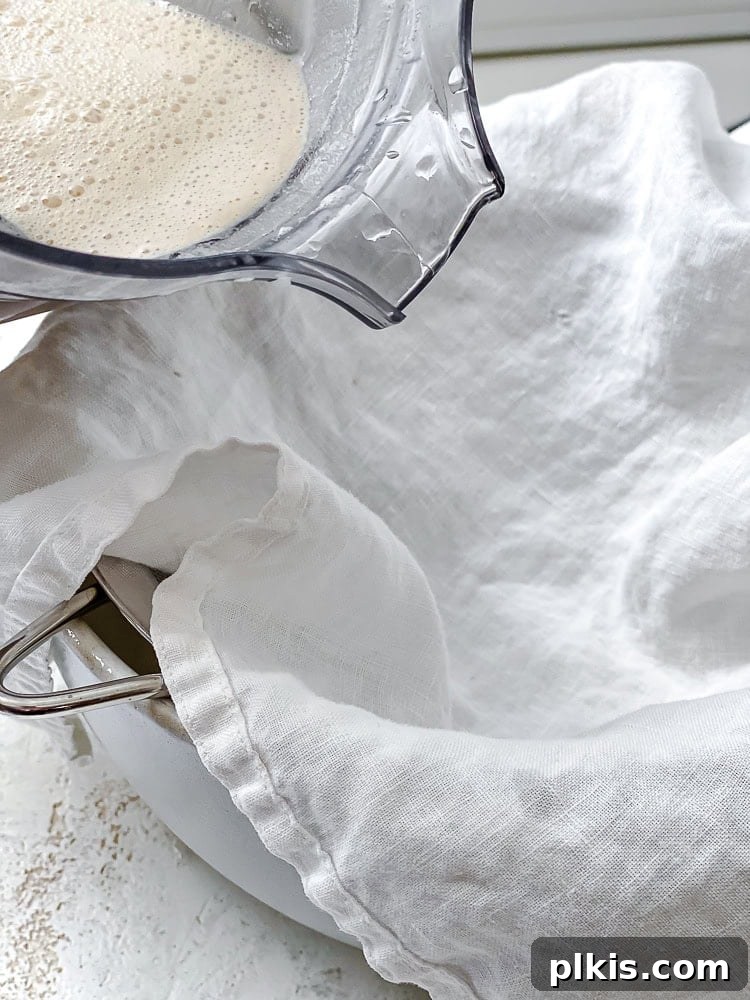
Step 1: Soak and Prepare Your Peanuts
Begin by combining all your ingredients – the unsalted roasted peanuts, water, and natural sweetener (raisins or Medjool dates) – in a high-speed blender. Allow this mixture to soak overnight, or for a minimum of 6 hours. Soaking softens the peanuts, making them easier to blend into a smooth consistency and enhancing their digestibility. If you’re short on time, you can accelerate this process by boiling the peanuts and dates for 10-15 minutes until softened, then letting them cool before blending.
Step 2: Blend Until Creamy
After the soaking period, blend the ingredients on high speed for 1-2 minutes. Continue blending until the mixture is completely smooth and creamy, with no discernible peanut chunks. The longer you blend, the creamier and smoother your milk will be. A high-speed blender is highly recommended for the best results, ensuring a fine texture and minimizing pulp.
Pro Tip: If you’re in a hurry and can’t soak overnight, boil the peanuts and dates for 10-15 minutes. This will soften them sufficiently for blending.
Important Note: Many prefer to drain and replace the soaking water before blending. This practice helps to reduce phytic acid and other anti-nutrients or enzyme inhibitors that can leach into the water, potentially increasing the bioavailability of beneficial nutrients like iron and zinc. While not strictly necessary for taste, it’s a good practice for optimal nutrition.
Step 3: Strain for Silky Smoothness
Once blended, pour the peanut mixture through a cheesecloth-lined fine-mesh sieve or, ideally, a dedicated nut milk bag. Place your chosen straining tool over a large pitcher or bowl. Gently squeeze and press the pulp to extract as much of the creamy peanut milk as possible. This step ensures a wonderfully silky and smooth texture, free from any fibrous residue. If you possess an exceptionally powerful blender, you might choose to skip straining for a thicker, slightly pulpier milk that retains all the fiber – this is a matter of personal preference.
30-Second ‘CHEAT’ Peanut Butter Milk: When time is truly of the essence, you can whip up a quick version using peanut butter. Simply add 2 tablespoons of natural peanut butter (ensure it has no added sugars or oils) and 4 cups of water to a blender. Blend until creamy and smooth. This version will be milder in flavor than milk made from whole peanuts but is still remarkably tasty and a great immediate dairy-free option.
Frequently Asked Questions About Homemade Peanut Milk
Soaking peanuts offers several advantages. Firstly, it significantly softens the nuts, making them much easier to blend into a smooth, creamy liquid. Beyond texture, soaking can improve digestibility and reduce levels of phytic acid and other enzyme inhibitors, which naturally occur in nuts and seeds. This process can increase the bioavailability of essential nutrients like iron and zinc, allowing your body to absorb them more efficiently. While you can technically make peanut milk without soaking (especially if boiling), for optimal texture and nutrition, it’s highly recommended.
Straining is generally recommended if you desire a truly smooth, velvety plant milk, free from any fibrous pulp. A fine-mesh sieve lined with cheesecloth or a nut milk bag will achieve this. However, if you own a very high-powered blender that pulverizes ingredients exceptionally well, or if you simply don’t mind a little bit of pulp in your drink, you can absolutely skip the straining step. Leaving the pulp in will result in a thicker milk and also retains all the dietary fiber from the peanuts.
The versatility of homemade peanut milk is one of its greatest assets. Enjoy it as a refreshing beverage on its own, either chilled or gently warmed. It’s an excellent base for various smoothies, adding a rich, nutty flavor and creamy texture. Use it in your morning tea or coffee as a dairy-free creamer. Pour it over porridge, cereal, muesli, or granola (it pairs exceptionally well with our peanut butter granola!). You can also blend it into a dairy-free peanut butter milkshake, incorporate it into plant-based baking recipes (like muffins, cakes, or pancakes), or even use it in savory applications such as sauces or curries that call for coconut milk for a unique twist.
Absolutely! Fortifying your homemade peanut milk is a simple way to boost its nutritional content, especially if you rely on plant milks for certain vitamins and minerals. You can easily blend the contents of a supplement capsule (after opening it) or liquid vitamin drops directly into your peanut milk. Common fortifications include vitamin D, calcium, and vitamin B12, which are often found in commercial dairy-free milks. Always consult with a healthcare professional before adding supplements to your diet.
Using raw peanuts will result in a milk with a milder, more delicate nutty flavor. Roasted peanuts, on the other hand, produce a richer, more intense flavor that is reminiscent of classic peanut butter. If you’re a big fan of that deep, roasted peanut taste, opt for roasted. If you prefer a subtle base for other flavors, raw might be better. You can also roast raw peanuts yourself for a fresher taste, as detailed in our Pro Recipe Tips.
Peanut milk offers a unique profile. Compared to almond milk, it’s generally creamier, richer in protein and healthy fats, and has a more distinct flavor. It’s often thicker than oat milk, which is known for its neutral taste. Unlike soy milk, peanut milk is legume-based but doesn’t contain soy allergens. It’s a fantastic alternative for those looking for a different flavor profile or seeking a more budget-friendly option than some nut milks.
Pro Recipe Tips for the Best Homemade Peanut Milk
Achieving the perfect homemade peanut milk is simple, but a few expert tips can elevate your results and make the process even smoother:
- Using Raw vs. Roasted Peanuts: Both raw and roasted peanuts work wonderfully for making milk. Roasted peanuts impart a deeper, more pronounced flavor, much like peanut butter, which many prefer. If you opt for raw peanuts but desire that roasted depth, you can easily toast them yourself. Spread raw peanuts on a baking sheet and roast in an oven at 350°F (177°C) for 15-20 minutes, or until fragrant and lightly golden. Once cooled, you can rub them in a clean kitchen towel to effortlessly remove the peels, although this step is optional.
- Invest in a High-Speed Blender: While not strictly mandatory, a powerful high-speed blender (like a Vitamix or Blendtec) makes a significant difference. It thoroughly pulverizes the peanuts, resulting in the smoothest, creamiest milk possible with minimal pulp. This also reduces the need for extensive straining. If you don’t have one, just blend for a bit longer, ensuring the peanuts are fully broken down.
- Adjusting Creaminess and Consistency: The ratio of peanuts to water is key to controlling your milk’s thickness. For a richer, creamier peanut milk, reduce the amount of water by ½ to 1 cup. If you prefer a lighter, thinner milk, increase the water by ½ to 1 cup. Another trick for a thicker, creamier consistency is to gently simmer your finished plant milk for a few minutes over low heat after straining. This subtly reduces the water content and concentrates the flavors.
- Don’t Waste the Leftover Pulp: The peanut pulp left after straining is a valuable byproduct! It’s rich in fiber and flavor. You can add it wet to various recipes: stir it into smoothies for extra body and nutrients, mix it into oatmeal for added texture and protein, or fold it into dairy-free yogurt bowls. Alternatively, you can dry the pulp (either in a low oven or a dehydrator), then grind it into a fine flour. This peanut flour can then be incorporated into baked goods like cookies, crackers, or energy balls, adding a unique nutty flavor and boosting fiber content.
- Sweetness Control: The recipe calls for raisins or Medjool dates for natural sweetness. Always taste your milk after blending and adjust the sweetness to your preference. You can add more dates/raisins, or a drizzle of maple syrup or agave nectar if you desire a sweeter profile.
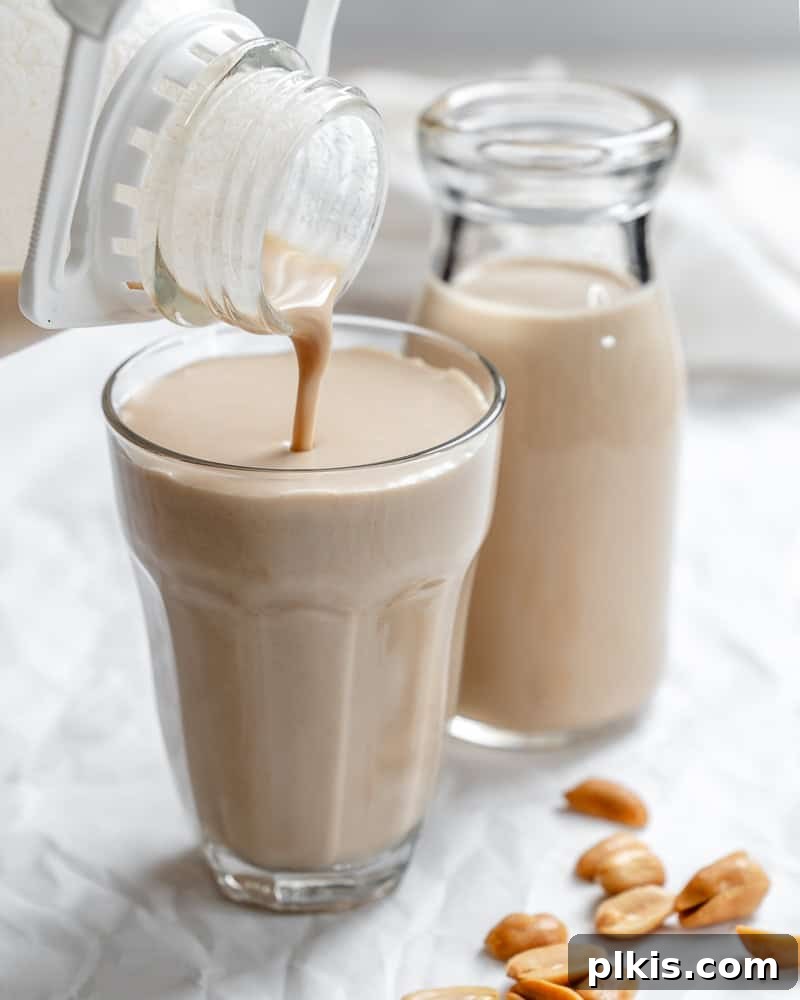
Storing Your Homemade Peanut Milk
Proper storage ensures your homemade peanut milk remains fresh and delicious for as long as possible:
- Store homemade peanut milk in a clean, airtight jar or bottle in the refrigerator for up to 4-6 days. The lack of stabilizers means it will naturally separate over time. This is perfectly normal; simply shake it well before each use to reintegrate the components and restore its creamy texture.
- For longer storage, peanut milk can be safely kept in the freezer for up to 3 months. Pour it into freezer-safe containers, leaving a little headspace as liquids expand when frozen. You can also freeze it in ice cube trays for convenient small portions to add to smoothies or recipes. Thaw overnight in the refrigerator or gently warm on the stovetop. Remember to shake or stir thoroughly after thawing.
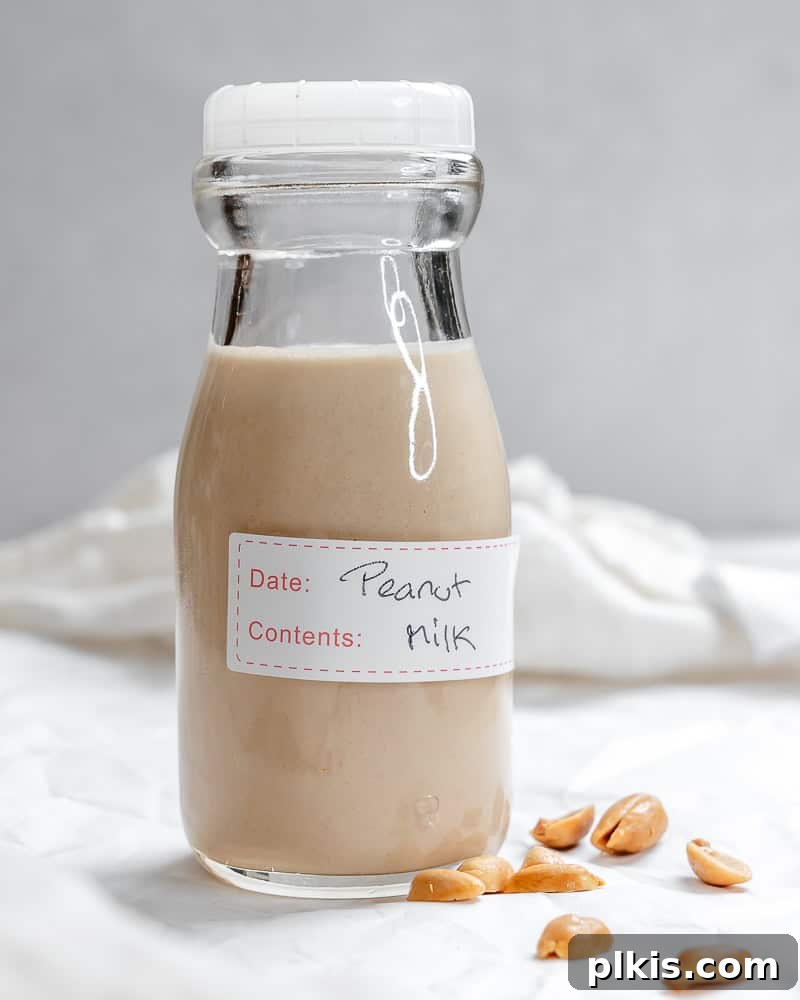
How to Make Peanut Milk

Equipment
-
Measuring Cups
-
Blender
Ingredients
- 1 cup unsalted roasted peanuts
- 3 cups water
- ¼ cup raisins or Medjool dates
Optional:
- ½ teaspoon vanilla extract
Instructions
-
In your blender pitcher, combine peanuts, raisins or dates, and the 3 cups of water. Let this mixture soak overnight (or for at least 6 hours) to soften the peanuts.
-
In the morning, blend the soaked peanuts, water, and raisins/dates together on high speed for 1 to 2 minutes, or until completely smooth and creamy.
-
Using cheesecloth or a fine-mesh nut milk bag, pour the blended peanut mixture into a pitcher. Squeeze and press to extract all the liquid, separating the creamy peanut milk from the pulp.
Notes
- Using raw vs. roasted peanuts: Either option is fine. Roasted peanuts will yield a flavor closer to peanut butter. For raw peanuts, you can toast them in the oven for 15-20 minutes at 350°F/177°C, then rub them in a kitchen towel to easily remove the peels.
- Use a high-speed blender: A powerful blender will ensure your peanut milk is as smooth as possible and leaves minimal pulp.
- To adjust the creaminess: For creamier milk, reduce the water by ½-1 cup. For a lighter consistency, increase the water by ½-1 cup. Simmering the finished milk for a few minutes can also enhance thickness.
- Save the pulp: The leftover peanut pulp can be added to smoothies, oatmeal, or dairy-free yogurt bowls. Alternatively, dry it and grind it into flour for baking recipes.
Nutrition
Calories: 945kcal
Carbohydrates: 52g
Protein: 39g
Fat: 73g
Saturated Fat: 11g
Polyunsaturated Fat: 25g
Monounsaturated Fat: 33g
Sodium: 78mg
Potassium: 1388mg
Fiber: 16g
Sugar: 0.3g
Vitamin C: 2mg
Calcium: 186mg
Iron: 7mg
Additional Info
Tried this recipe?
Please tag us at @PlantBasedOnABudget! 🙂