
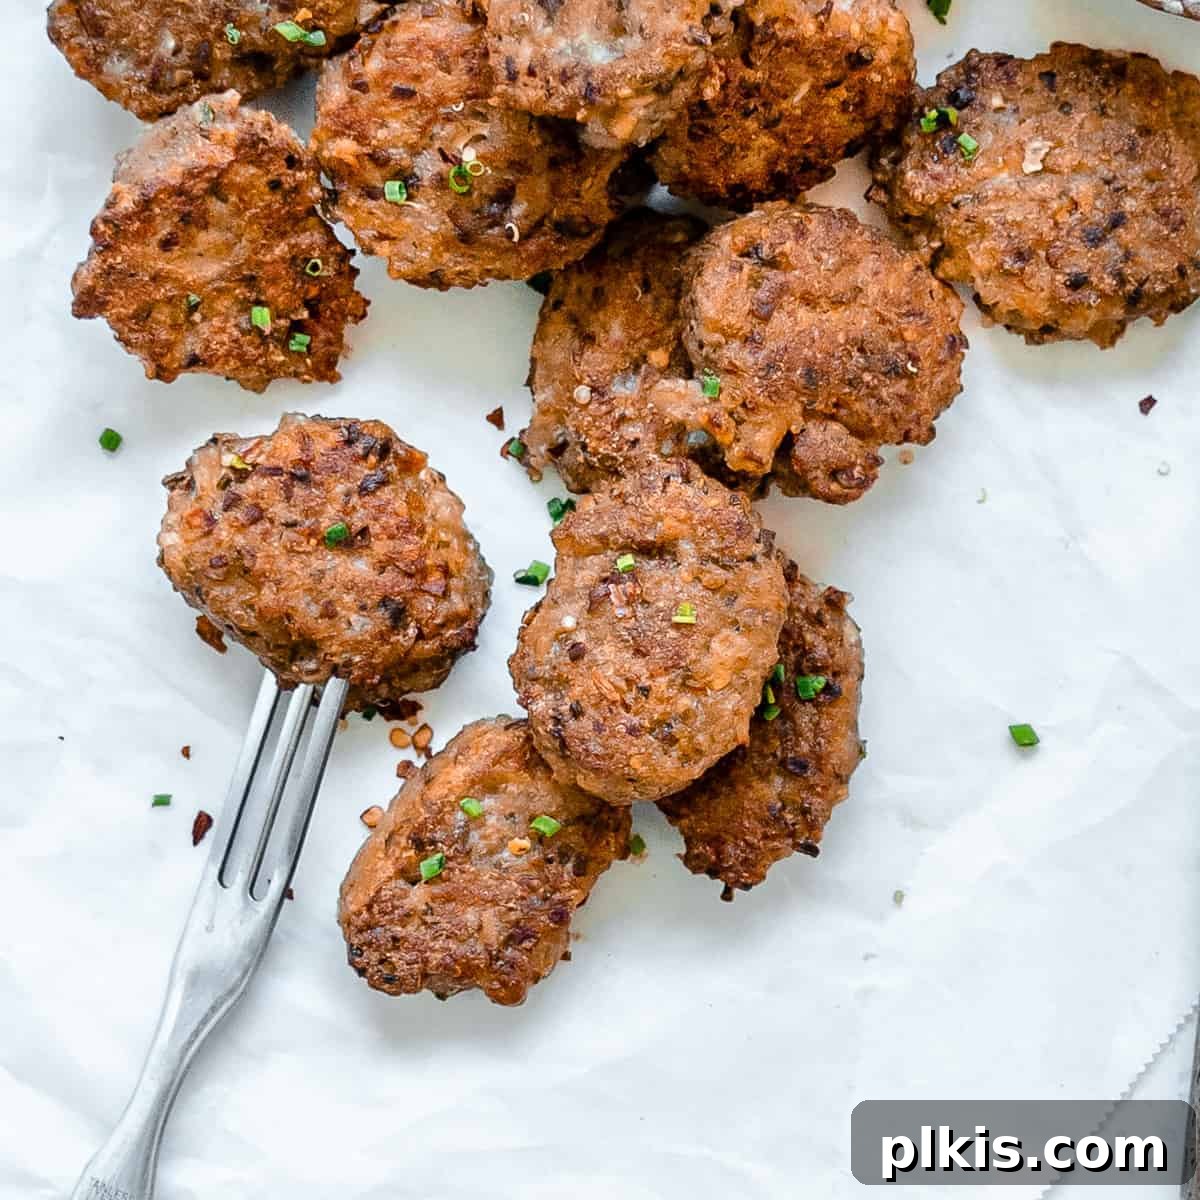
Welcome to the ultimate guide for making delicious and healthy Quinoa Tater Tots! Forget everything you thought you knew about classic tater tots because these golden nuggets are about to revolutionize your snack game. Combining the beloved crunch of traditional tater tots with the incredible nutritional power of quinoa, these savory bites are a guilt-free indulgence you can enjoy any time of day. Crunchy on the outside, with a wonderfully tender interior packed with wholesome quinoa, earthy mushrooms, and fresh chives, they offer a burst of flavor and a satisfying texture that will leave you craving more. Not only are they incredibly tasty, but these plant-based wonders are also loaded with fiber, complete proteins, and vital antioxidants, making them a smart choice for your well-being. This versatile recipe is proudly dairy-free and egg-less, and can easily be adapted to be completely gluten-free and oil-free, catering to a wide range of dietary needs without compromising on flavor or fun. Get ready to discover your new favorite healthy snack!
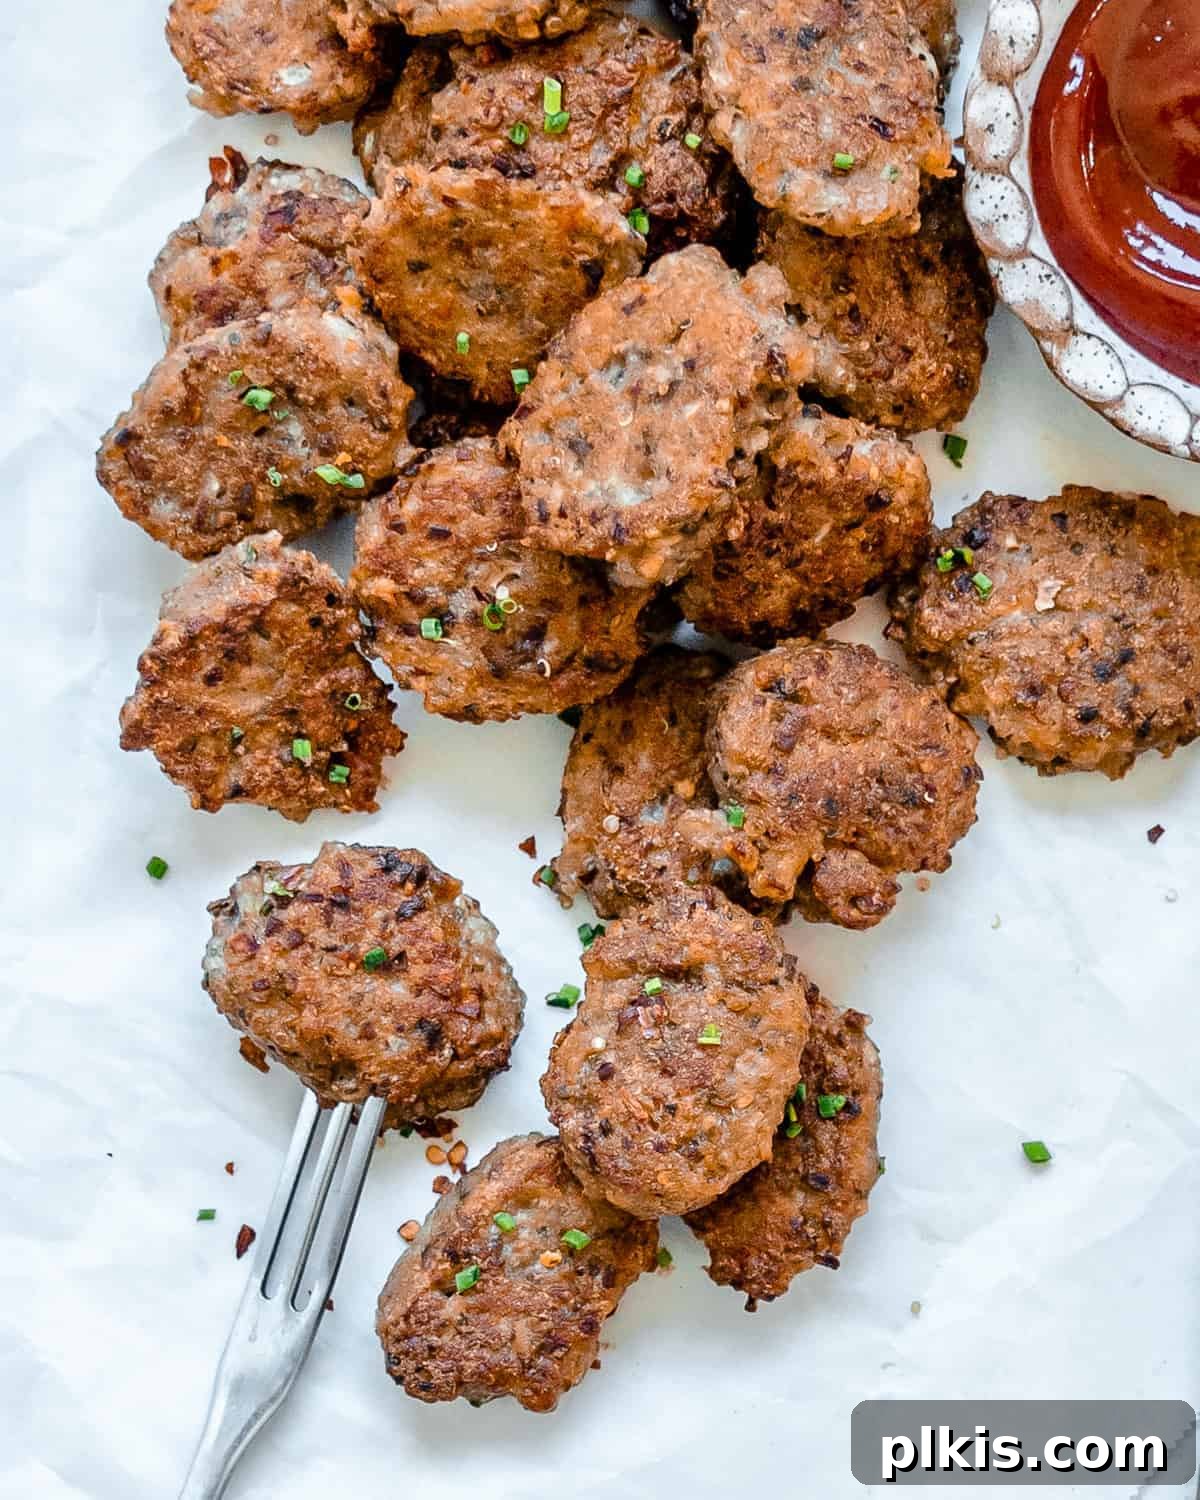
Why These Quinoa Tater Tots Are an Absolute Win!
If you’re a devoted fan of the classic tater tot, you’re in good company! There’s something undeniably satisfying about those miniature potato hashbrowns. However, allow us to introduce you to a game-changing alternative: our Quinoa Tater Tots. These aren’t just a healthier version; they’re a culinary revelation that stands on its own. Unlike their potato-based cousins, these croquettes leverage the incredible nutritional profile of quinoa and mushrooms as their primary protein sources. This makes them significantly more nutrient-dense, offering a powerful punch of plant-based protein and fiber that keeps you feeling full and energized.
Beyond their impressive nutritional benefits, these quinoa tots deliver an unparalleled flavor and texture experience. Finely diced yellow onion, aromatic chives, and a hint of red pepper flakes join forces with the quinoa and mushrooms, creating a symphony of tastes that is utterly irresistible. Each bite offers a delightful crunch followed by a tender, flavorful interior. They’re not only a fantastic snack for adults but also a brilliant and sneaky way to introduce more healthy ingredients into your children’s diet. Kids won’t even realize they’re missing potatoes or eggs, as they’ll be too busy savoring these wonderfully delicious and fun-to-eat treats. Prepare for these Quinoa Tater Tots to become a staple in your household, cherished for their taste, versatility, and undeniable health benefits.
Essential Ingredients for Your Quinoa Tater Tots
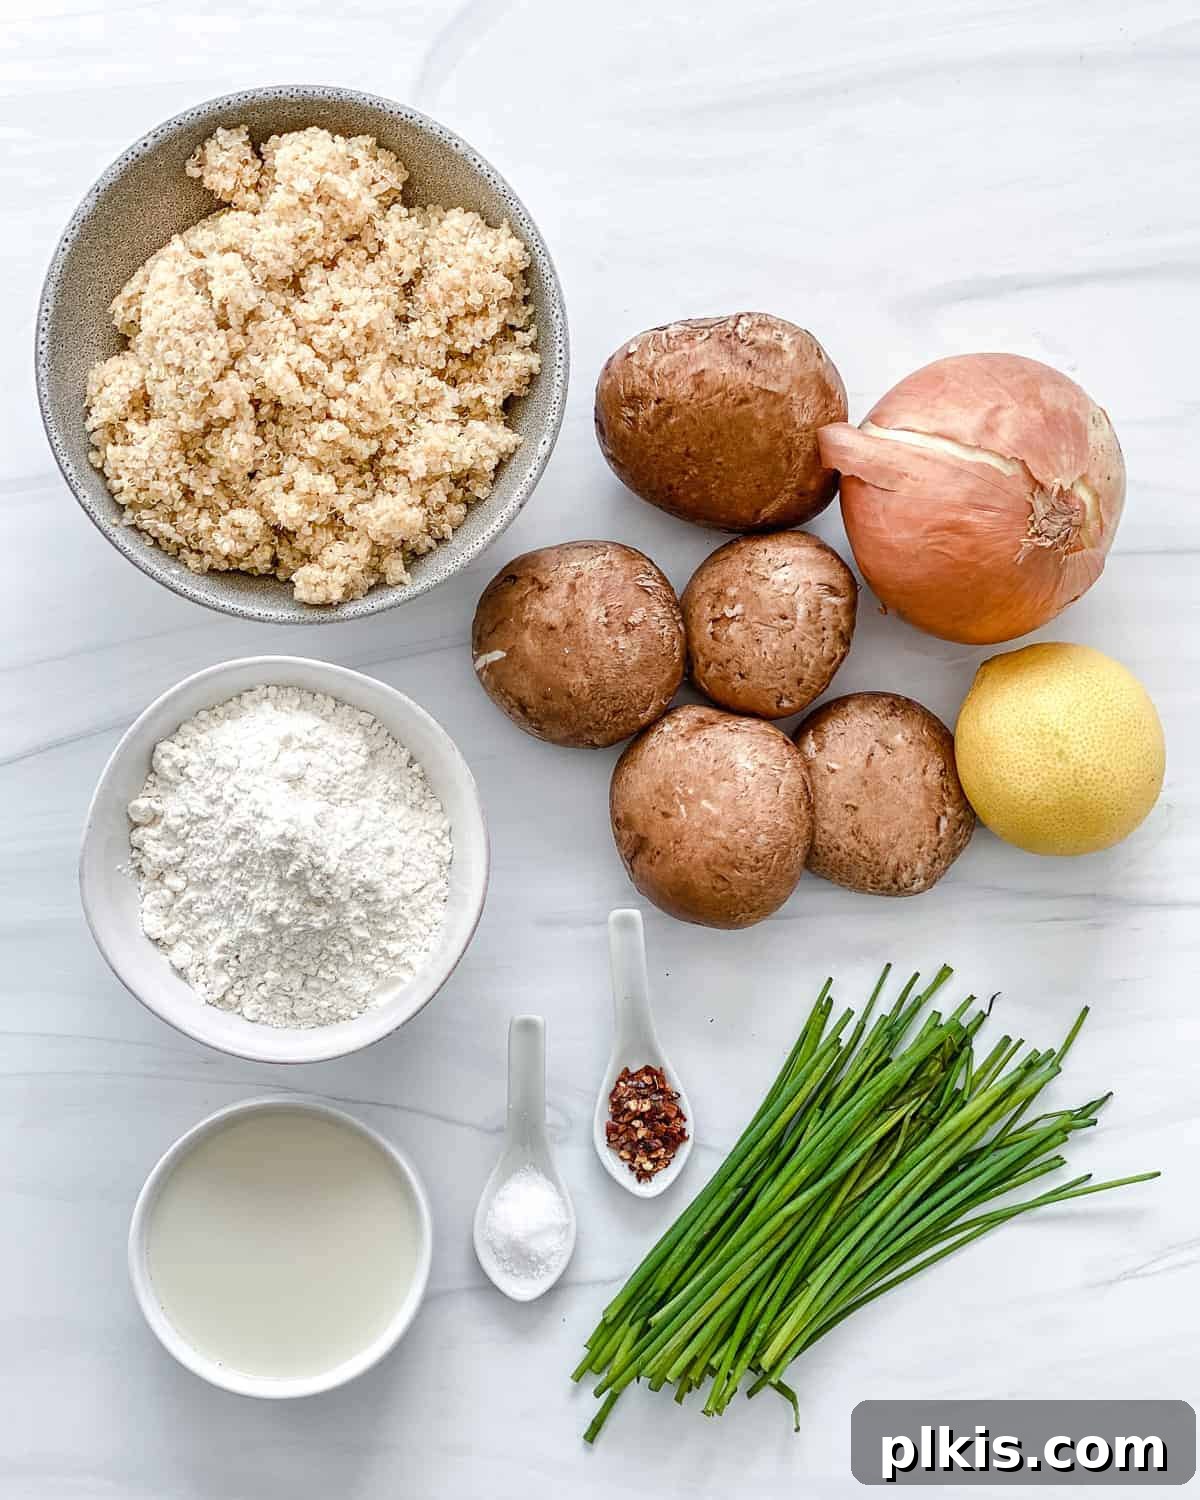
Crafting these delectable Quinoa Tater Tots requires a handful of simple, wholesome ingredients, many of which you likely already have in your pantry. Each component plays a crucial role in building the unique flavor, texture, and nutritional profile of this amazing snack.
- Cooked Quinoa: This superfood forms the heart of our tater tots, replacing traditional potatoes. Quinoa is celebrated for being a complete protein, meaning it contains all nine essential amino acids. It’s also an excellent source of fiber, iron, and magnesium. If you’re new to cooking quinoa, don’t worry! We have a Complete Guide to Quinoa that will turn you into a pro in no time, ensuring your tots have the perfect fluffy base.
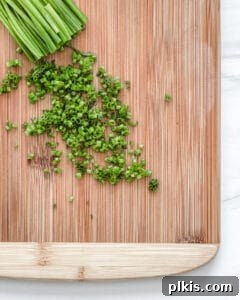
- Fresh Vegetables: Our recipe features a vibrant combination of finely diced yellow onion, fresh button mushrooms, and minced chives. The onion provides a sweet and savory base, mushrooms add a deep umami flavor and meaty texture, while chives lend a delicate, oniony freshness. These vegetables not only enhance the taste but also boost the nutritional value with vitamins, minerals, and antioxidants. Feel free to experiment with other finely chopped veggies like broccoli, cauliflower, carrots, parsley, or cilantro to customize the flavor and nutrient content to your liking.
- Plant-Based Milk: A crucial binding agent, unsweetened and plain plant-based milk (such as almond, soy, or oat milk) helps hold all the ingredients together, ensuring your tots maintain their shape during cooking. It also keeps the recipe dairy-free and wonderfully creamy.
- All-Purpose Flour: This ingredient is essential for creating the ideal structure and crispiness of our tater tots. It helps bind the mixture and contributes to that satisfying golden-brown exterior. For those following a gluten-free diet, simply substitute with your favorite gluten-free flour blend.
- Red Pepper Flakes: For a delightful, subtle kick, red pepper flakes are an optional but highly recommended addition. They add a touch of warmth and complexity that elevates the overall flavor profile. Adjust the amount or omit entirely based on your preference for spice.
- Lemon Juice: A squeeze of fresh lemon juice brightens the flavors of the vegetables and adds a slight tang that perfectly balances the richness of the other ingredients. It also acts as a natural binder.
- Salt to Taste: Essential for seasoning, salt brings out the best in all the ingredients. Adjust according to your dietary needs and personal preference.
- Oil for Cooking: When frying, choose a neutral-flavored oil with a high smoke point, such as canola, vegetable, or sunflower oil. This ensures your tots cook evenly to a beautiful golden brown without imparting unwanted flavors. For oil-free options, see our variations section below.
Mastering the Art: How to Make Quinoa Tater Tots
Creating these delightful Quinoa Tater Tots is a straightforward process, broken down into a few simple steps. Follow these instructions carefully to ensure perfectly crispy, flavorful tots every time.
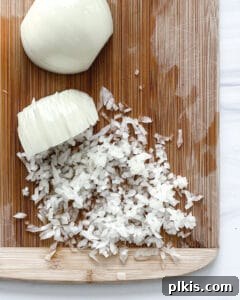
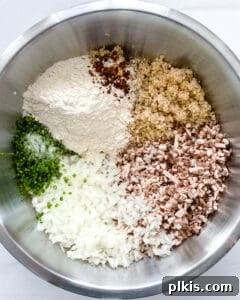
- Prepare Your Base: In a large mixing bowl, combine the cooked quinoa, finely diced yellow onion, finely diced button mushrooms, minced chives, all-purpose flour, red pepper flakes (if using), and salt. Use a sturdy spoon or your clean hands to thoroughly mix all these ingredients until they are well combined and the mixture begins to feel cohesive and thick. Ensure that the vegetables are evenly distributed throughout the quinoa.
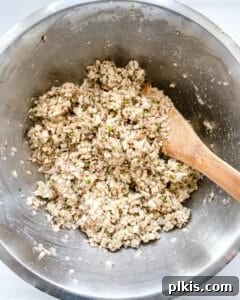
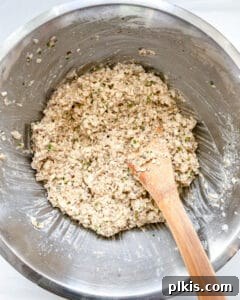
- Bind the Mixture: Next, pour in the fresh lemon juice and your chosen unsweetened non-dairy milk. Continue to mix diligently until all the liquids are fully incorporated and the mixture forms a consistent, pliable dough. This ensures that your tots will hold their shape beautifully.
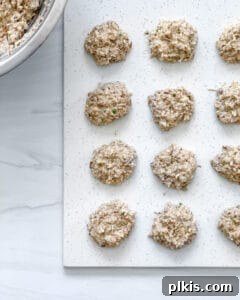
- Shape and Chill: Take a small amount of the mixture (approximately 1 tablespoon for each tot) and roll it into a 1-inch ball between your palms. Gently flatten each ball to create the classic tater tot shape. Arrange the formed tots on a clean plate or baking sheet. Once all the tots are shaped, place the plate in the refrigerator for at least 15 minutes. This crucial chilling step helps the tots firm up, preventing them from falling apart when introduced to the hot oil. For an even quicker set, you can pop them in the freezer for about 8 minutes.
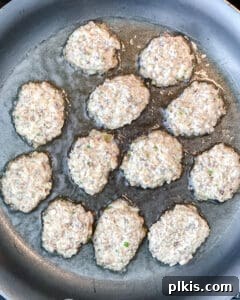
- Cook to Golden Perfection: Heat a neutral-flavored oil in a medium-sized pan over medium heat. You want enough oil to comfortably cover about half of the tots. Once the oil is hot (you can test by dropping a tiny piece of the mixture in; it should sizzle immediately), carefully place the chilled tots into the pan, ensuring not to overcrowd it. Cook the tots for approximately 5 minutes on each side, or until they turn a beautiful, crispy golden brown. Overcrowding the pan can lower the oil temperature and lead to soggy tots, so cook in batches if necessary. Remove the cooked tots with a slotted spoon and place them on a plate lined with paper towels to absorb any excess oil. Serve immediately and enjoy!


Recipe Top Tips for Perfect Quinoa Tater Tots
Achieving perfectly crispy and tender Quinoa Tater Tots is easier than you think with these expert tips:
- Finely Dice Your Veggies: To ensure the tots hold together well and cook evenly, it’s crucial to chop your onion, mushrooms, and chives into very small, uniform pieces. This also helps create a smoother, more compact mixture that won’t easily break apart during frying.
- Uniformity is Key: For consistent cooking and a professional look, use a cookie scoop or a small ice cream scooper to measure out equal portions of the mixture. Then, roll or flatten them into your desired tater tot shape. Uniformly sized tots will cook at the same rate, preventing some from being overcooked while others are undercooked.
- Prevent Sticking While Shaping: If the mixture tends to stick to your hands while rolling, lightly dampen your palms with a little water or rub them with a tiny bit of oil. This simple trick will make the shaping process much smoother and less messy.
- The Importance of Chilling: Do not skip the chilling step! Refrigerating the shaped tots for at least 15 minutes (or freezing for 8 minutes) is vital. This allows the ingredients to set and bind properly, preventing them from disintegrating in the hot oil. A firm, chilled tot will hold its shape much better.
- Avoid Overcrowding the Pan: When frying, resist the urge to pack too many tots into the pan at once. Overcrowding significantly lowers the oil’s temperature, which can lead to soggy rather than crispy tots. Cook in batches, leaving enough space between each tot for the oil to circulate and for steam to escape, ensuring a beautifully crunchy exterior.
- Monitor Oil Temperature: Ensure your oil is heated to the correct temperature (medium heat) before adding the tots. If the oil isn’t hot enough, the tots will absorb too much oil and become greasy. If it’s too hot, they’ll brown too quickly on the outside and remain raw on the inside. A small test piece or a cooking thermometer can help you find the sweet spot.
- Don’t Rush the Flip: Once the tots are in the pan, resist the urge to move them too soon. Allow them to cook undisturbed on one side until a deep golden-brown crust forms. This crust provides structural integrity and the desired crispiness. Only then should you carefully flip them to cook the other side.
Possible Variations and Creative Add-ons
These Quinoa Tater Tots are incredibly versatile, offering endless possibilities for customization and dietary adjustments:
- Shape Shifters: Break away from the traditional tot shape! Mold the mixture into small patties to create healthy sliders or use them as a delightful, savory addition to sandwiches. You could also make larger fritters for a satisfying main course.
- Go Gluten-Free: It’s simple to make this recipe completely gluten-free. Just swap the all-purpose flour for your favorite certified gluten-free flour blend. Many excellent blends are available that will work perfectly.
- Oil-Free Cooking Options: If you’re looking to minimize oil, you have several fantastic alternatives to frying:
- Non-Stick Pan: Cook the tots in a high-quality non-stick pan with minimal to no oil, ensuring they still crisp up nicely.
- Baking: Arrange the shaped tots in a single layer on a parchment-lined baking sheet. Bake in a preheated oven at 400°F (200°C) for 20-25 minutes, flipping halfway through, until golden brown and crispy.
- Air Frying: For an extra-crispy, oil-free option, place the tots in a single layer in your air fryer basket. Air fry at 400°F (200°C) for 15-20 minutes, shaking the basket occasionally, until they are beautifully golden and crunchy. Ensure the tots are evenly spaced to allow hot air to circulate freely.
- Boost the Flavor:
- Cheesy Goodness: For an extra layer of savory flavor, mix in a few tablespoons of your favorite vegan shredded cheese or a generous amount of nutritional yeast into the quinoa mixture before chilling. This adds a wonderful umami depth.
- Herbal Infusion: Incorporate other fresh or dried herbs like dill, parsley, thyme, or oregano for different aromatic profiles.
- Spice It Up: Experiment with different spice blends such as smoked paprika, cumin, garlic powder, or a dash of curry powder for an international twist.
- Add a Veggie Boost: Finely grated carrots, zucchini (ensure excess moisture is squeezed out), or bell peppers can add color, nutrients, and subtle sweetness to your tots.
The Perfect Dips to Serve with Your Quinoa Tater Tots
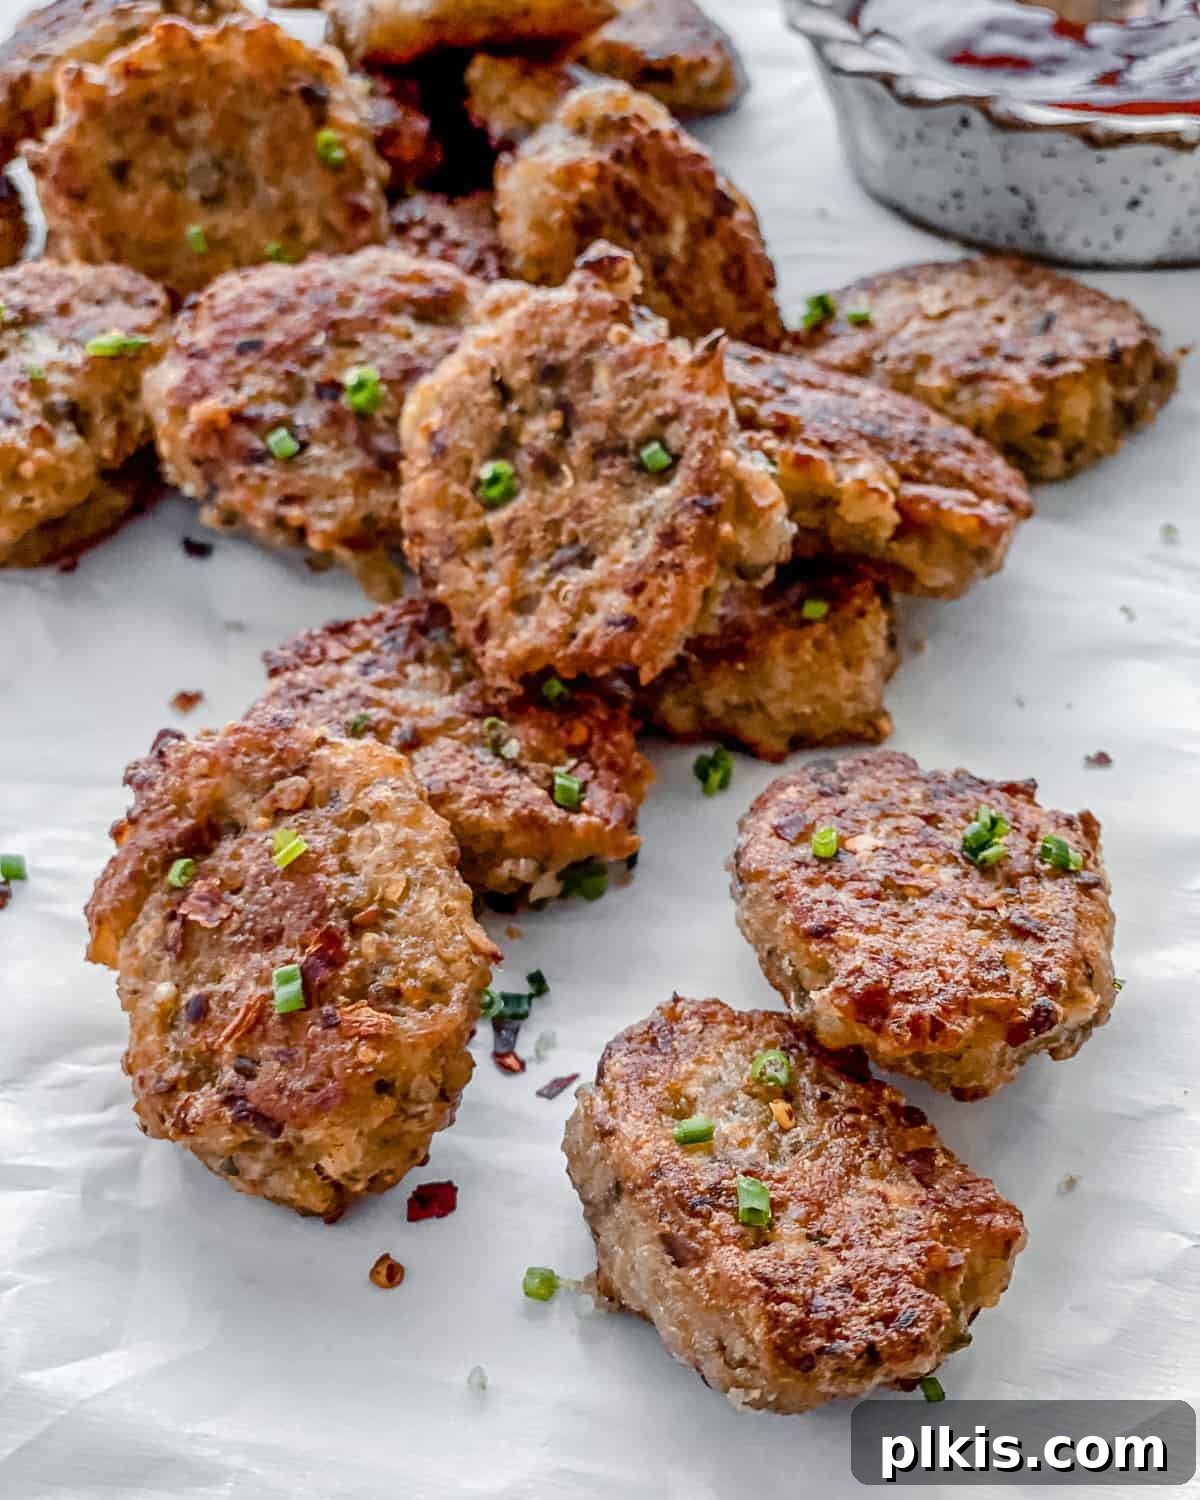
No tater tot experience is complete without a complementary dip! Our Quinoa Tater Tots are incredibly versatile, pairing beautifully with both classic and adventurous dipping sauces. Here are some fantastic ideas to elevate your snack:
- The Classics: You can never go wrong with timeless favorites like tangy ketchup, creamy vegan mayonnaise, a dollop of cool vegan sour cream, or a rich and smoky BBQ sauce. These staple dips offer comfort and familiarity, making them a hit with everyone.
- Adventure Awaits: For those looking to break away from the norm and excite their palate, consider these inspired options:
- Chunky Ranch-Inspired Dip: A homemade plant-based ranch dip, perhaps with a base of cashews or tofu, packed with fresh herbs, offers a cooling and herbaceous contrast to the warm, crispy tots. Try our Chunky Ranch-inspired dip for a delicious twist.
- French Onion Dip: Rich, savory, and wonderfully creamy, a vegan French Onion dip (often made with caramelized onions and a plant-based sour cream base) brings a sophisticated touch to your tots. Our French Onion dip is a perfect match.
- Chipotle White Bean Dip: For a smoky and slightly spicy kick, a Chipotle White Bean dip is an excellent choice. Its creamy texture and bold flavors create an exciting pairing that’s full of personality.
If you’re serving these Quinoa Tater Tots as party food or appetizers, surprise your guests by offering a diverse selection of dip options. This interactive approach is always a crowd-pleaser and ensures there’s a flavor profile to satisfy every guest. Prepare for them to be an absolute hit!
Frequently Asked Questions About Quinoa Tater Tots
Here are some common questions and helpful answers to ensure your Quinoa Tater Tots turn out perfectly every time:
- Why do my quinoa tater tots sometimes fall apart in the pan?
This is often due to a few factors. Firstly, ensure your oil is hot enough. If the oil is not adequately heated, the tots will absorb oil rather than immediately forming a crust, making them more likely to break down. Secondly, resist the urge to move or flip the tots too soon. Allow them to cook undisturbed on one side until a firm, golden-brown crust has formed. This crust provides structural integrity. Finally, make sure the mixture itself is properly bound and chilled as per the recipe’s instructions, as proper binding and chilling are crucial for stability. - Can I deep-fry these quinoa tater tots?
Absolutely! Deep frying is a great way to achieve maximum crispiness. To deep-fry, fill your deep fryer (or a large, heavy-bottomed pot) about halfway with your chosen cooking oil. Heat the oil to around 350-375°F (175-190°C). Once the oil is hot, carefully submerge a few pieces of the chilled tots into the oil, being careful not to overcrowd the fryer. Cook for 3-4 minutes, or until they are deeply golden brown and perfectly crispy. Remove with a slotted spoon and drain on paper towels. - Can I use a food processor to chop the vegetables?
Yes, definitely! Using a food processor is an excellent time-saving trick, especially when you need finely diced vegetables. Simply place your mushrooms, onion, and chives (or other chosen vegetables) into the food processor and pulse a few times until they reach the desired finely diced texture. Be careful not to over-process them into a paste; you want small, distinct pieces. - How do I ensure my cooked quinoa isn’t too mushy for the tots?
The key is to cook your quinoa perfectly so it’s fluffy and slightly firm, not waterlogged. Use the correct quinoa-to-water ratio (typically 1 part quinoa to 2 parts water) and allow it to simmer gently until all the water is absorbed, then let it steam off-heat for 10-15 minutes before fluffing. Excess moisture can make your tot mixture too loose, so ensure your cooked quinoa is well-drained and cooled before mixing. - Can I bake these instead of frying for a healthier option?
Yes, baking is a fantastic alternative! Refer to the “Possible Variations and Add-ons” section above for detailed instructions on how to bake or air fry your quinoa tater tots to achieve a delicious, crispy result without the need for oil.
Smart Storing and Reheating Tips for Quinoa Tater Tots
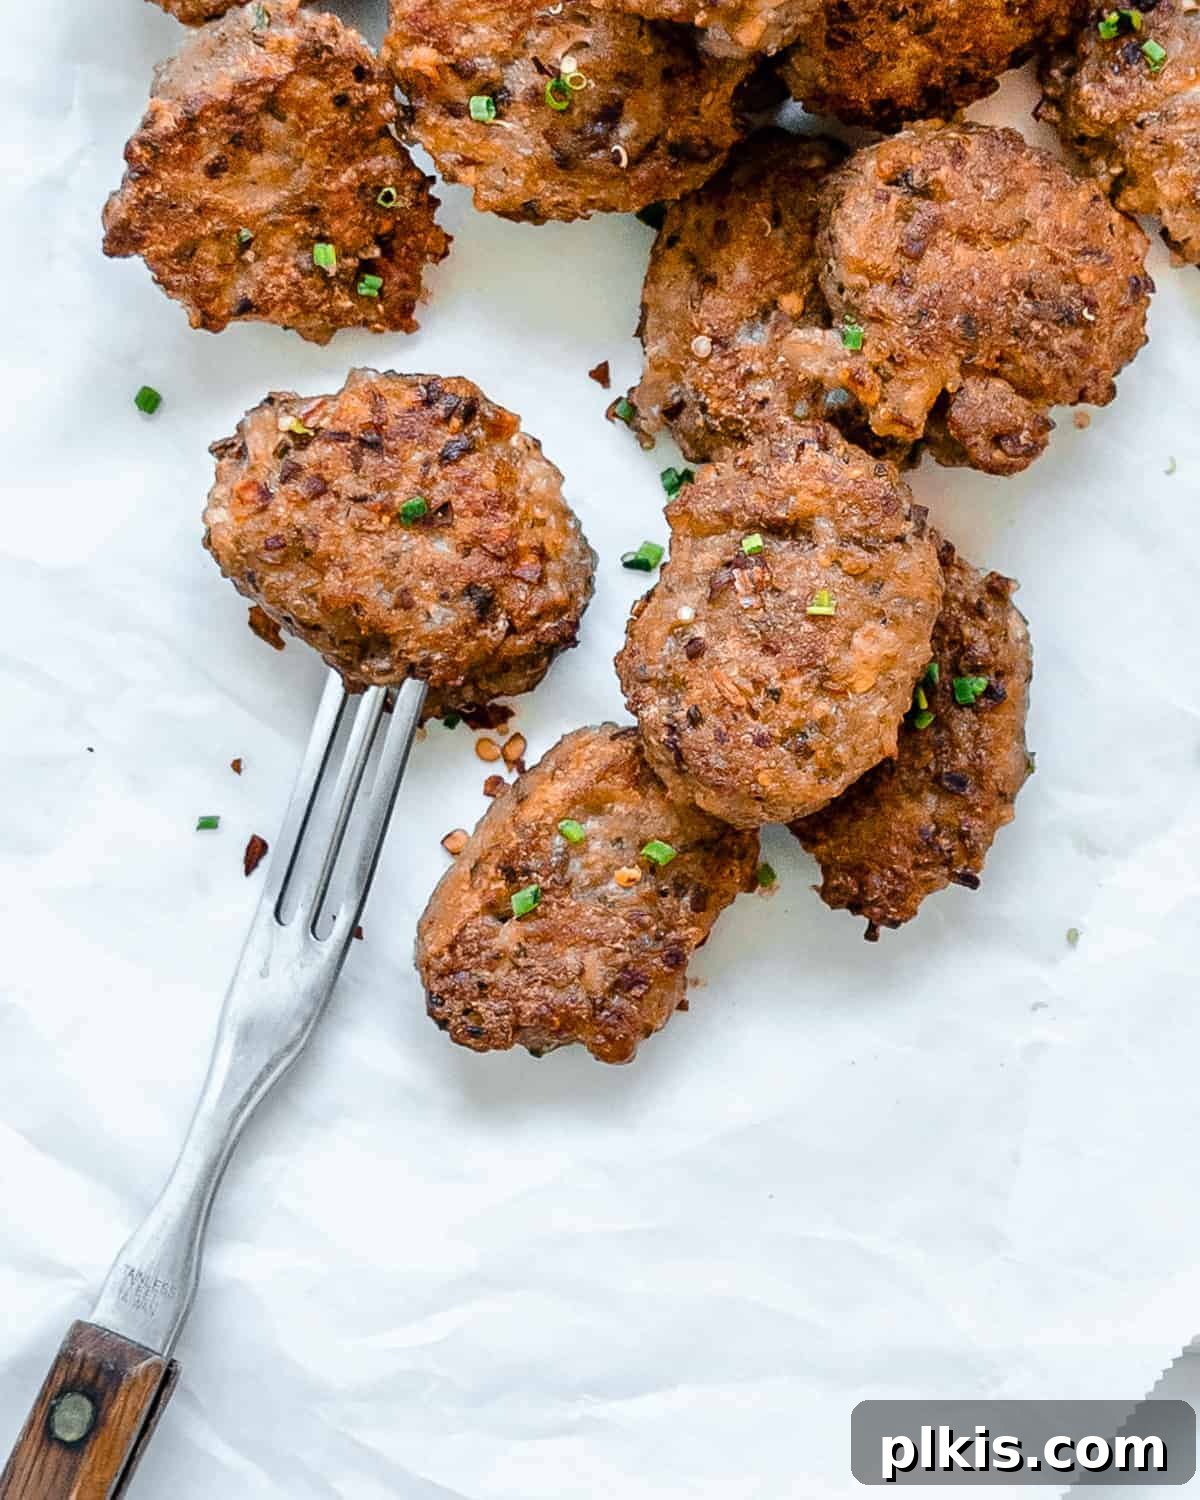
Whether you have leftovers or want to prepare a batch of these delicious Quinoa Tater Tots ahead of time, proper storage and reheating techniques are essential to maintain their quality and flavor.
- Refrigerator Storage (Cooked): To store cooked Quinoa Tater Tots, allow them to cool completely to room temperature. Then, transfer them to an airtight container and place them in the refrigerator. They will stay fresh and delicious for three to five days.
- Freezer Storage (Cooked): For a longer storage solution, cooked tots can be frozen. Once cooled, arrange them in a single layer on a baking sheet and freeze until solid (this prevents them from sticking together). Then, transfer the frozen tots to a freezer-safe container or a Ziploc freezer bag. They will keep well in the freezer for up to one month, ready for a quick snack or meal.
- Make-Ahead & Uncooked Freezer Storage: Preparing uncooked tots for future use is incredibly convenient. After shaping the quinoa tater tots, arrange them in a single layer on a parchment-lined baking sheet. Freeze them for 30 to 45 minutes, or until they are firm but not completely frozen solid. This par-freezing step is crucial for preventing them from clumping together. Once firm, you can transfer them to a Ziploc freezer bag or a Stasher bag. Store them in the freezer for up to three months. When ready to cook, you can fry or bake them directly from frozen (adding a few extra minutes to the cooking time).
- Reheating Instructions:
- Oven/Toaster Oven: For best results and to regain that crispy texture, reheat cooked tots in a preheated oven or toaster oven. Spread them in a single layer on a baking sheet and cook at 400°F (200°C) for about 15 minutes, or until they are golden brown and thoroughly warmed through.
- Air Fryer: An air fryer is another excellent option for reheating. Place the cooked tots in the air fryer basket in a single layer. Cook at 375°F (190°C) for 8-12 minutes, shaking the basket halfway through, until crispy and hot.
Avoid reheating in a microwave, as it will likely result in soft, soggy tots rather than crispy ones.
Discover More Tater Tot Inspired Delights!
If you’ve fallen in love with these Quinoa Tater Tots, you’ll be thrilled to explore other creative and delicious variations inspired by the humble tot:
- Tachos: Imagine your favorite nachos, but with crispy tater tots as the base! Tachos are a magnificent and flavorful alternative that keeps all the exciting flavors and textures you love in nachos, but with an unexpected twist. This ingenious creation is truly astonishing and guaranteed to be a hit!
- Sesame Potato Puffs: These delightful bites resemble tater tots and are an ideal choice for a quick midweek snack or an impressive appetizer. Rolling them in sesame seeds adds a fantastic layer of nutty flavor and an irresistible crunch, taking a simple potato puff to a whole new level of culinary enjoyment.
Photos by Alfonso Revilla
Quinoa Tater Tots

Equipment
-
Measuring Cups
-
Measuring spoons
-
My favorite knives
-
Large bowl
-
Wooden Spoon
Ingredients
- 2 cups quinoa cooked
- 1 small yellow onion finely diced
- 5 pieces button mushrooms finely diced
- ¼ cup chives minced
- ¾ cup all-purpose flour
- ¼ teaspoon red pepper flakes optional
- 1 teaspoon salt
- 3 tablespoons plant-based milk unsweetened, plain milk
- 1 tablespoon lemon juice
- Oil for cooking
Instructions
-
In a large bowl, mix together the cooked quinoa, finely diced onion, finely diced mushrooms, minced chives, all-purpose flour, red pepper flakes (if using), and salt. Stir until all ingredients are thoroughly combined and the mixture is thick.
-
Add the lemon juice and non-dairy milk to the mixture and continue to mix thoroughly until a cohesive dough forms.
-
Scoop about 1 tablespoon of the mixture, roll it into a 1-inch ball, and then slightly flatten it to resemble a tater tot. Place the shaped tots on a plate and refrigerate for 15 minutes to firm up.
-
Heat oil in a medium pan over medium heat. Cook the chilled tots for approximately 5 minutes on each side, or until they are beautifully golden brown and crispy. Cook in batches if necessary to avoid overcrowding the pan.
Notes
- Skip the usual shape and make these quinoa tater tots into small patties to use for sliders or sandwiches.
- Make it gluten-free by using a gluten-free flour brand.
- Make it oil-free by using a non-stick pan to fry them. You can also bake, or air fry them at 400 degrees F until they turn golden brown. Place the tots evenly spaced in the pan or basket so that the air can circulate around them and crisp them up nicely.
- To add more savory goodness, add vegan cheese or nutritional yeast to the mix before chilling them.