Freezing bananas is a culinary superpower that transforms overripe fruit into a versatile ingredient, ready for your next smoothie, baking project, or healthy snack. While it may sound incredibly simple, mastering the art of freezing bananas ensures they retain their flavor, texture, and nutritional value, preventing food waste and saving you money. This comprehensive guide will walk you through the correct steps to freeze bananas, ensuring you always have a stash of perfectly preserved fruit at your fingertips, fresh for months to come!
Why Freezing Bananas is a Game-Changer
Like many enthusiastic shoppers, you probably bring home a full “hand” of bananas from the market. The problem? These creamy tropical fruits are notorious for their rapid ripening cycle. One day they’re perfectly yellow, and the next, they’re speckled with brown spots, quickly progressing to mushy overripeness if not consumed promptly. This swift decline often leads to food waste, a frustrating outcome for any home cook. By freezing bananas, you actively combat this issue, extending their usability for several months. This simple act means you can enjoy the natural sweetness and creamy texture of bananas anytime you desire, whether for invigorating smoothies, moist banana bread, delicious cakes, homemade ice cream, or refreshing popsicles.
Beyond preventing waste, freezing bananas offers unparalleled convenience. Imagine craving a smoothie but realizing your fresh bananas aren’t ripe enough, or conversely, too ripe. With a freezer stocked with pre-portioned, frozen banana slices, you eliminate these dilemmas. It’s a proactive step that ensures you always have a healthy, natural sweetener and thickener readily available, making healthy eating and spontaneous baking much easier to achieve. Furthermore, frozen bananas are often sweeter than fresh ones because the freezing process breaks down cell walls, concentrating their sugars. This natural sweetness means you can often reduce or eliminate added sugars in your recipes, contributing to a healthier diet.
Essential Pre-Freezing Questions Answered
Before you embark on your banana-freezing journey, a few common questions often arise. Addressing these ensures you get the best results and the most convenience from your frozen stash, optimizing for both storage and future use in your favorite recipes.
Should You Peel Bananas Before Freezing?
Absolutely, yes! I strongly advocate for peeling and slicing bananas before they hit the freezer, and for very good reasons. Attempting to peel a rock-solid, frozen banana is a frustrating and often messy ordeal that can feel like a battle against a stubborn ice cube. The skin adheres firmly once frozen, making removal incredibly difficult and time-consuming, sometimes even requiring a knife or a lengthy thaw. Moreover, unpeeled bananas can sometimes develop an undesirable discoloration or freezer burn on their exposed flesh, even through the peel, which can impact their flavor and appearance. Peeled and sliced bananas, on the other hand, maintain a fresher appearance, prevent potential issues with the peel, and are infinitely more convenient to use. This simple pre-freezing step saves you significant time and effort when you’re ready to incorporate them into your recipes, allowing for immediate use.
Should You Freeze Bananas Whole or Sliced?
While freezing bananas whole is an option, I consistently choose to slice them before freezing. This method offers several practical advantages that enhance convenience and efficiency in the kitchen. Firstly, sliced bananas take up considerably less space in your freezer, allowing for better organization and maximizing storage capacity, which is precious in most households. Secondly, slicing them into uniform, approximately half-inch (1.25 cm) pieces makes them incredibly easy to portion. You can scoop out exactly what you need for a recipe, whether it’s a specific cup measurement for baking or just a handful for a single-serving smoothie, without needing to hack away at a large frozen chunk. Lastly, sliced frozen bananas are much gentler on your blender’s blades, processing into a smooth consistency more quickly and with less strain on your appliance compared to large, whole frozen fruits. This makes them ideal for instant “nice cream” or thick smoothies. However, if a particular recipe specifically calls for whole frozen bananas (though these are rare), then, by all means, freeze them as is, but be prepared for a slightly more challenging peeling and processing experience later.
Can You Freeze Mashed Bananas?
Yes, you absolutely can, and it’s a brilliant method, especially for those bananas that have reached an extreme state of ripeness – soft, spotty, and almost liquid. At this stage, slicing them would be nearly impossible, as they would just turn to mush. Mashing them first is the perfect solution. Simply mash your overly ripe bananas with a fork or potato masher until smooth, or mostly smooth, depending on your preference for texture. Then, portion the mashed banana into freezer-safe bags or containers. A helpful tip is to measure out common quantities (e.g., 1 cup, which is equivalent to about 2-3 medium bananas) and flatten the bag before freezing. This not only makes storage more efficient by allowing bags to stack but also speeds up thawing time considerably. Don’t forget to label the bags with the quantity and date, so you know exactly how much you have and for how long it’s been stored, ensuring no guessing games when you reach for them later.
The Perfect Ripeness for Freezing Bananas
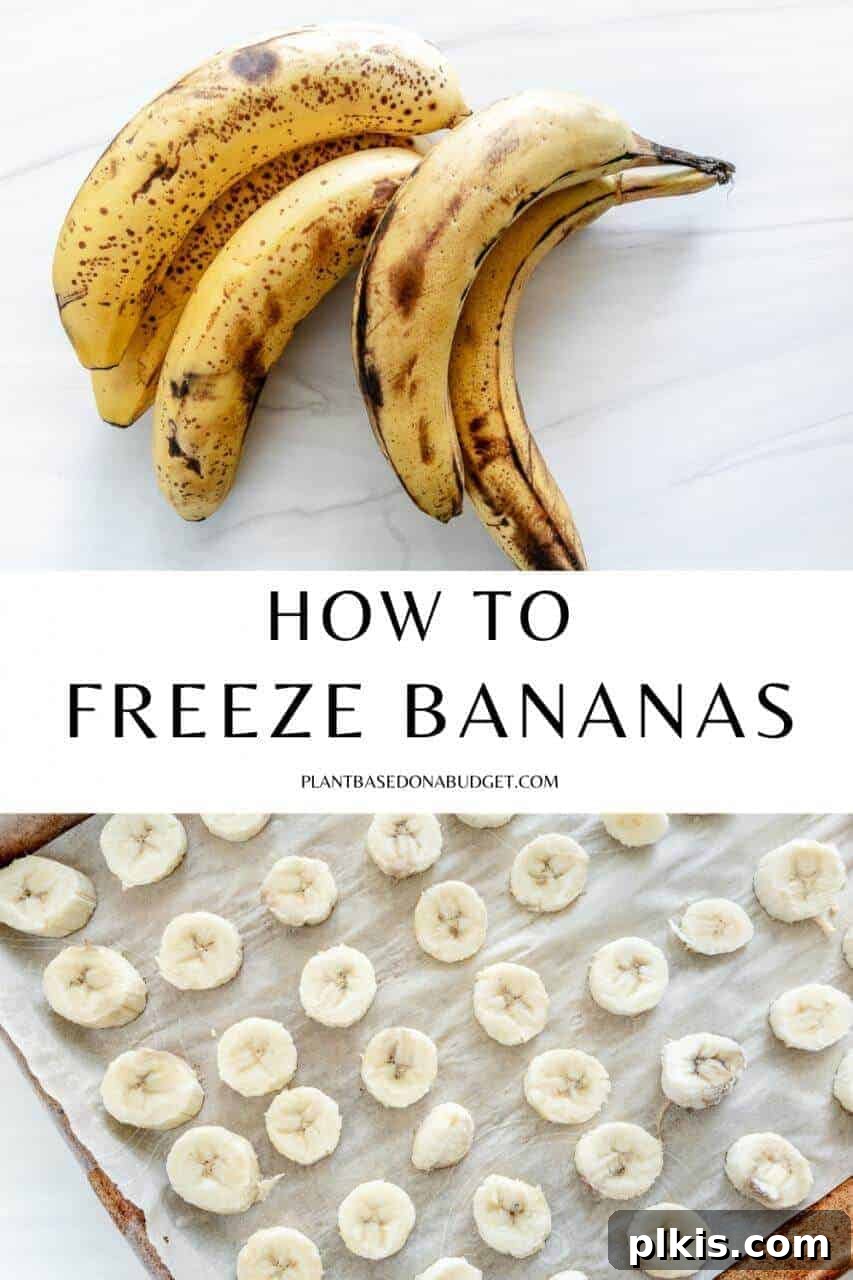
The timing of freezing is crucial because the ripening process halts completely once a banana is frozen. For optimal sweetness, flavor, and ease of use in recipes, always freeze bananas when they are fully ripe. This means they should be bright yellow with plenty of brown spots, indicating their starches have converted into natural sugars. Bananas at this stage are naturally sweeter, providing a richer taste to your smoothies and baked goods without the need for additional sweeteners. Furthermore, their softer texture makes them easier to slice (if freezing slices) and incredibly smooth to blend, contributing to the creamy consistency of dishes like “nice cream” or decadent milkshakes. Freezing underripe bananas, which are greener and firmer, will result in a less sweet and potentially more starchy product that might have an unpleasant flavor and texture, which might not yield the desired results in your culinary creations. Wait for those beautiful brown spots!
Step-by-Step Guide: How to Properly Freeze Bananas
Follow these simple steps to ensure your bananas are perfectly frozen, preventing clumping and preserving their quality for future culinary adventures. This method guarantees individual, easy-to-use pieces every time.
Step 1: Prepare Your Flash-Freezing Surface
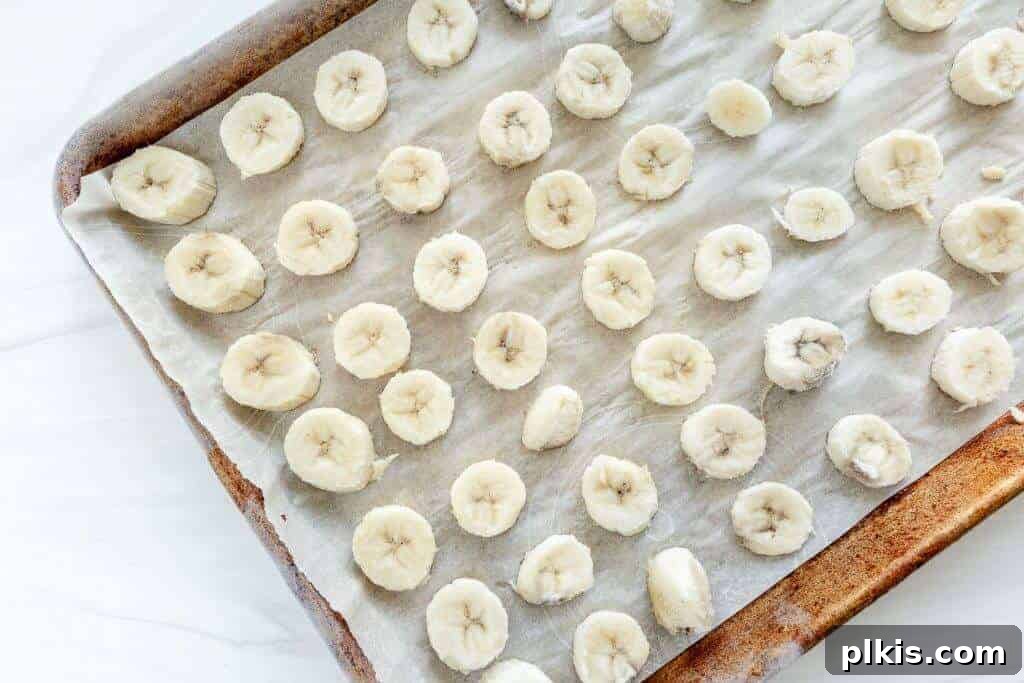
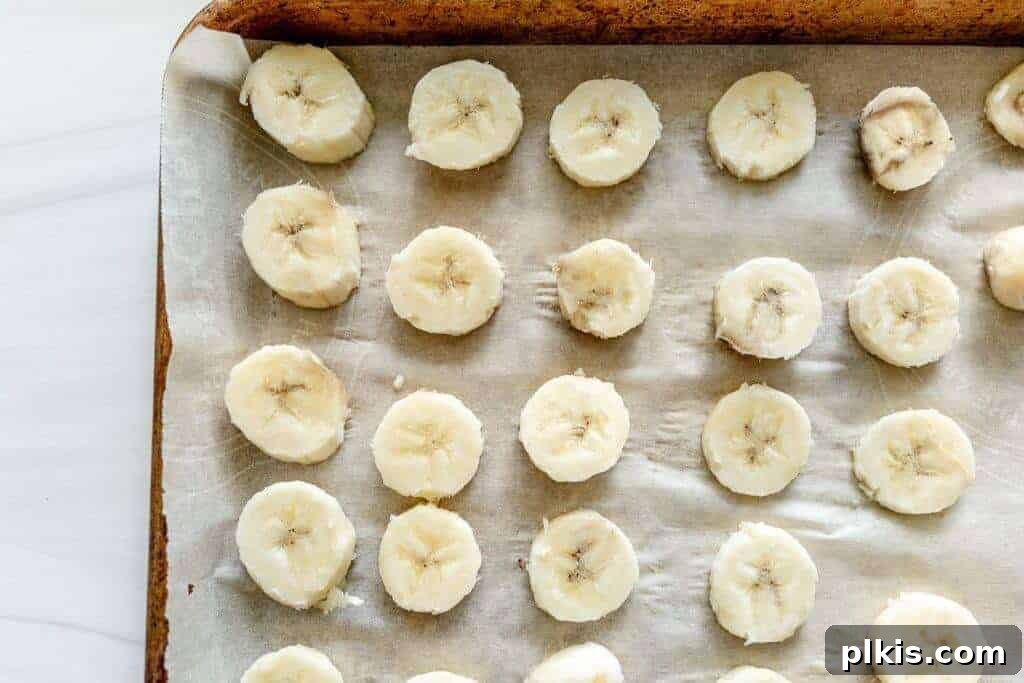
Begin by lining a large baking sheet with either parchment paper or a silicone mat. This crucial preparatory step prevents the banana slices from sticking to the pan, which would make them incredibly difficult to remove once frozen solid. Flash freezing on a flat surface is paramount because it allows each individual banana piece to freeze rapidly and separately. This technique locks in their natural flavor, preserves their desirable creamy texture, and maintains moisture, significantly reducing the risk of freezer burn. Most importantly, it ensures that your banana pieces don’t fuse into one giant, unmanageable lump in your freezer bag. When done correctly, you’ll be able to easily scoop out individual frozen slices without any struggle or the need for thawing a whole block.
Step 2: Peel, Slice, and Arrange
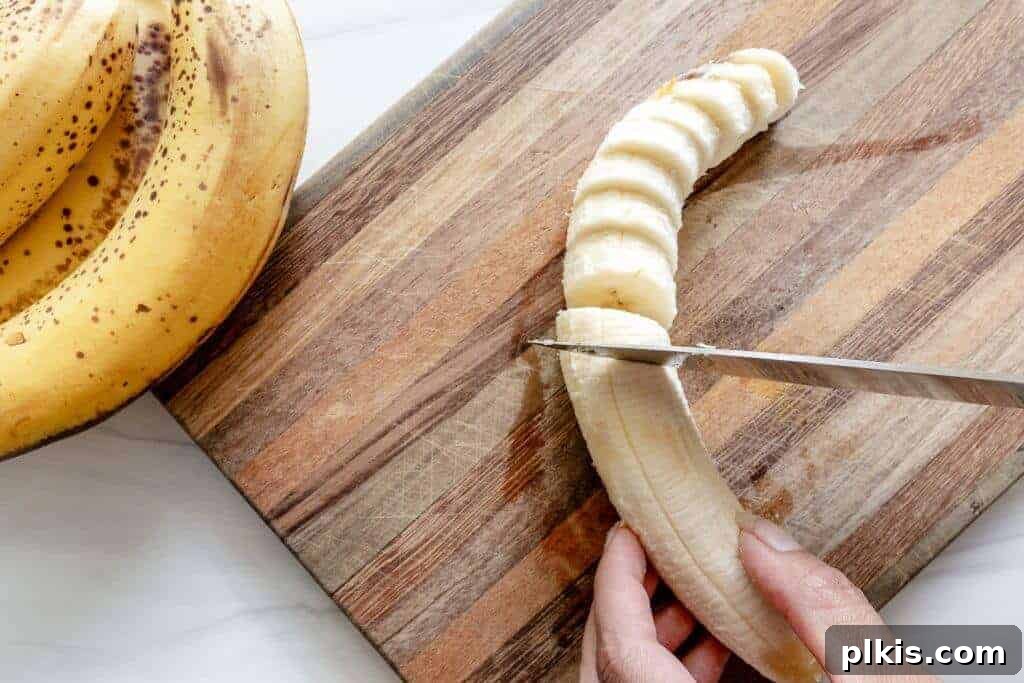
Take your perfectly ripe, spotty bananas and gently peel them. Then, using a sharp knife, slice them into uniform pieces, approximately 0.5 inches (about 1.25 cm) thick. Consistency in thickness is key for even freezing and thawing, ensuring all pieces are ready at the same time. Carefully arrange these slices in a single layer on your prepared baking sheet. It’s vital to ensure that no pieces are touching each other. Ample space between slices allows for proper air circulation during the freezing process and ensures that the flash-freezing technique works effectively, yielding distinct, non-clumped pieces. The parchment paper or silicone mat beneath them guarantees easy detachment once they are solid, protecting both your bananas and your baking sheet.
Step 3: Flash Freeze to Perfection
Once your banana slices are neatly arranged on the baking sheet, transfer the entire sheet to your freezer. Ensure it is placed on a flat, stable surface where it won’t be disturbed for the duration of the freezing process. Allow them to freeze for at least three hours. For thicker slices, or if your freezer tends to run less cold, you might need to extend the freezing time slightly to ensure they are completely solid all the way through. This flash-freezing period is what creates those perfectly separate, ready-to-use banana pieces, giving them that signature hard, individual feel. You’ll know they’re ready when they are firm to the touch and can be easily picked up individually without sticking together or to the parchment paper.
Step 4: Transfer to Long-Term Storage
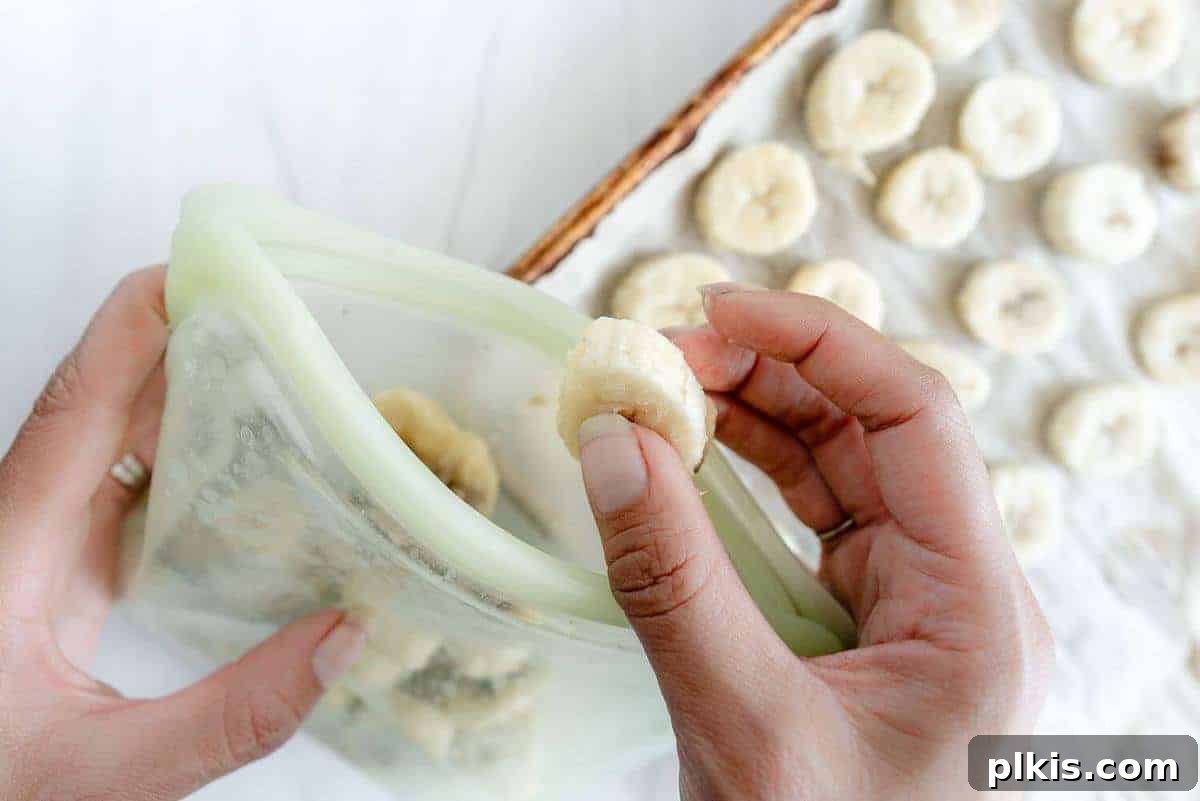
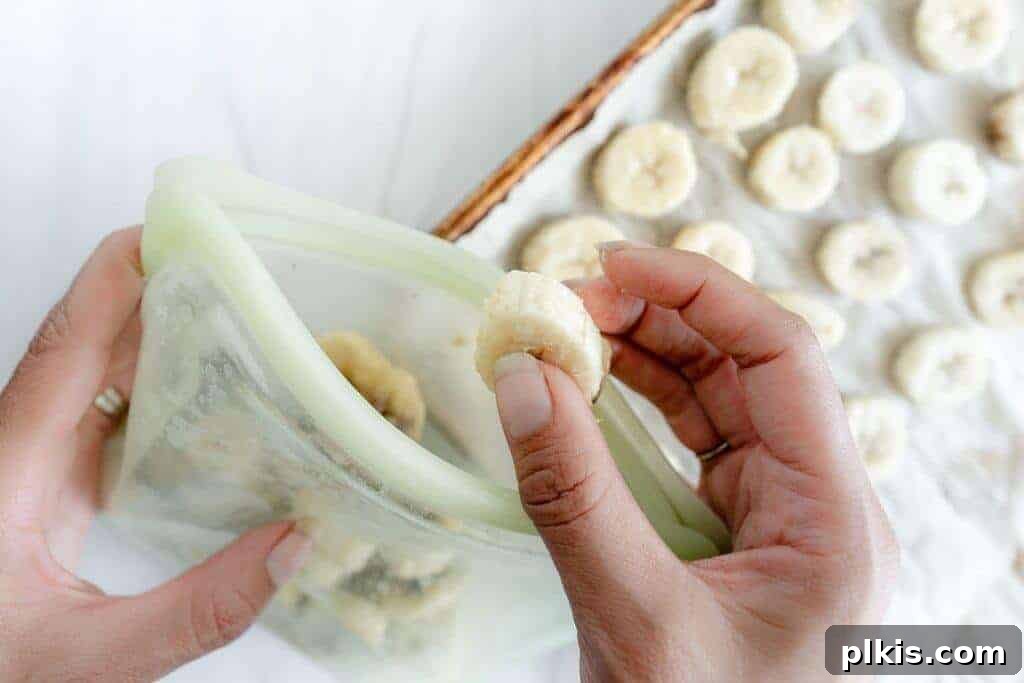
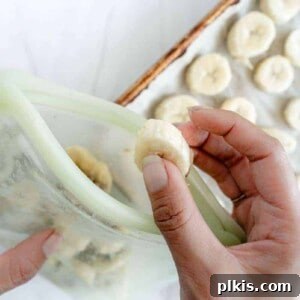
After the flash-freezing is complete, carefully transfer the solid banana slices from the baking sheet into a durable, freezer-safe bag (either silicone or plastic, preferably reusable ones) or an airtight container. Before sealing the bag, gently press out as much air as possible to minimize the risk of freezer burn, which can significantly affect the taste, texture, and overall quality of your fruit over time. For optimal organization and to track freshness, it’s highly recommended to write the current date on the freezer bag using a permanent marker. This simple habit helps you and everyone in your household know exactly how long the bananas have been frozen and when they should ideally be used up. Properly stored, these frozen banana slices can be kept for up to six months, offering incredible flexibility for your meal planning and baking needs. And just like that, you’re done! You now have a ready supply of perfect frozen bananas, minimizing waste and maximizing convenience.
How to Thaw Frozen Bananas for Optimal Use
The thawing process for frozen bananas depends largely on how you plan to use them. For recipes where you need them mashed or soft, such as for banana bread, muffins, pancakes, or smoothies that aren’t meant to be extra thick, it’s best to defrost them slowly to preserve their texture. Transfer the desired amount of frozen banana slices or mashed banana from the freezer to a bowl and place it in the refrigerator overnight. This gentle thawing allows them to soften without losing too much liquid too quickly. If you’re short on time, you can also defrost them at room temperature for a few hours, or even use the defrost setting on your microwave for shorter bursts, being careful not to cook them. The bananas will likely release some liquid during thawing, which is completely normal; you can drain this off or incorporate it into your recipe as needed, depending on the desired consistency. Once thawed, they will be very soft and easy to mash, perfect for baking where mashed bananas add moisture and natural sweetness.
For smoothies and “nice cream” (a dairy-free, banana-based ice cream alternative), there’s often no need to thaw at all! You can typically add the flash-frozen slices directly to your high-speed blender. They will create a wonderfully thick, creamy, and chilled consistency that is perfect for these applications. This is one of the greatest advantages of flash-freezing them in individual pieces – they’re ready to blend straight from the freezer.
Unlock Culinary Creativity: Amazing Uses for Your Frozen Bananas
The possibilities with frozen bananas are truly endless, transforming them from a simple fruit into a powerful ingredient that enhances countless recipes. Their natural sweetness and creamy texture make them an indispensable staple in any kitchen, adding depth and nutrition to a wide array of dishes, from breakfast to dessert.
I personally love incorporating them into healthy and invigorating breakfast options. Start your day right with a vibrant Banana Kale Smoothie, a refreshing Banana Green Smoothie, or a delightful Cherry Banana Smoothie. But that’s just the beginning! Here are some other fantastic recipes where your delightful frozen banana slices will truly shine:
- Banana Ice Cream – in 3 Ways!: Discover the magic of “nice cream” – a simple, healthy alternative to traditional ice cream made entirely from frozen bananas. Craft a classic vanilla-infused banana flavor, get playful with a vibrant pink strawberry-banana creation, or indulge in our rich and creamy Chocolate Banana Peanut Butter version for a truly decadent treat without the guilt.
- Banana Cheesecake: Whip up this incredibly easy vegan banana cheesecake. Utilizing the natural sweetness and creaminess of bananas, this dessert requires a short list of ingredients and only about twenty minutes of preparation time. This recipe is destined to become a household favorite for its simplicity and delicious outcome.
- Vegan Banana Bread: A timeless classic and a true crowd-pleaser, this vegan banana bread recipe simplifies baking. Made with straightforward plant-based ingredients and requiring just one bowl for mixing, it’s a foolproof way to enjoy the comforting, wholesome taste of homemade banana bread. Frozen bananas are perfect here, adding deep flavor and moisture.
- Banana Breakfast Shake: This satisfying shake is designed to tantalize your sweet tooth while keeping your belly full and happy throughout the morning. It’s a quick, nutritious, and incredibly delicious way to fuel your morning, blending the wholesome goodness of bananas into a delightful, energy-boosting drink.
How to Freeze Bananas
Freezing your bananas is indeed easy, but there are certain steps to ensure you do it the right way and prevent food waste!
Ingredients
- Spotted or brown bananas
Instructions
- Line a baking sheet with parchment paper or a silicone mat.
- Peel the ripe bananas, slice them about .5 inch thick, and place them on the prepared baking sheet.
- Freeze for at least three hours. Store in a silicone or plastic freezer bag for up to six months.
Notes
- Banana Ice Cream – in 3 Ways! – Make some classic vanilla-infused banana flavored, or make it fun by making pink strawberry-banana ice cream! And our favorite, the indulgent and creamy Chocolate Banana PB.
- Banana Cheesecake – this vegan banana cheesecake is easy to whip up. With a shortlist of ingredients and just twenty minutes to prepare, the recipe will become a favorite.
- Vegan Banana Bread – a true classic and a real favorite. Make it using simple ingredients and needing only one bowl to prepare.
- Banana Breakfast Shake – this shake will rattle your sweet tooth and satisfy your belly so blend up and drink up.
Nutrition Information (per serving, estimated)
Carbohydrates: 31 g
Protein: 1 g
Fat: 1 g
Saturated Fat: 1 g
Polyunsaturated Fat: 1 g
Monounsaturated Fat: 1 g
Sodium: 1 mg
Potassium: 487 mg
Fiber: 4 g
Sugar: 17 g
Vitamin A: 87 IU
Vitamin C: 12 mg
Calcium: 7 mg
Iron: 1 mg
Additional Info
Tried this recipe? Please tag us at @PlantBasedOnABudget! 🙂