
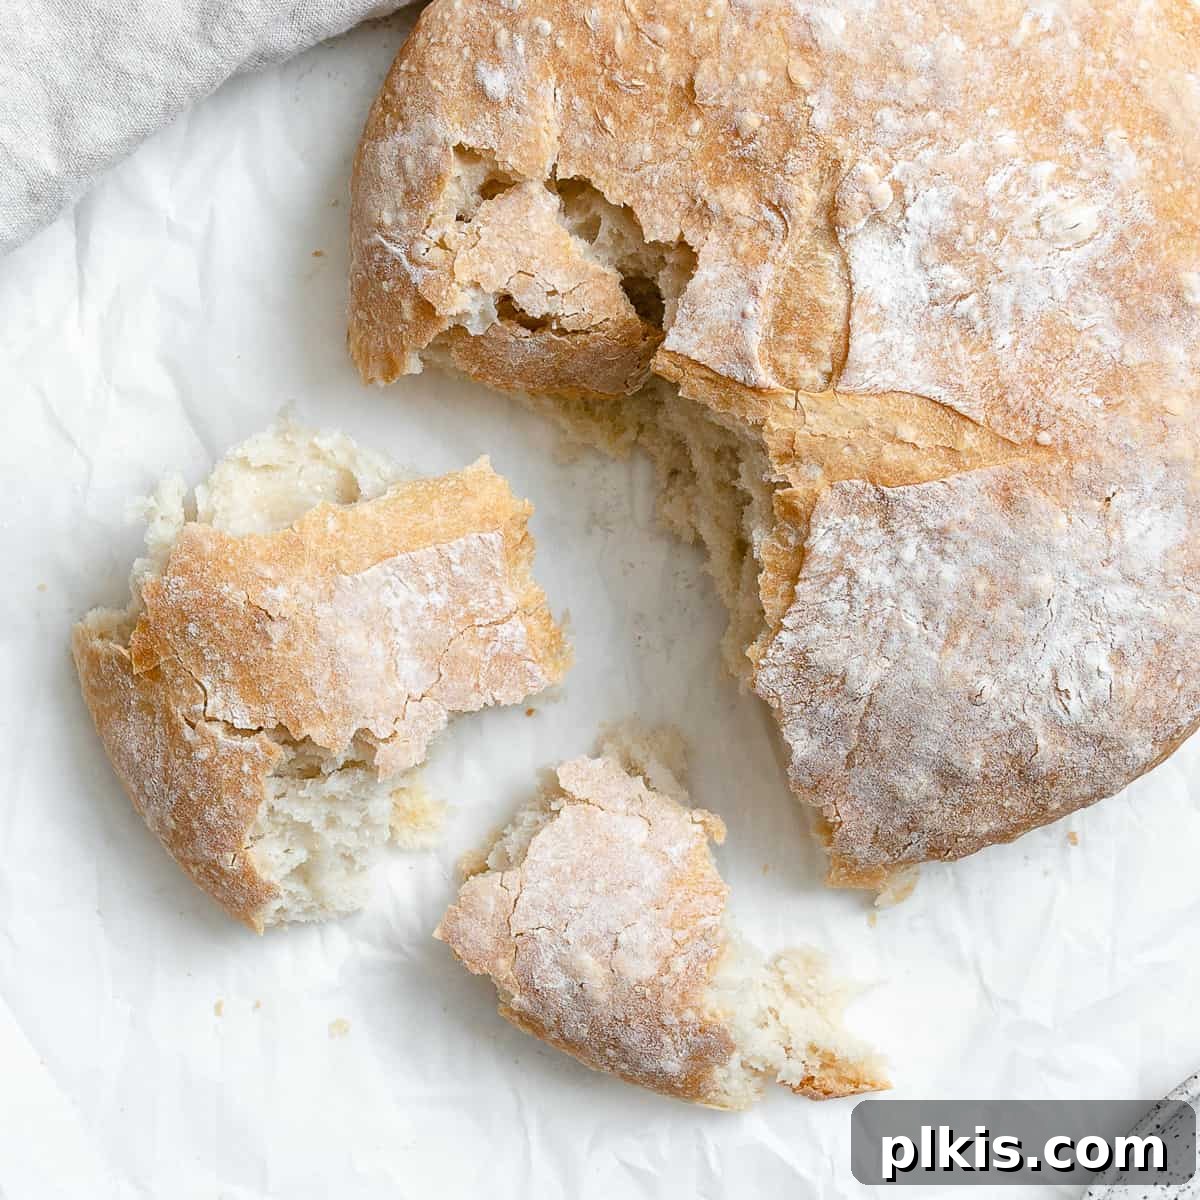
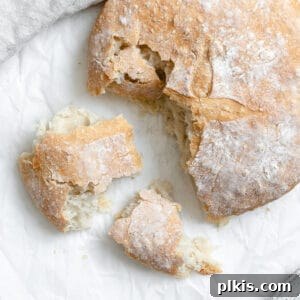
Unlock the secret to effortless homemade bread with this incredibly simple 4-ingredient, quick, no-knead recipe. Imagine a loaf with a beautifully golden, crisp crust that gives way to a soft, wonderfully chewy interior – all achieved with just 5 minutes of active preparation and a mere 2.5 hours of proofing! This recipe isn’t just easy; it’s a gateway to delicious, artisan-quality bread, perfect for even the most novice baker.
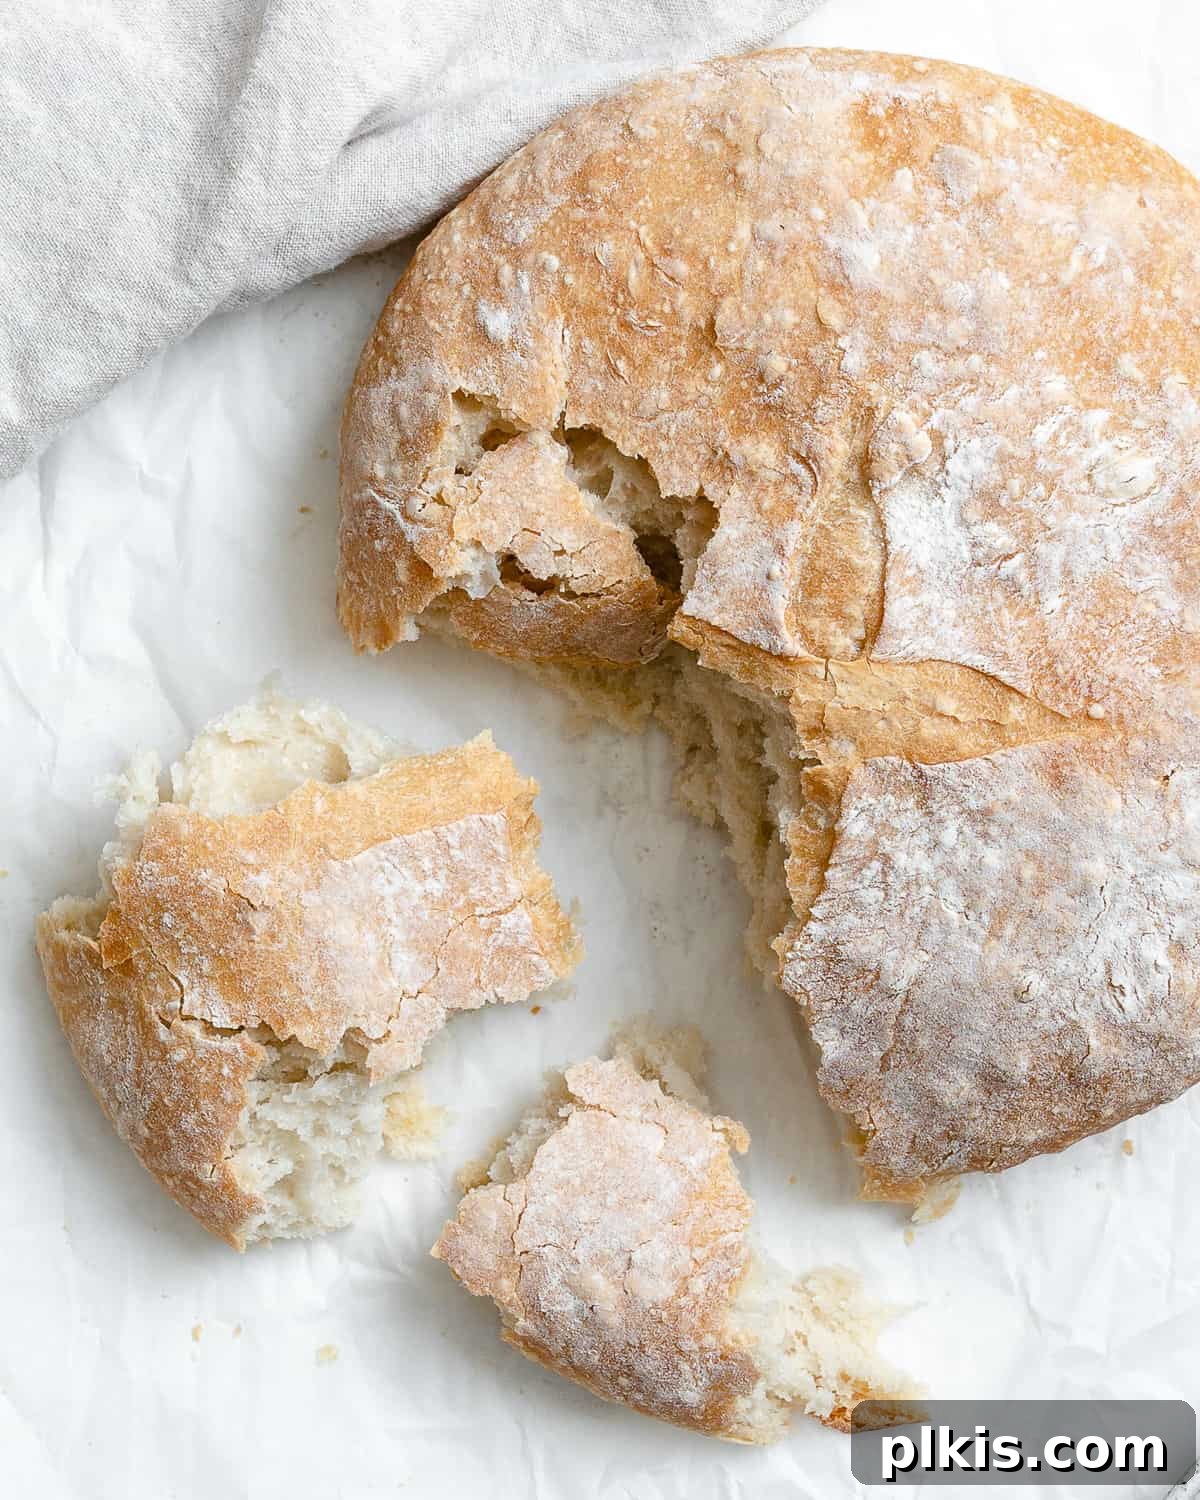
The Ultimate Guide to Easy No-Knead Bread: A Beginner’s Dream
Many aspiring bakers dream of producing fragrant, fresh bread right from their own oven but are often intimidated by the perceived complexity, endless kneading, and specialized equipment. This 4-ingredient no-knead bread recipe shatters those misconceptions, proving that baking delicious, rustic loaves can be an incredibly straightforward and rewarding experience. Designed with beginners in mind, this method eliminates the strenuous kneading process entirely, relying instead on time and a few basic ingredients to develop flavor and texture. With only 5 minutes of hands-on prep, the majority of the work is done by the yeast during the rise, allowing you to enjoy the unparalleled satisfaction of baking your own artisan-style bread with minimal effort.
Why This 4-Ingredient No-Knead Bread is Perfect for Beginners
If you’ve always thought bread making was a long, arduous process reserved for experienced bakers, prepare to have your mind changed. This easy no-knead bread recipe is a true game-changer, especially for those new to baking. While the overall process involves some waiting time for the dough to rise, the actual hands-on work is incredibly minimal – just five minutes! Forget about wrestling with sticky dough, needing a stand mixer, or worrying about developing gluten through rigorous kneading. This recipe removes all those barriers, making homemade bread accessible to everyone.
Unlike many traditional bread recipes that demand an overnight proofing, this quick artisan bread only requires a short 2.5-hour rise. This means you can mix the dough in the morning and have a freshly baked loaf by lunchtime or afternoon! It’s also exceptionally forgiving; whether you let it rise a little longer for a deeper, more yeasty flavor or decide to experiment with various mix-ins, this dough is incredibly cooperative. Even if you don’t own a specialized Dutch oven, you can still achieve fantastic results using a standard baking tray. With virtually no prior bread-making knowledge, you’ll be able to produce a hearty, rustic free-form loaf that tastes like it came from a professional bakery. This beginner-friendly loaf is ideal for serving as toast, crafting gourmet sandwiches, or for dipping into hearty soups and stews. For those eager to expand their baking repertoire, don’t miss our easy vegan garlic bread and delicious vegan naan recipes!
The Simple 4 Ingredients for Remarkable Bread
The beauty of this recipe lies in its simplicity, requiring only four fundamental ingredients that are likely already in your pantry. Each plays a crucial role in transforming these humble components into a magnificent loaf of bread.
- Flour: For an excellent, versatile loaf, we typically recommend using all-purpose flour. However, if you’re looking for an even better structure and a chewier crumb, white bread flour, with its higher protein content, will yield superior results. If you prefer a heartier, more nutritious loaf, you can experiment with a 2:3 blend of whole wheat flour and white flour, though this will naturally result in a denser texture. Proper flour measurement is key; always spoon the flour into your measuring cup and level it off rather than scooping directly from the bag, which can compact the flour and lead to a dry dough.
- Yeast: This no-knead crusty bread recipe calls for instant yeast. The convenience of instant yeast is that it doesn’t require prior ‘activation’ in warm water, allowing you to simply combine it with the other dry ingredients. If you only have active dry yeast on hand, don’t worry – you can still use it! Refer to our FAQ section for specific instructions on how to activate active dry yeast and adjust quantities for optimal results.
- Water: Water is the lifeblood of your dough, hydrating the flour and activating the yeast. It’s crucial to use lukewarm water, ideally between 110-115°F (43-46°C). Water that is too hot can kill the yeast, preventing your dough from rising, while water that is too cold won’t properly activate it, leading to a sluggish rise. Precision in water temperature ensures a lively, active yeast and a perfectly proofed dough.
- Salt: Beyond just seasoning, salt plays a vital role in bread making. It enhances the flavor of the bread, bringing out its natural sweetness and depth. Additionally, salt helps to regulate yeast activity, slowing down fermentation slightly to allow for better flavor development and a stronger gluten structure. For this recipe, coarse salt is recommended, which dissolves evenly into the dough.
Elevate Your Loaf: Flavor Variations for Every Palate
Once you’ve mastered the basic no-knead bread, the possibilities for customization are endless. Adding various flavorings can transform your simple loaf into something truly special, suitable for any meal or occasion. Incorporate these mix-ins during step 2 of the mixing process, ensuring they are evenly distributed throughout the shaggy dough.
- Garlic: For a savory kick, add 1-2 teaspoons of garlic powder or 1-2 cloves of freshly minced garlic. Roasted garlic cloves, smashed and folded in, offer an even deeper, sweeter garlic flavor.
- Everything Bagel Seasoning: Sprinkle in 1-2 tablespoons of everything bagel seasoning for a delightful crunch and a burst of savory, salty, and aromatic notes on every slice. It’s perfect for toast!
- Vegan Cheese: Create an irresistible no-knead plant-based cheese bread by adding ¼ to ¾ cup of your favorite vegan parmesan or sharp cheddar shreds. Adjust the amount to your preferred cheesy intensity. The cheese melts into pockets of gooey deliciousness.
- Jalapeño: For a touch of heat, finely chop de-seeded jalapeños and mix them into the dough. Start with one jalapeño and adjust to your spice preference for a vibrant, zesty bread.
- Olives: Finely chopped green and/or black olives, about ¼ cup, will infuse your bread with a salty, briny flavor and provide a wonderful textural contrast. Kalamata olives are particularly excellent for this.
- Sun-dried Tomatoes: Add 2-3 tablespoons of finely chopped sun-dried tomatoes (either oil-packed or rehydrated dry tomatoes) for a sweet, tangy, and intensely flavorful Mediterranean twist.
- Herbs: Fresh or dried herbs can dramatically alter the bread’s profile. Popular choices include fresh rosemary, thyme, sage, or a blend of Italian seasoning. Approximately 1-2 tablespoons of fresh herbs or 1-2 teaspoons of dried herbs work well.
- Nuts and Seeds: Enhance texture and nutritional value with 1-3 tablespoons of raw or toasted mixed seeds (like sesame, poppy, or sunflower), pumpkin seeds, or chopped nuts such as walnuts, pecans, or pistachios.
- Flaky Sea Salt: For a beautiful finish and an extra pop of savory flavor, sprinkle a little flaky sea salt over the top of the loaf just before baking. This creates a delightful visual and textural contrast on the crust.
Feel free to combine any of these delightful additions to create unique flavor profiles. Imagine garlic and rosemary, vegan cheese with a hint of garlic, or a Mediterranean blend of sun-dried tomatoes, olives, and herbs, perhaps with an optional sprinkle of vegan cheese for good measure. Experimentation is highly encouraged!
- Cinnamon Raisin Bread: For a sweet treat, add ⅔ cup of plump raisins, 1-2 teaspoons of ground cinnamon, and 2-3 tablespoons of brown sugar or coconut sugar. A ½ teaspoon of vanilla extract can further deepen the warm, inviting flavor.
- Cranberry Walnut Bread: Combine about ½ cup each of chopped walnuts and dried cranberries for a hearty, slightly tart, and nutty loaf. A dash of sugar and a little orange zest can brighten the flavors beautifully.
Step-by-Step Guide: Crafting Your Easy No-Knead Bread
This homemade bread recipe truly redefines simplicity. With just four ingredients and five minutes of active preparation, you’ll be on your way to a perfectly baked loaf.
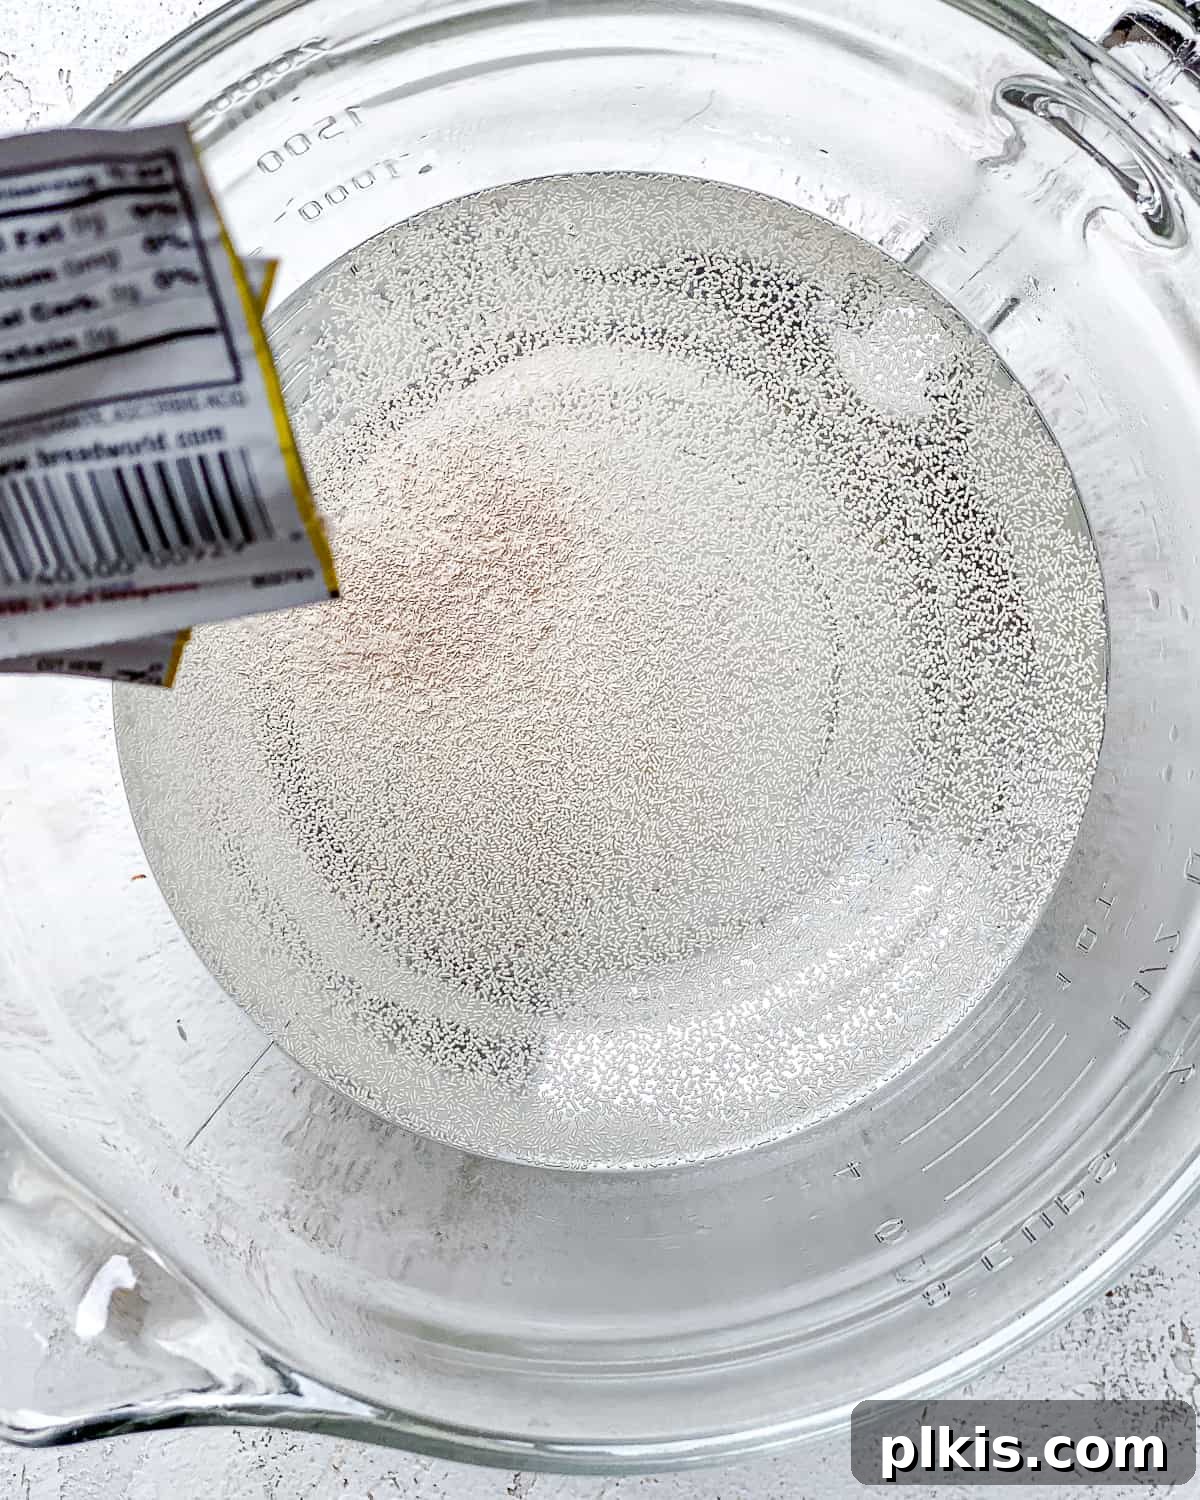
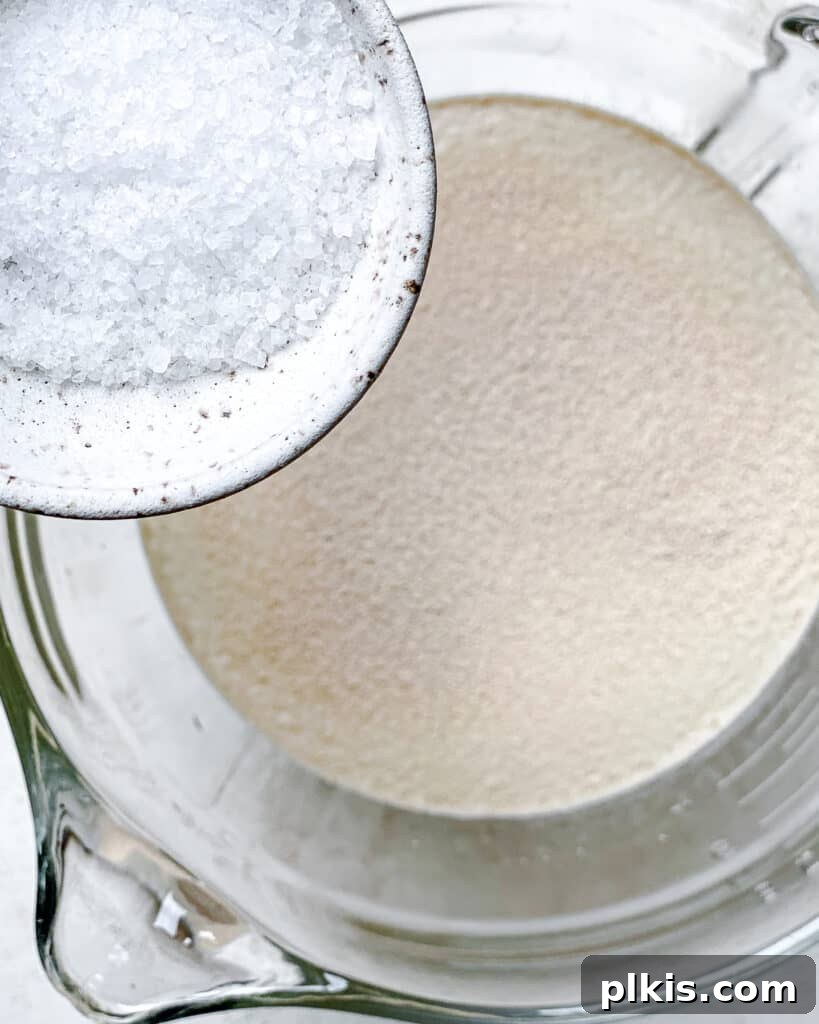
- 1) Prepare the Base: Begin by combining the instant yeast, warm water, and salt in a large mixing bowl. The ideal water temperature is between 110-115°F (43-46°C). Remember, water that’s too hot will deactivate the yeast, and water that’s too cool won’t sufficiently activate it. There’s no need to mix or wait for the ingredients to dissolve at this stage.
- 2) Mix the Dough (No Kneading Required!): Add all of your measured flour to the bowl. Using a sturdy wooden spoon or your hands (ensuring they are thoroughly wet to prevent sticking), mix the ingredients together until they form a sticky, shaggy dough. The goal is to ensure all the flour is hydrated and no dry streaks remain; there’s absolutely no need for traditional kneading. The dough will look wet and somewhat unformed, and that’s exactly what you want.
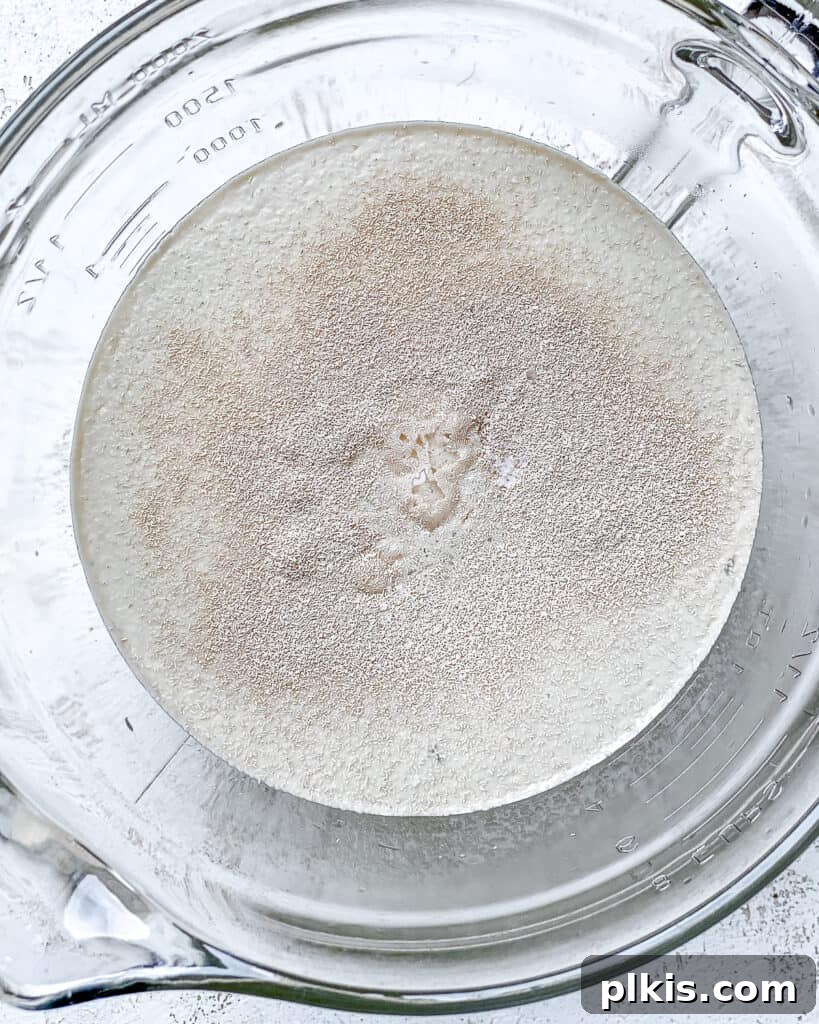
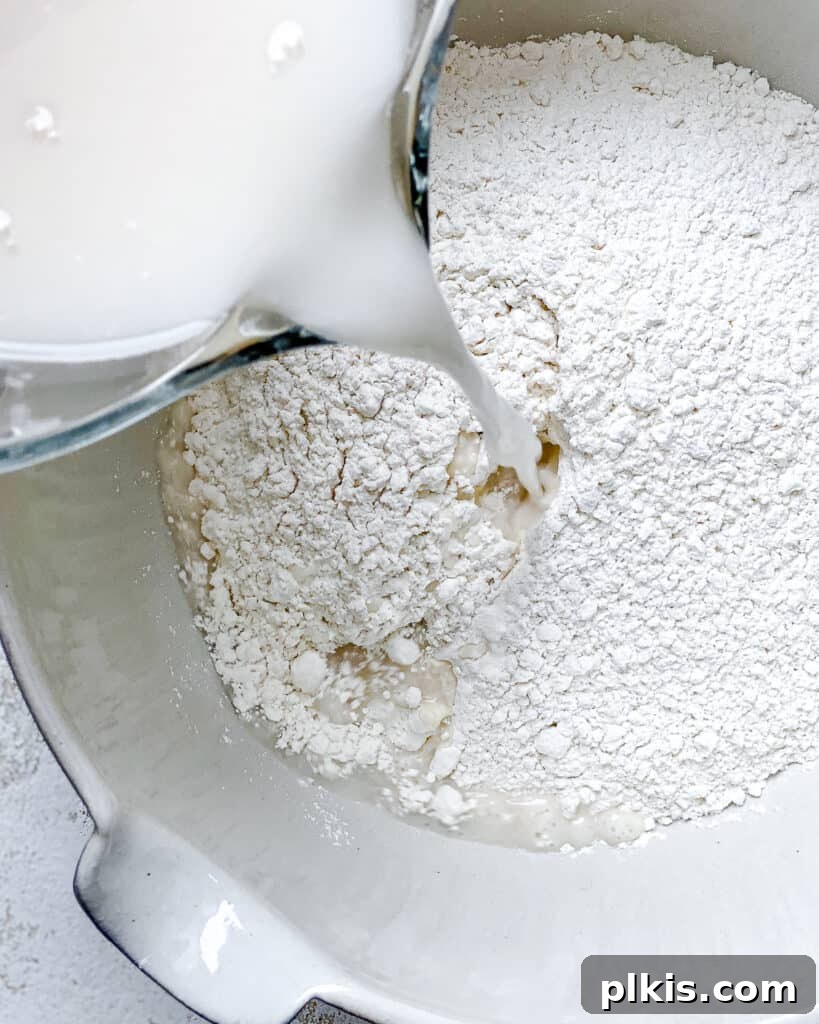
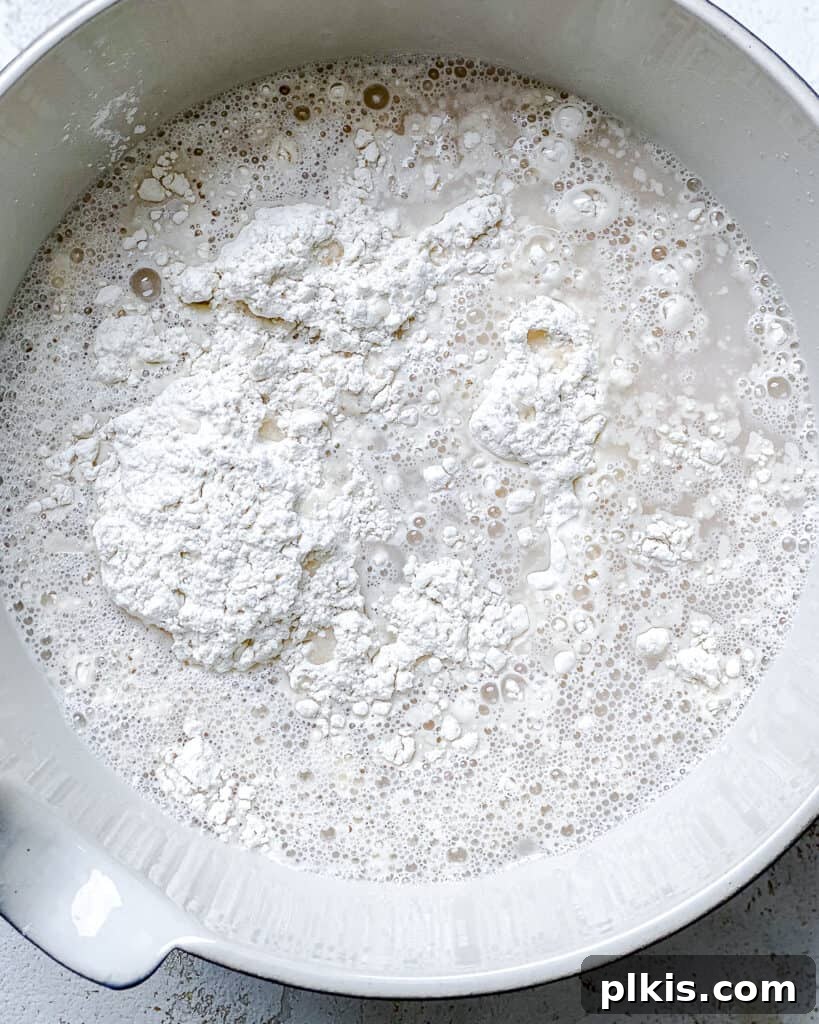
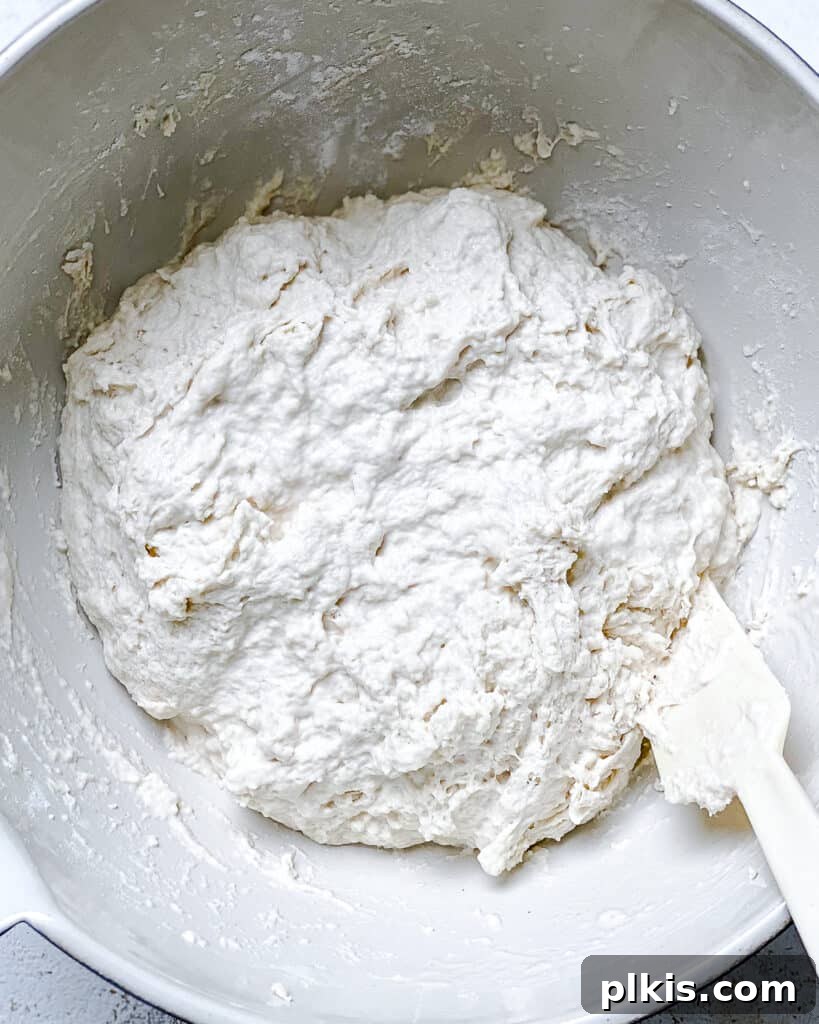
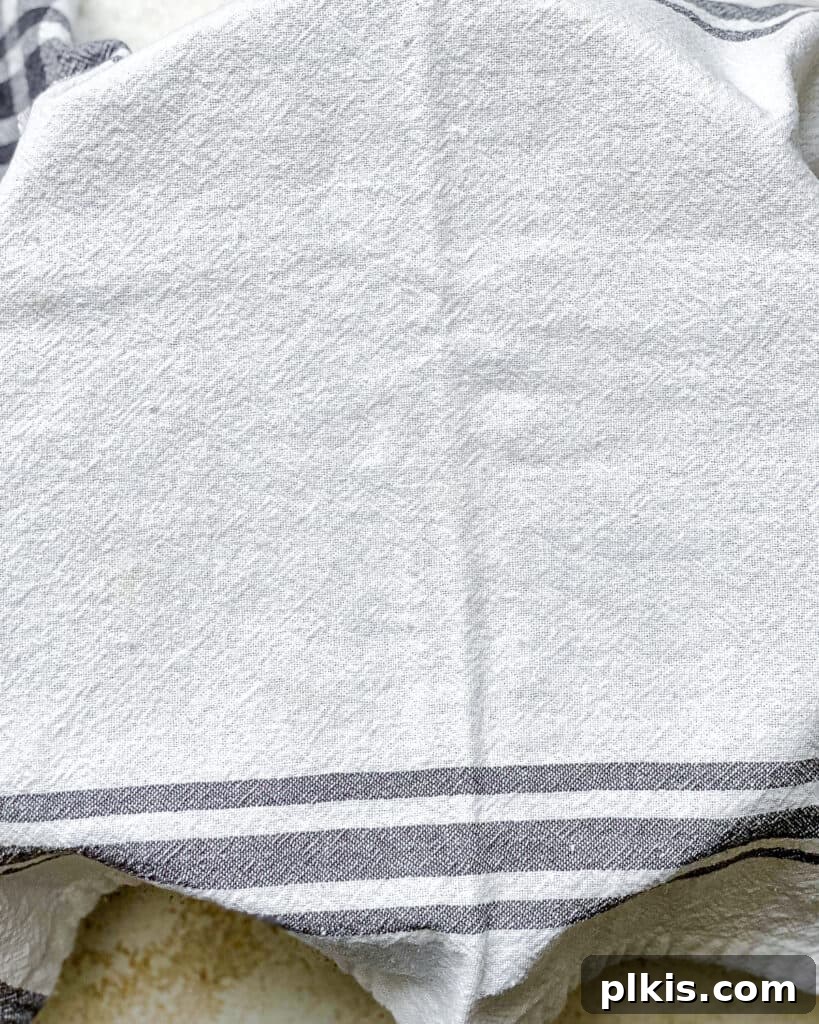
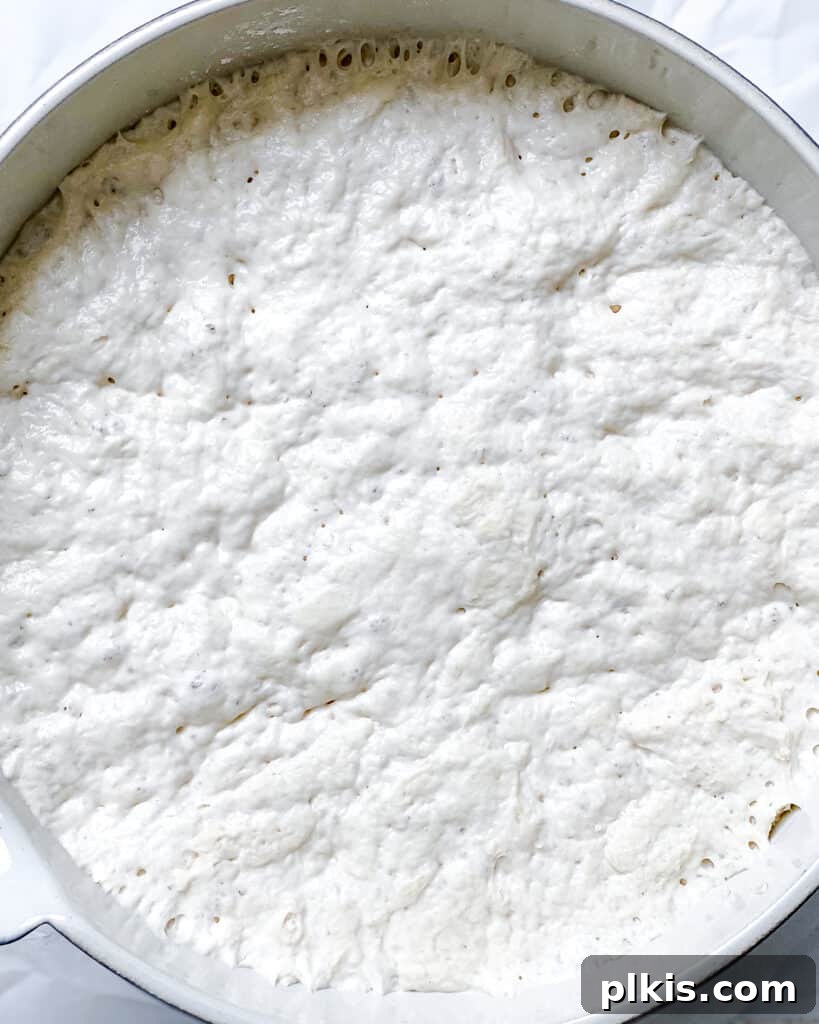
- 3) First Rise (Proofing): Cover the bowl with a warm, damp tea towel or plastic wrap. Place it in a warm, draft-free environment to rise until the dough has doubled significantly in size. A great spot is inside a slightly warm oven with just its light on, maintaining a temperature around 70°F (21°C). This initial rise will typically take 1-2 hours for a quick bake. For a more developed, complex flavor, you can extend this initial proof overnight in a cool spot or even in the refrigerator for up to 18 hours.
Shaping a Single Large Loaf
- 1) Gentle Folding: Once the dough has risen, imagine it has four “sides.” Gently stretch one side of the dough up and fold it over towards the center of the bowl. Repeat this process with the remaining three “sides.” This gentle folding helps to create tension on the surface of the dough, which contributes to a good crust and crumb structure.
- 2) Forming the Loaf: Lightly flour a piece of parchment paper or dust it with cornmeal or wheat bran (this prevents sticking and adds a rustic touch). Turn the bowl over to carefully deposit the dough onto the prepared parchment paper. Gently coax and shape it into a nice, rounded loaf.
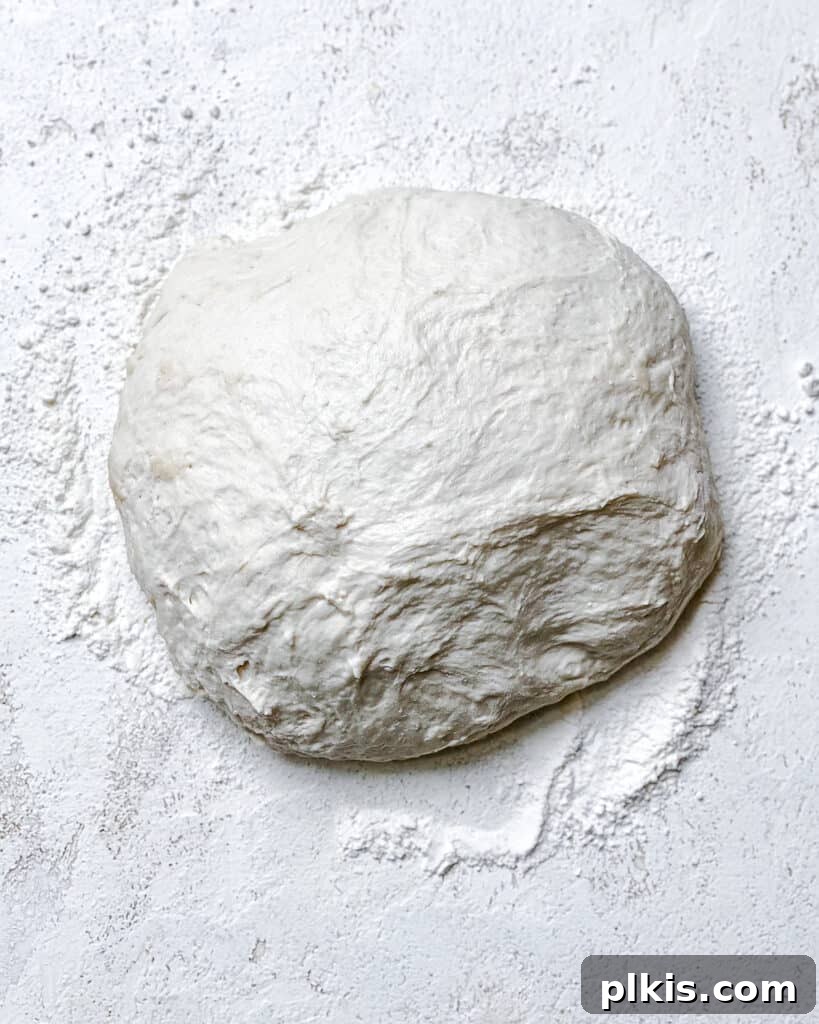
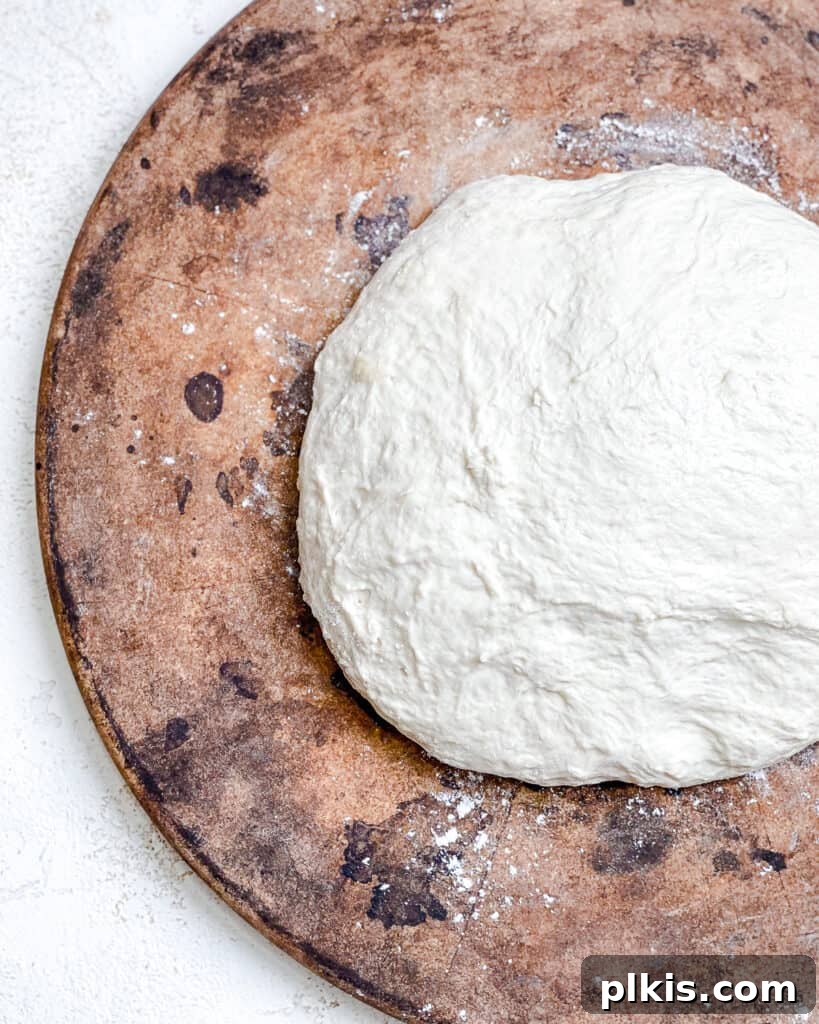
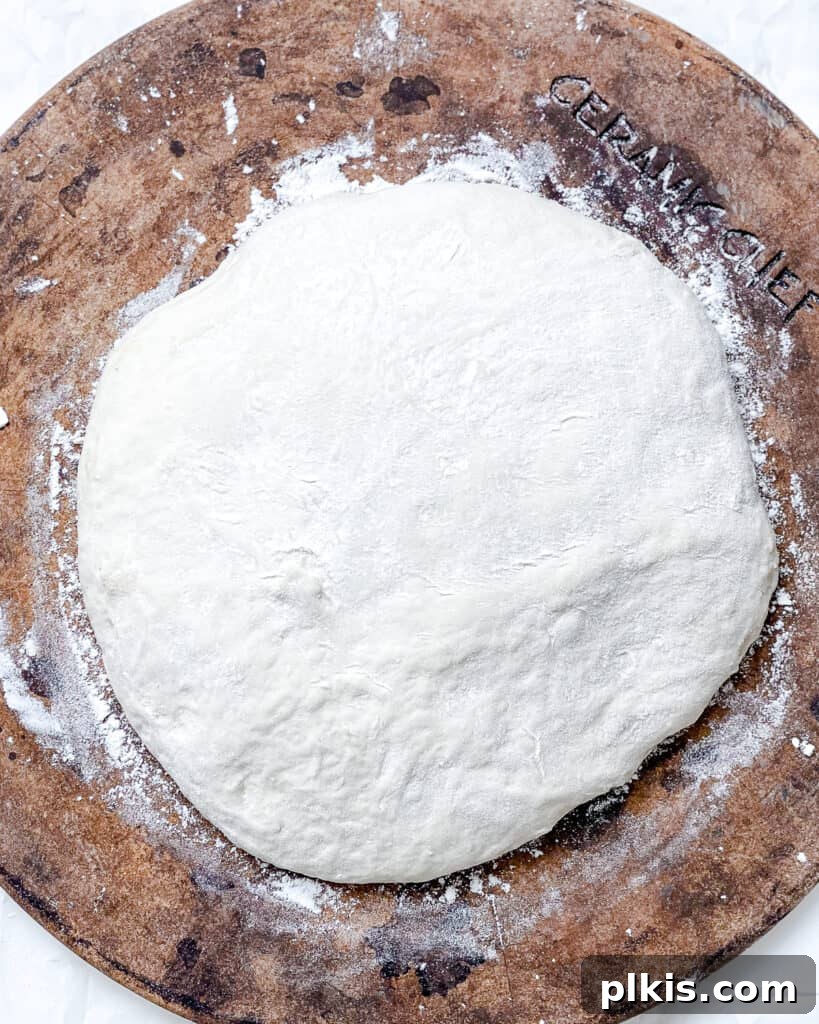
If the dough is too sticky or difficult to transfer, you can shape it by hand directly on a well-floured surface. The key is to create tension on the top surface by gently pulling the edges under the dough and pinching the seams together on the underside to create a smooth, tight top.
- 3) Second Rise: Cover the shaped loaf once more with a warm, damp tea towel and allow it to rise for another 30-40 minutes. This second proof is complete when the dough feels light and airy, and when gently poked with a floured finger, it doesn’t immediately spring back, but rather leaves a slight indentation.
- 4) Preheat Your Oven: Approximately 20 minutes into the second rise, place a heavy baking tray, pizza stone, or a Dutch oven (if using) in your oven and preheat it to 450°F (230°C). If you’re baking on a tray or stone, place a smaller oven-safe dish or cast-iron pan on the bottom rack of the oven. This will be used to create steam during baking.
- 5) Score and Bake: Once the loaf has completed its second rise, use a sharp blade (like a bread lame or razor blade) to carefully score the top of the dough. A simple “X” is traditional and helps the bread expand evenly without tearing. Carefully transfer the loaf, still on its parchment paper, to the preheated tray or stone in the center of the oven. Immediately and carefully pour about a cup of hot water into the dish on the bottom rack, then quickly close the oven door.
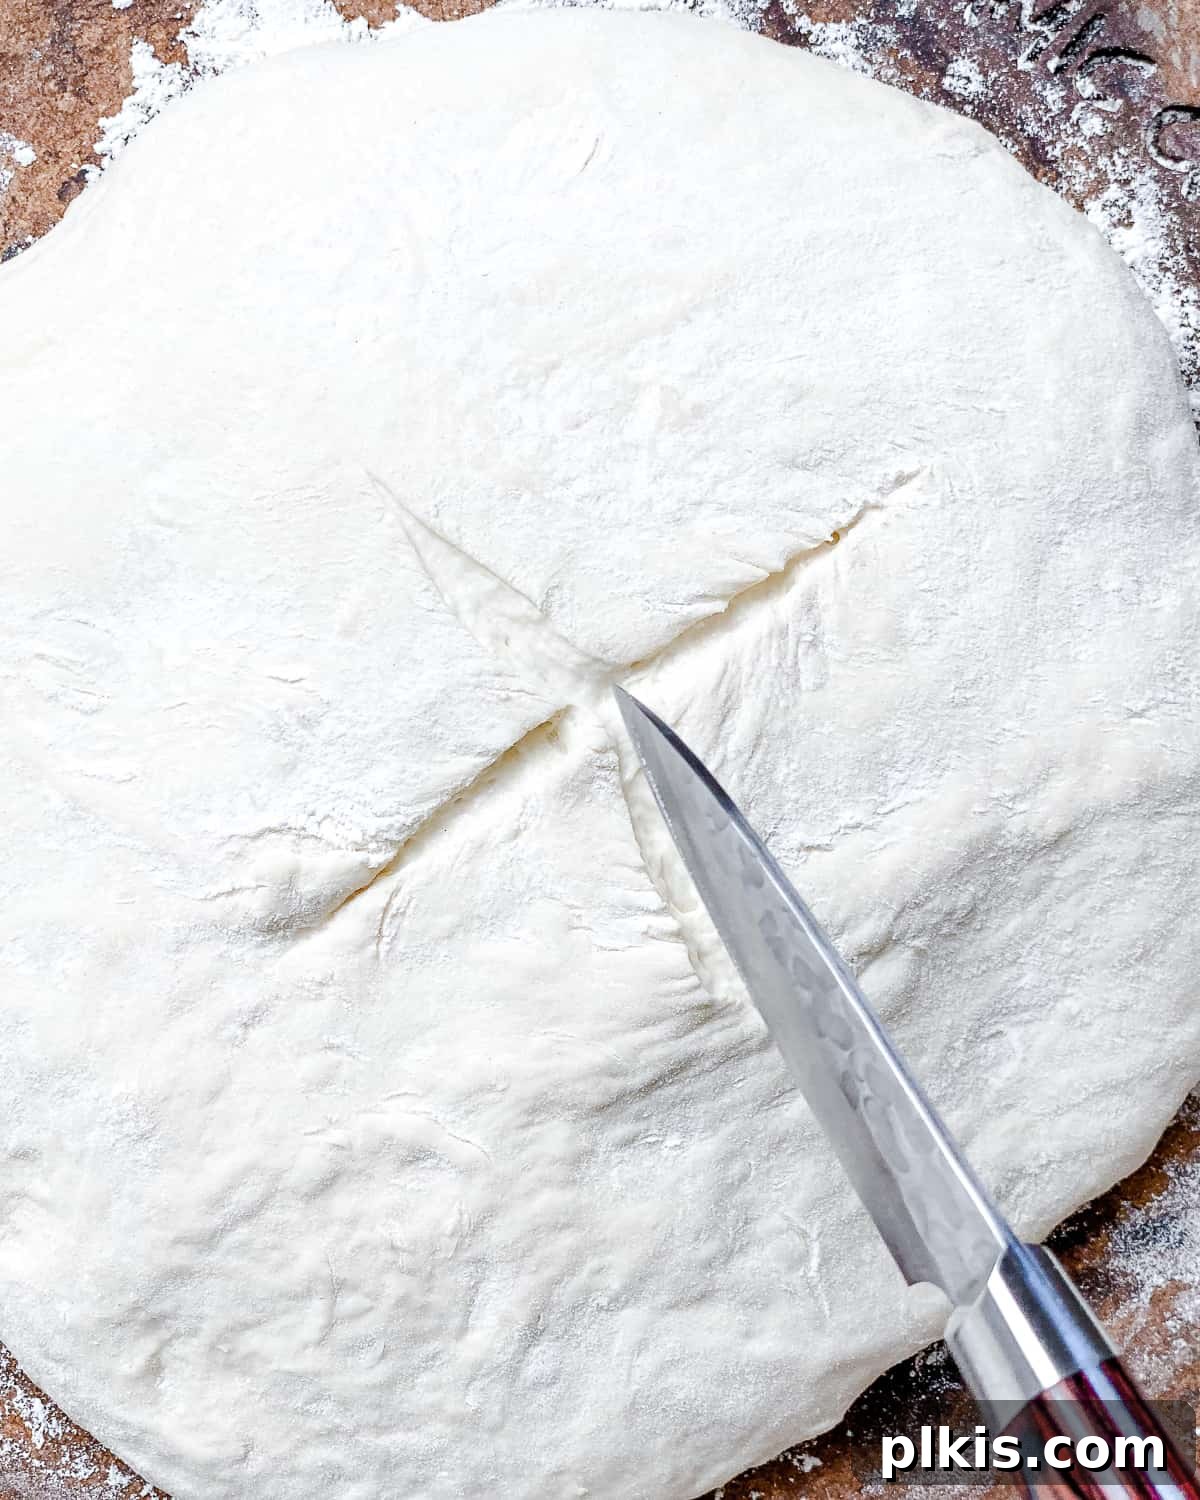
The steam generated by the hot water in the oven is crucial. It creates a humid environment that keeps the crust soft initially, allowing the loaf to expand fully before the crust sets, resulting in a perfectly crispy exterior and a lighter, airier crumb.
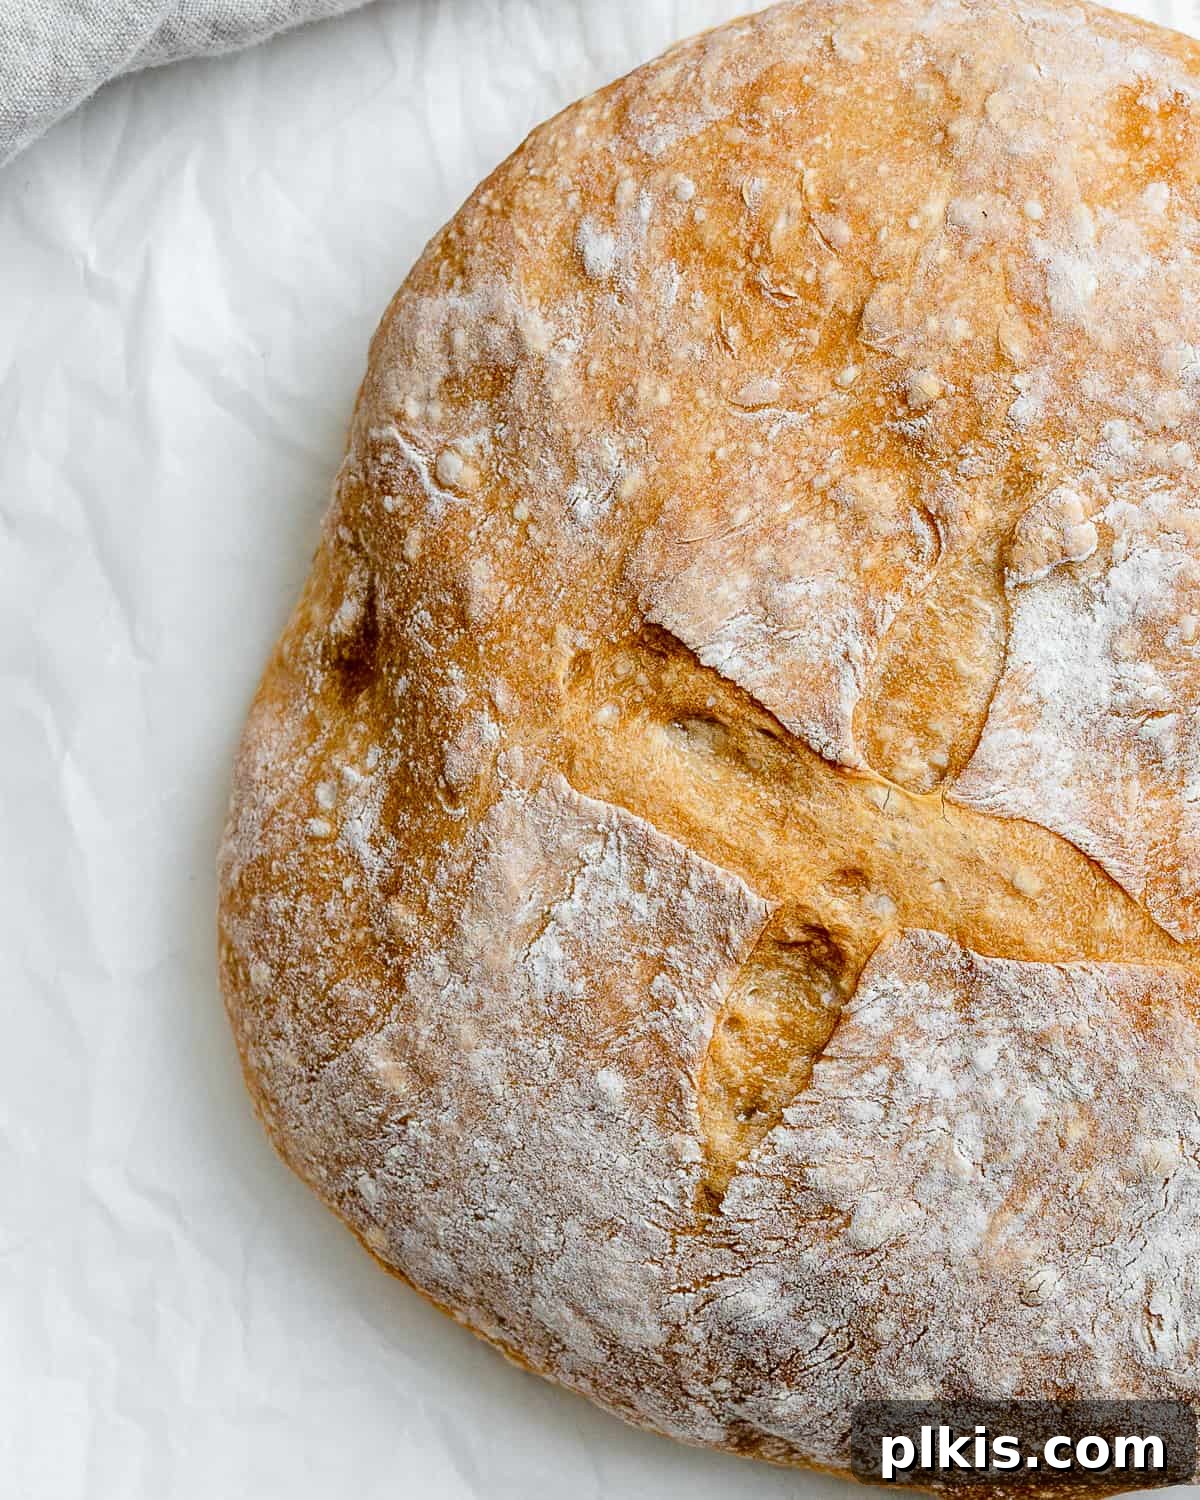
- 6) Bake to Perfection: Bake the loaf for 30-40 minutes, or until the crust is a deep golden-brown and the bottom of the loaf sounds hollow when tapped. This indicates it’s fully cooked through. Resist the urge to cut into it immediately! Leave the bread to cool completely on a wire rack before slicing and serving. This cooling period is essential for the internal structure to set and for the flavors to fully develop. Enjoy your homemade masterpiece!
Crafting Multiple Smaller Loaves from Stored Dough
One of the fantastic advantages of this no-knead dough is its versatility and excellent keeping qualities. We often prepare a larger batch of dough, bake one small loaf initially, and then store the remaining dough in a resealable bag (like a Ziplock or Stasher bag, with excess air removed) in the refrigerator for up to 4-5 days. This makes fresh, warm bread an almost instant reality whenever the craving strikes!
Whenever you desire a fresh loaf, simply tear off a grapefruit-sized piece of the chilled dough. With lightly floured hands, gently shape it into a round ball in about 60 seconds – no strenuous kneading is needed. Place this small loaf on parchment paper, cover, and let it rise for 30-40 minutes as described above. Then, transfer it to your preheated baking surface and bake at 450°F (230°C) for approximately 25-30 minutes, or until the crust achieves a beautiful golden-brown color. This method provides the ultimate convenience, allowing you to enjoy fresh-baked bread with minimal effort and on demand.
Frequently Asked Questions About No-Knead Bread
Absolutely! Using a Dutch oven is highly recommended for no-knead bread as it effectively mimics the steamy, high-heat environment of a professional bread oven. The heavy, lidded pot traps steam released from the dough, ensuring a consistently crisp crust and a beautifully risen loaf. To use a Dutch oven, place it (with its lid) into the cold oven and preheat both together to 450°F (230°C) for at least 30 minutes. Carefully remove the hot Dutch oven, transfer your proofed dough onto a piece of parchment paper with slight overhang (to make removal easier), then gently lower the parchment paper and dough into the preheated Dutch oven. Bake with the lid on for 30 minutes. After 30 minutes, remove the lid and continue baking for another 10-25 minutes, or until the crust reaches your desired level of golden brown and crispiness.
The primary difference lies in their protein content. Bread flour contains a higher percentage of protein (typically 12-14%) compared to all-purpose flour (around 10-12%). This higher protein content means more gluten can develop in the dough. For no-knead bread, where gluten development is achieved through hydration and time rather than mechanical kneading, bread flour can result in a loaf with a noticeably better structure, a higher rise, and a chewier, more desirable texture. While all-purpose flour works perfectly well for a delicious loaf, using bread flour will elevate the final result to a more artisan-like quality.
There are a few reliable indicators to tell if your bread is ready. Firstly, the crust should be a beautiful deep golden to golden brown color. Secondly, when you gently tap the bottom of the loaf with your knuckles, it should sound hollow. This “hollow sound test” is a classic method. For the most accurate measure, you can use an instant-read thermometer; the internal temperature of the center of the bread should register around 210°F (99°C). Any of these methods, or a combination, will help ensure your bread is baked through and boasts that perfect texture.
Yes, you can certainly use active dry yeast, but it requires a slightly different approach. Active dry yeast needs to be activated before being mixed with the dry ingredients. First, you’ll need to use an extra 25% of active dry yeast compared to instant yeast (so, for this recipe, you would use about 1.8 to 2 tablespoons). To activate it, combine the active dry yeast with the specified lukewarm water (around 110-115°F) in a bowl. You can optionally add a teaspoon of sugar at this point to “feed” the yeast and encourage activation. Let this mixture sit for about 5-10 minutes until it becomes foamy and frothy on the surface; this indicates the yeast is alive and active. Once activated, proceed with the rest of the recipe, adding the salt and flour as instructed. Keep in mind that active dry yeast typically requires a longer rise time after mixing the dough, often around 18 hours at room temperature, or up to 3 days if proofing in the refrigerator, to achieve optimal flavor development and rise.
Top Recipe Tips for Perfect No-Knead Bread
- Verify Yeast Freshness: Always double-check the expiration date on your yeast. If your yeast isn’t fresh and active, your bread simply won’t rise, leading to a dense, disappointing loaf. A quick test for active dry yeast (if using) is to activate it with warm water and a pinch of sugar; if it doesn’t foam, it’s likely dead.
- Embrace the Sticky Dough: Don’t be alarmed by the dough’s initial consistency. It should indeed be quite wet and sticky, resembling a “shaggy” mass before its first rise. This high hydration is fundamental to the no-knead method and is what contributes to the bread’s airy, open crumb and crisp crust. Resist the temptation to add more flour at this stage, as it will make your final bread dry and dense.
- Optimal Rise Time: A shorter rise (2-2.5 hours) will yield a delicious loaf suitable for quick baking. However, a longer, slower rise (up to 18 hours at room temperature or 3 days in the fridge) allows for deeper fermentation, which significantly develops the bread’s flavor, creating a more complex, nuanced taste and a wonderfully porous texture. If opting for a long, cold proof, after the initial mixing, gently punch down the dough, transfer it to a lightly oiled bowl, cover it tightly, and place it in the refrigerator. Gently deflate it if it rises too much during storage.
- Crucial Cooling Time: Once baked, it’s paramount to allow the loaf to cool completely on a wire rack before slicing. The residual heat within the bread continues the cooking process internally, ensuring it’s fully baked. More importantly, cooling allows the bread’s internal structure to properly ‘set,’ resulting in the ideal texture. Slicing too early can lead to a gummy interior.
- Preventing Over-Browning: Occasionally, a particular section of the crust may rise or brown more rapidly than the rest. To prevent it from burning, simply loosely tent a small piece of aluminum foil over the quickly browning area during the last part of the baking process.
- Accurate Measuring: For consistent results, especially with flour, always use a kitchen scale for precise measurement. If you don’t have one, use the “spoon and level” method: lightly spoon flour into your measuring cup until it overflows, then level it off with the back of a knife. Never pack the flour into the cup.
- Scoring Techniques: Beyond a simple ‘X,’ experimenting with different scoring patterns (like parallel lines or a diamond pattern) can not only enhance the bread’s visual appeal but also guide its expansion during baking, leading to a better rise. Ensure your blade is very sharp for clean cuts.
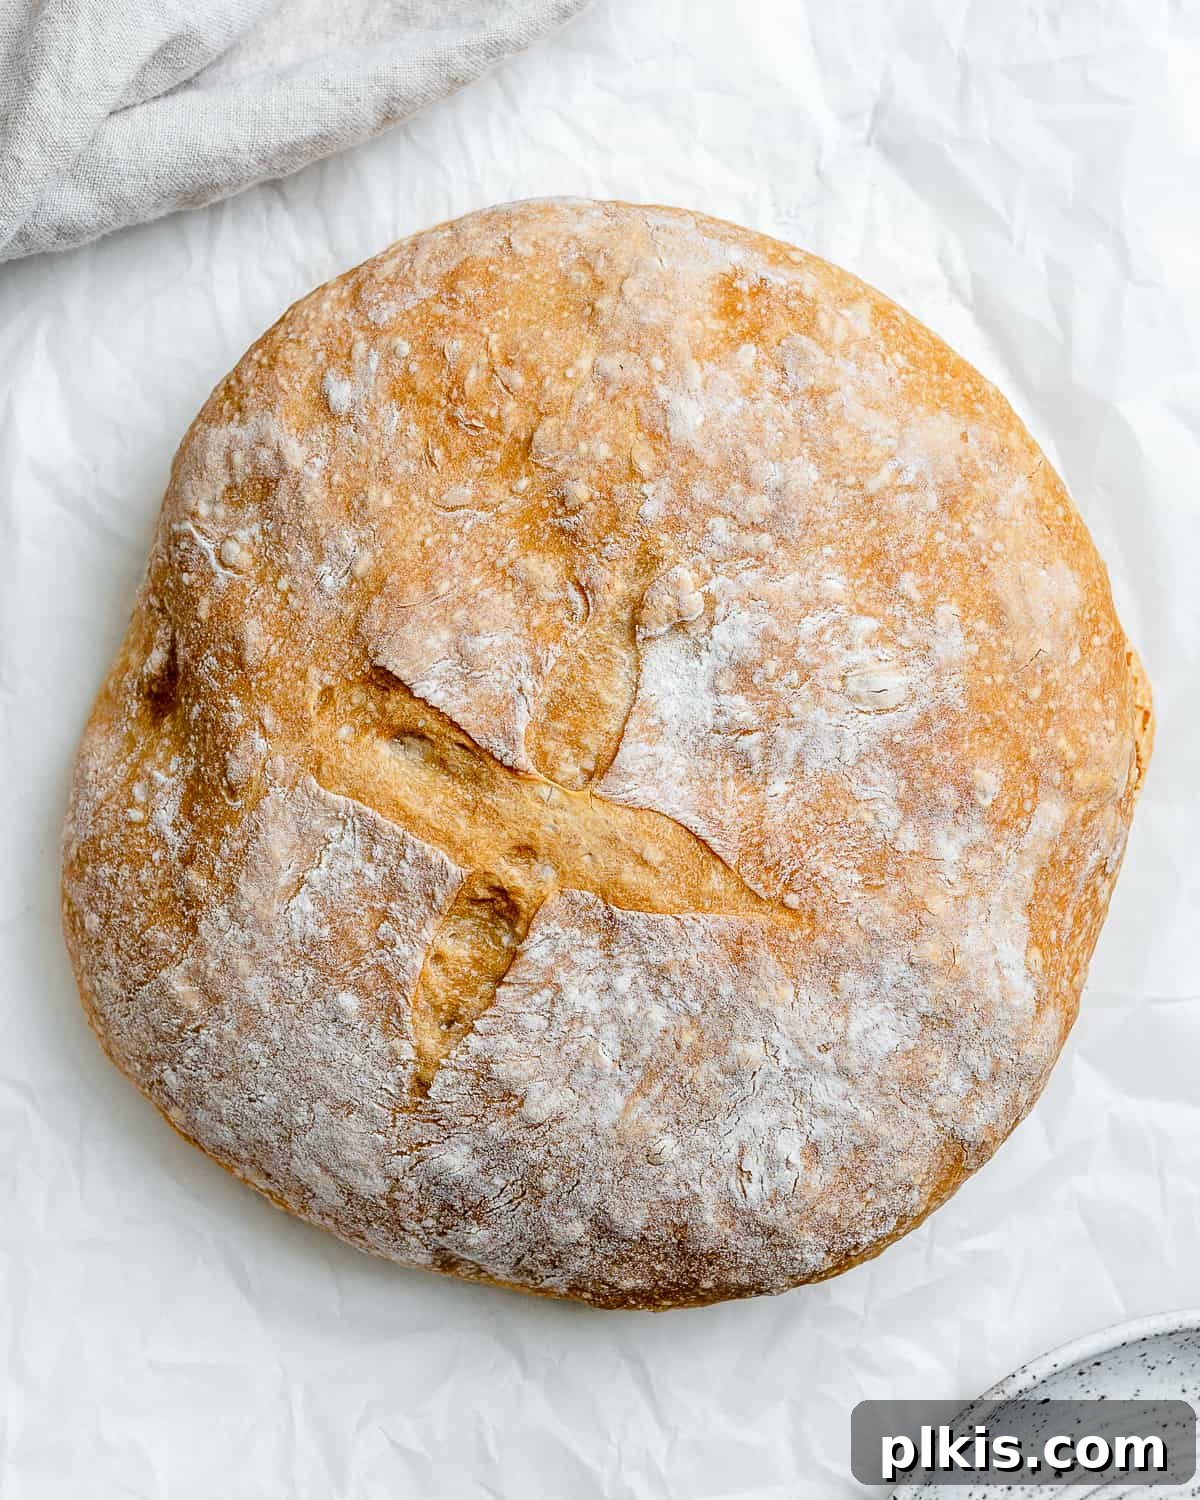
Storage Instructions for Your Homemade Loaf
There’s nothing quite like a warm slice of bread straight from the oven. However, if you find yourself with leftovers, proper storage will help maintain its freshness and flavor.
For immediate enjoyment, store any remaining bread in a cloth bag, a paper bag, or wrapped in wax paper at room temperature for 2-3 days. Avoid airtight plastic bags at room temperature, as they can trap moisture and cause the crust to soften or become soggy.
To extend the life of your quick artisan bread, you can easily freeze it. Once completely cooled, wrap the loaf tightly in a layer of plastic wrap, then place it in a freezer-safe Ziplock or Stasher bag, removing as much air as possible. Frozen bread can be stored for up to 3 months. When you’re ready to enjoy it, simply thaw it at room temperature, or for a faster refresh, you can bake it from frozen (wrapped in foil) at a lower temperature until warmed through.
Should your loaf start to become a little hard or stale, there are easy ways to freshen it up or repurpose it. Lightly sprinkle a hard loaf with water and either bake it in a warm oven for a few minutes or microwave it briefly until warm and softened. Stale bread is also perfect for making delicious homemade croutons for salads or turning into fresh breadcrumbs for cooking and baking.
More Vegan Bread Recipes to Explore
- Skillet Cornbread
- Vegan Focaccia Bread
- Homemade Sandwich Bread
- Sweet Potato Biscuits
- Jalapeño Cornbread
Photos by Alfonso Revilla
The Easiest No-Knead Bread
3 hrs 10 mins
30 mins
3 hrs 40 mins
4 – 5 loaves
Equipment
-
Sharp Knives
-
Baking Tray or Stone
-
Wooden Spoon
-
Large Mixing Bowl
Ingredients
- 3 cups lukewarm water
- 1 ½ tablespoons granulated yeast (about 2 packets – any brand/style will do)
- 1 ½ tablespoons coarse salt
- 6 ½ cups unbleached all-purpose flour
Instructions
-
In a large bowl, combine the yeast and salt with the warm water (approximately 110 degrees F / 43 degrees C). There’s no need to stir or wait for it to dissolve at this point.
-
Add all of the flour. There’s no need to sift or pack the flour; simply scoop it lightly into your measuring cup and level it off. Add it directly to the water mixture.
-
Using a wooden spoon or your (very wet) hands, mix the flour into the wet ingredients until it’s uniformly moist and forms a shaggy, sticky dough. Do not knead the dough; just ensure all ingredients are combined.
-
Cover the bowl with a damp hand towel or plastic wrap and allow the dough to rise in a warm, draft-free spot until it approximately doubles in size. A sunny windowsill or a slightly warm oven (with just the light on) works well. This typically takes about 2 hours for a quick rise.
-
For enhanced flavor, it’s recommended to chill the dough in the fridge for a few hours (or even overnight) after the first rise. However, if you’re eager to bake, you can proceed directly. Gently remove a grapefruit-sized chunk of dough. With lightly floured hands, gently stretch and mold it into a ball, creating a tight surface. This shaping should take no more than 60 seconds; remember, no kneading is necessary.
-
Place the shaped dough ball onto a heavily floured surface or a piece of parchment paper that you can easily slide into the oven (like on a pizza peel or baking sheet). Lightly flour the top of the dough ball and use a sharp knife or razor blade to cut a couple of shallow slices into the top. Allow this loaf to sit and rise for another 30-40 minutes. After 20 minutes of this second rise, preheat your oven to 450 degrees F (230 degrees C) and place your baking surface (a baking stone or heavy baking sheet) on the middle rack. If using, place a small oven-safe dish on the bottom rack.
-
Once the loaf has completed its second rise, carefully slide the dough onto the preheated baking surface in the oven. If using, quickly add 1 cup of hot water to the dish on the bottom rack to create steam, then close the oven door. Bake for approximately 30-40 minutes, or until the crust is a beautiful golden brown and the bottom of the loaf sounds hollow when tapped.
-
For any remaining dough, keep it covered tightly or store it in a freezer bag in the refrigerator. It will stay fresh for well over a week. When you’re ready for another fresh loaf, simply cut off a piece, quickly shape it (60 seconds), let it rise for 30-40 minutes, and bake for 30-35 minutes. Enjoy fresh bread with minimal future effort!
Notes
- Ensure the yeast is in date: If it isn’t fresh, the bread won’t rise.
- The dough’s consistency: It should look wet and sticky, like a shaggy dough, before rising. This is normal, so don’t mix in more flour.
- Short vs. long rise time: A longer rise time will further develop the flavor of the bread and create a more porous texture. After the initial rise, punch down the dough and transfer it to a bowl, lightly oiled and covered, to the fridge for up to 3 days, punching it down gently as necessary (to lightly deflate it).
- Leave it to cool: The residual heat will help fully cook the inside. Meanwhile, the bread will properly ‘set’ as it cools.
- To avoid burn: Sometimes, a piece of the crust rises and browns too quickly. Simply tent a small amount of foil over that part.
Nutrition Facts (per serving, based on 4 servings)
Calories: 744kcal
Carbohydrates: 156g
Protein: 22g
Fat: 2g
Saturated Fat: 0.3g
Polyunsaturated Fat: 1g
Monounsaturated Fat: 0.2g
Sodium: 2630mg
Potassium: 232mg
Fiber: 6g
Sugar: 1g
Vitamin A: 4IU
Vitamin C: 0.01mg
Calcium: 38mg
Iron: 9mg
Additional Info
Jake
Side
American
Oven
Vegan
Tried this recipe? Please tag us at @PlantBasedOnABudget! 🙂