
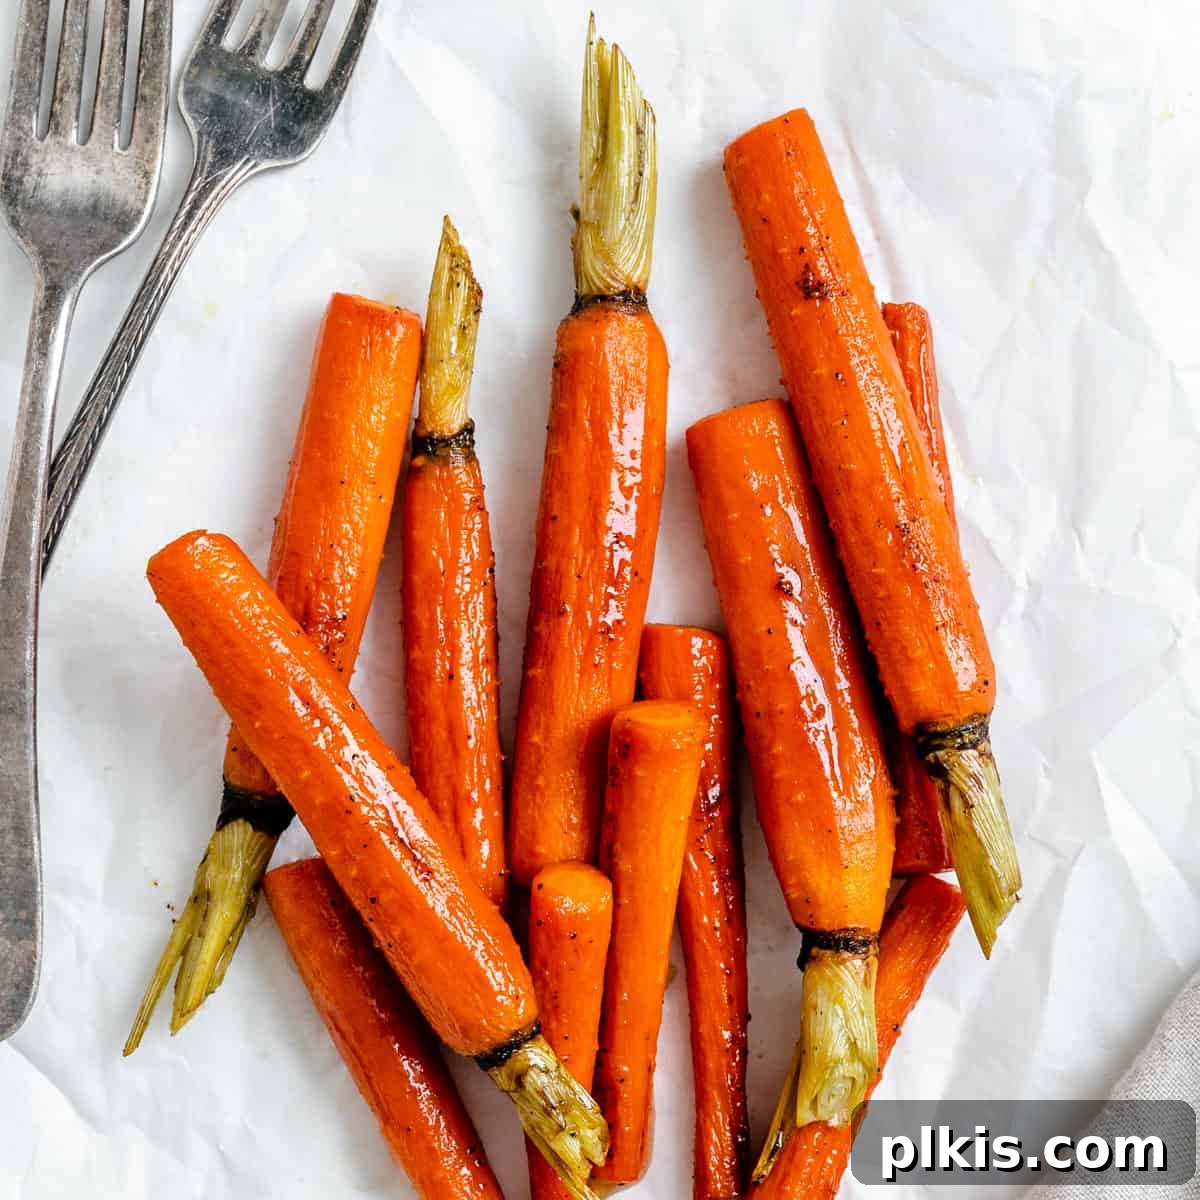
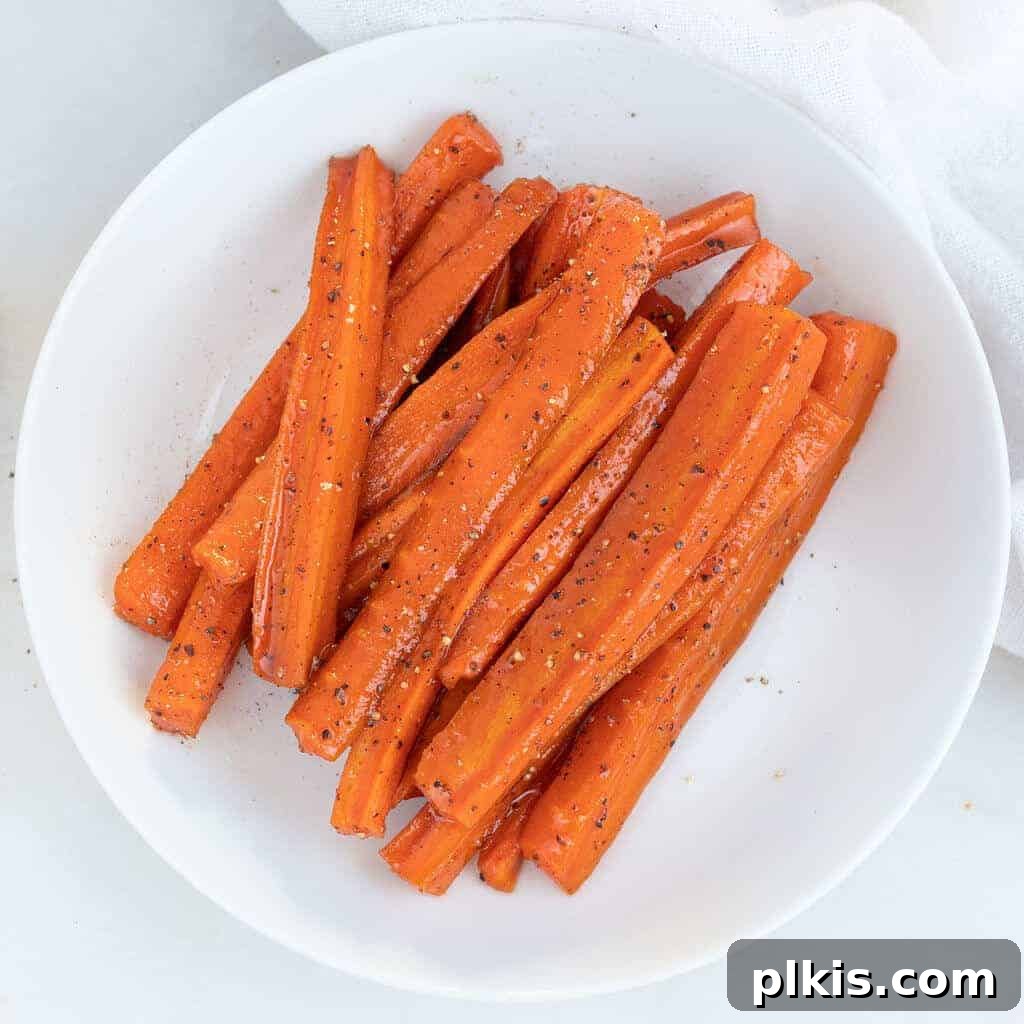
Transform ordinary carrots into an extraordinary side dish with this effortless guide to creating perfect sugar or maple glazed carrots. Whether you prefer the stovetop, oven, or air fryer method, you’ll whip up this delightful dish in under 15 minutes using just a handful of staple ingredients. Ideal for festive holiday gatherings like Easter, Thanksgiving, and Christmas, these sweet and savory carrots are sure to be a crowd-pleaser any time of year.
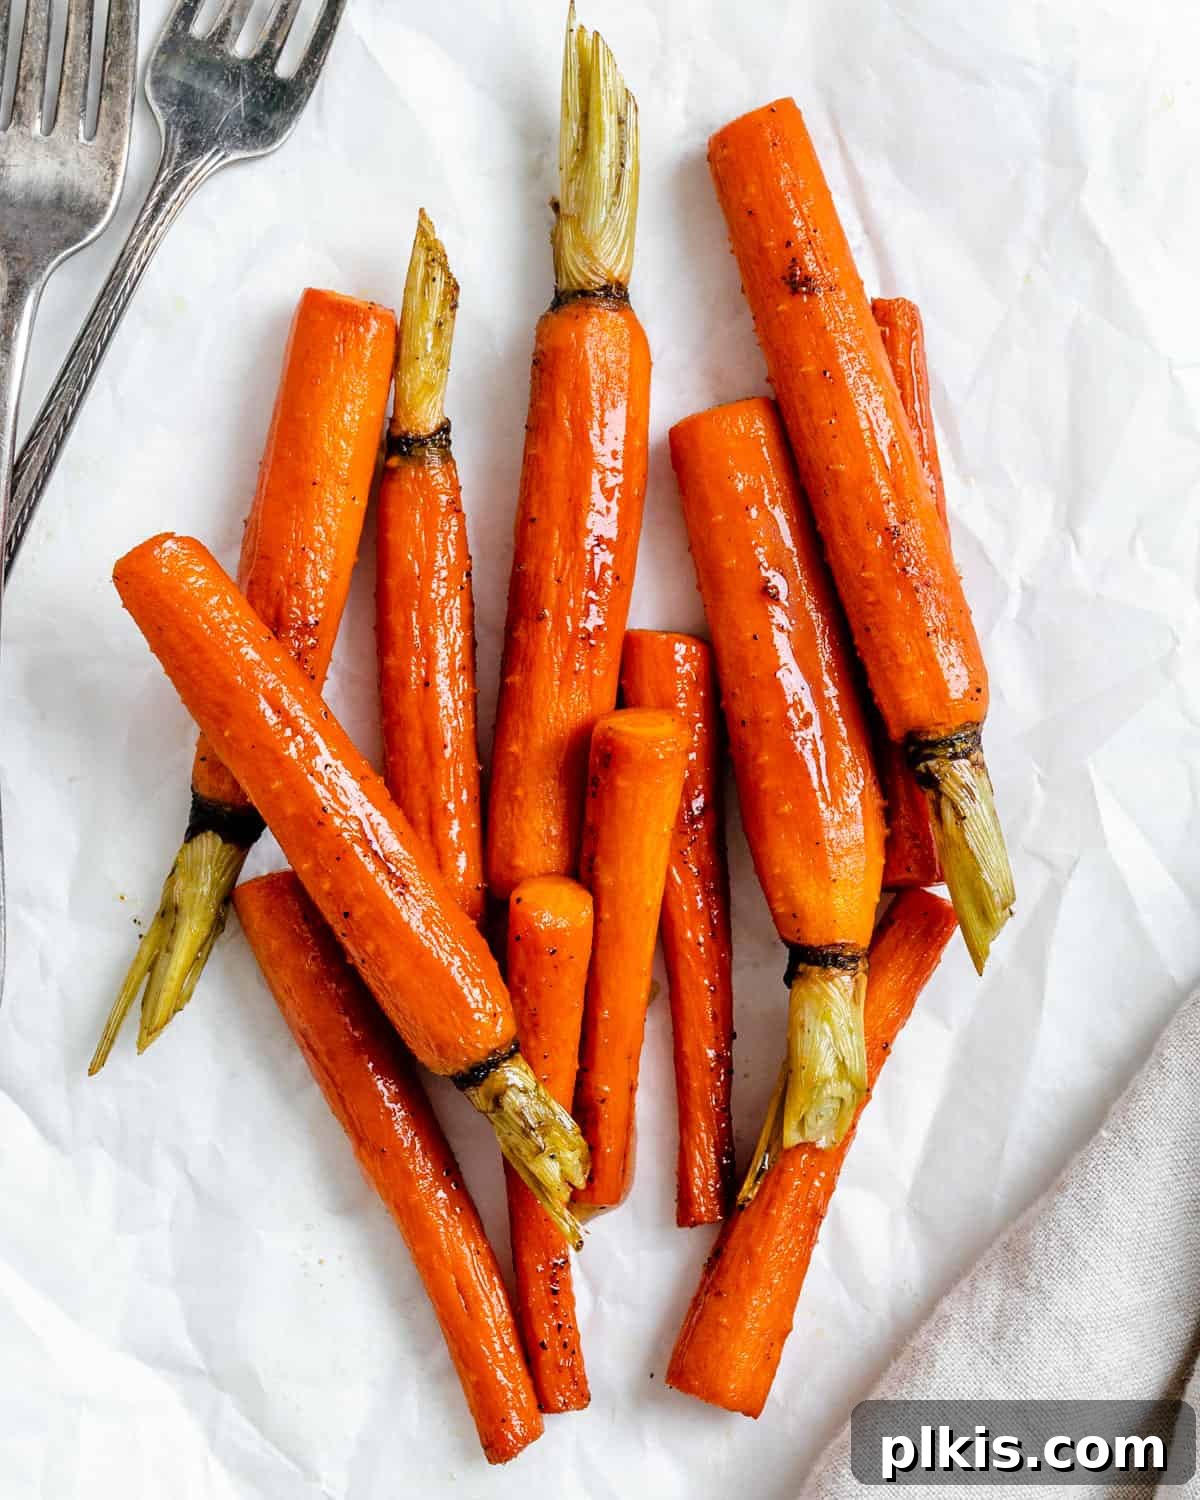
Effortlessly Delicious Glazed Carrots: Your Ultimate Holiday Side Dish (Stovetop, Oven, Air Fryer)
As the holiday season approaches, many of us begin meticulously planning our festive menus, eager to create memorable feasts for our loved ones. While elaborate dishes like vegan stuffing, green bean casserole, and candied sweet potatoes often take center stage, the secret to a truly harmonious meal lies in complementing them with simple, versatile, and utterly delicious side dishes. That’s where these easy glazed carrots shine – a fuss-free addition that brings brightness and a touch of sweetness to any plate.
Over the years, we’ve perfected this recipe, experimenting with various sugars, syrups, spices, and liquids to achieve the ultimate balance of flavor and texture. From classic white or brown sugar glazes to rich, unrefined maple-glazed carrots, we’ve discovered what truly makes this dish irresistible. Now, we’re excited to share our perfected method, ensuring you can recreate these delectable carrots with absolute ease.
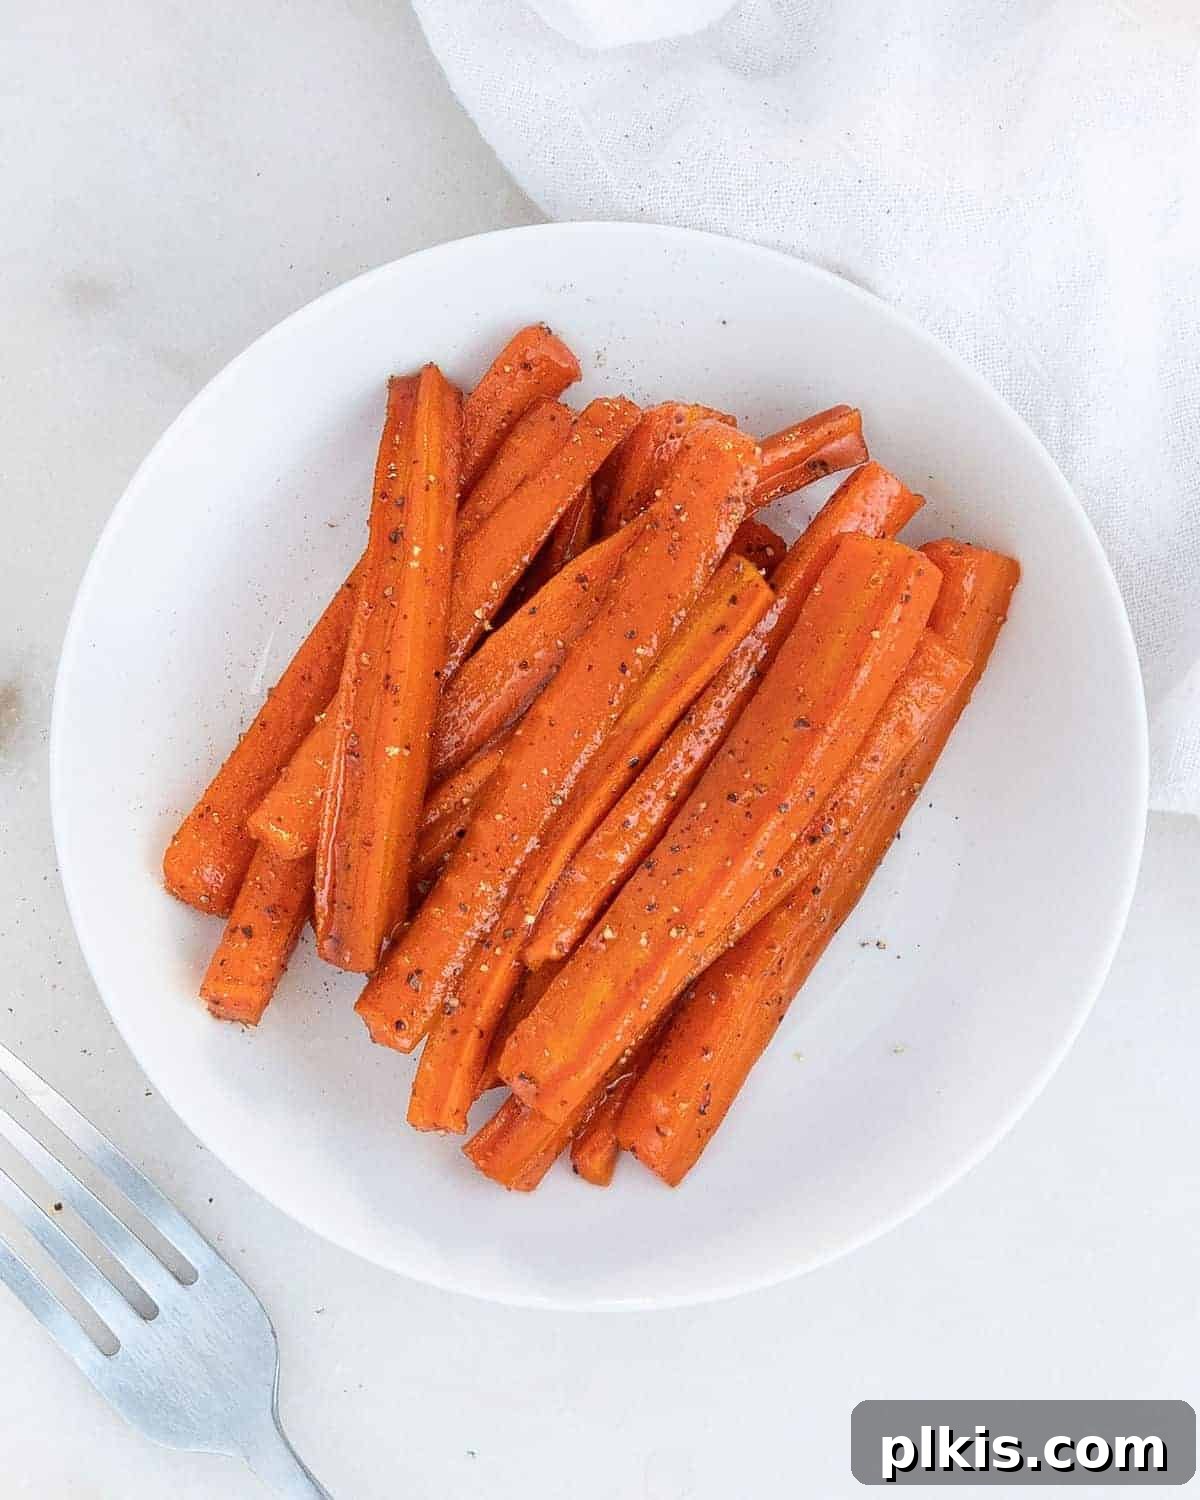
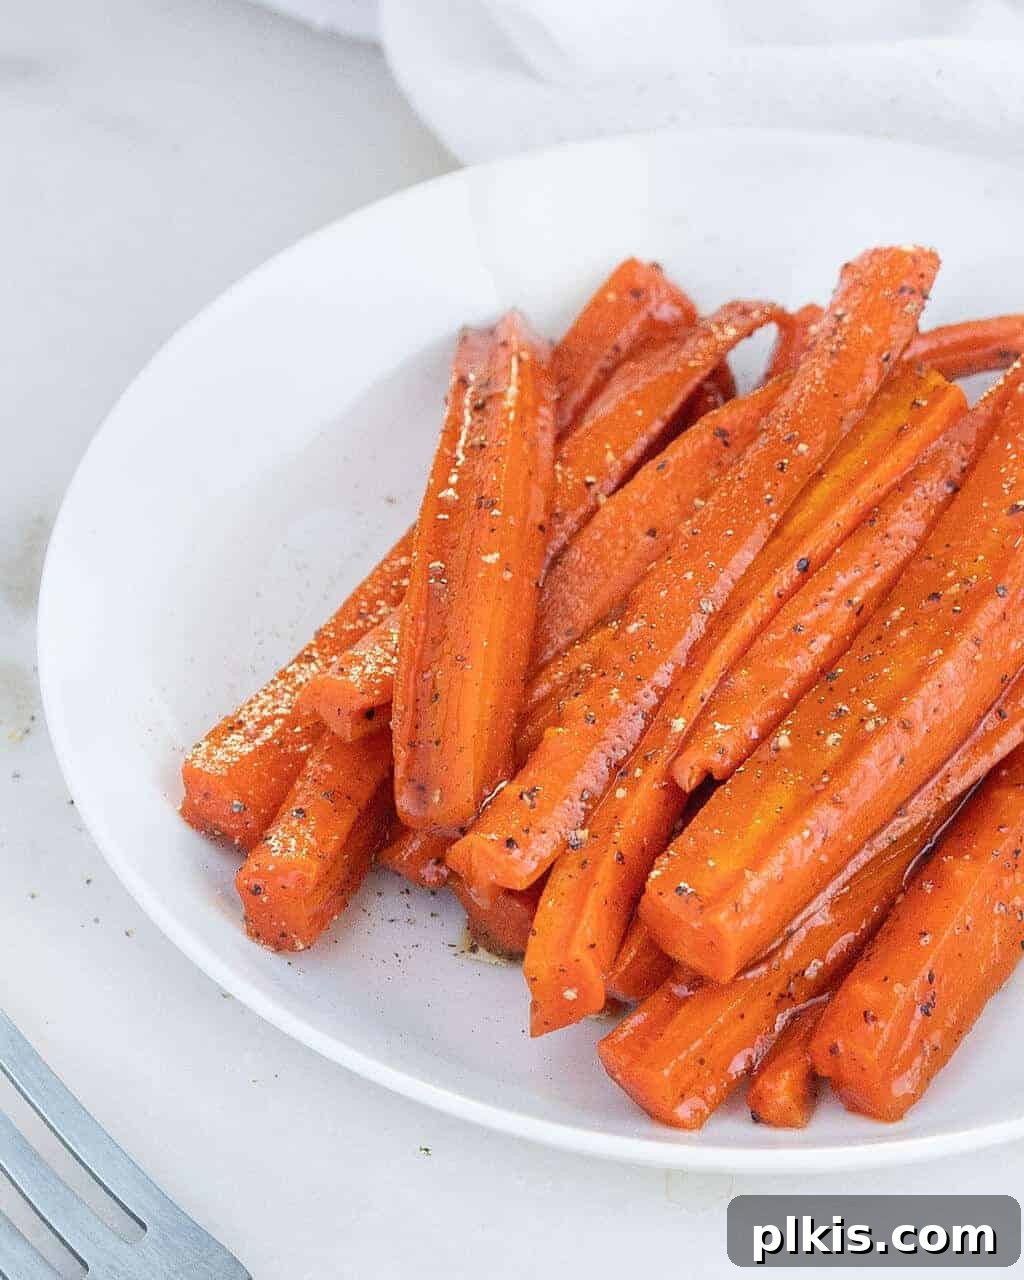
With minimal effort and just a few budget-friendly ingredients – carrots, a touch of sugar or maple syrup, oil or vegan butter, a splash of vinegar, and salt & pepper – humble carrots undergo a magnificent transformation. Their natural sweetness is beautifully enhanced, resulting in a melt-in-your-mouth, caramelized side dish that boasts a delightful sweet and salty profile. This makes them a perfect accompaniment to almost any main course, whether it’s a grand holiday roast or a simple weeknight meal.
One of the greatest advantages of our stovetop method for vegan glazed carrots is freeing up valuable oven space – a true lifesaver during busy holiday cooking. Beyond holidays, these vibrant carrots are fantastic for everyday meals, and we guarantee the entire family, including picky eaters, will adore them. Plus, this recipe is incredibly inclusive: it’s dairy-free, egg-free, gluten-free, nut-free, soy-free, and completely vegan. It’s also remarkably foolproof, making it accessible for cooks of all skill levels.
The versatility of this glaze extends beyond just carrots! Feel free to experiment by pairing it with other root vegetables or squash. Imagine the sweet glaze clinging to tender butternut squash, luscious pumpkin, or sweet potatoes. These glazed vegetables make an exceptional side to plant-based pot pies or crispy baked tofu, adding a gourmet touch to any dish.
Essential Ingredients for Perfect Glazed Carrots
Our recipe for glazed carrots emphasizes simplicity and affordability, requiring just a few key components you likely already have on hand. No special trip to the grocery store is needed for this one!
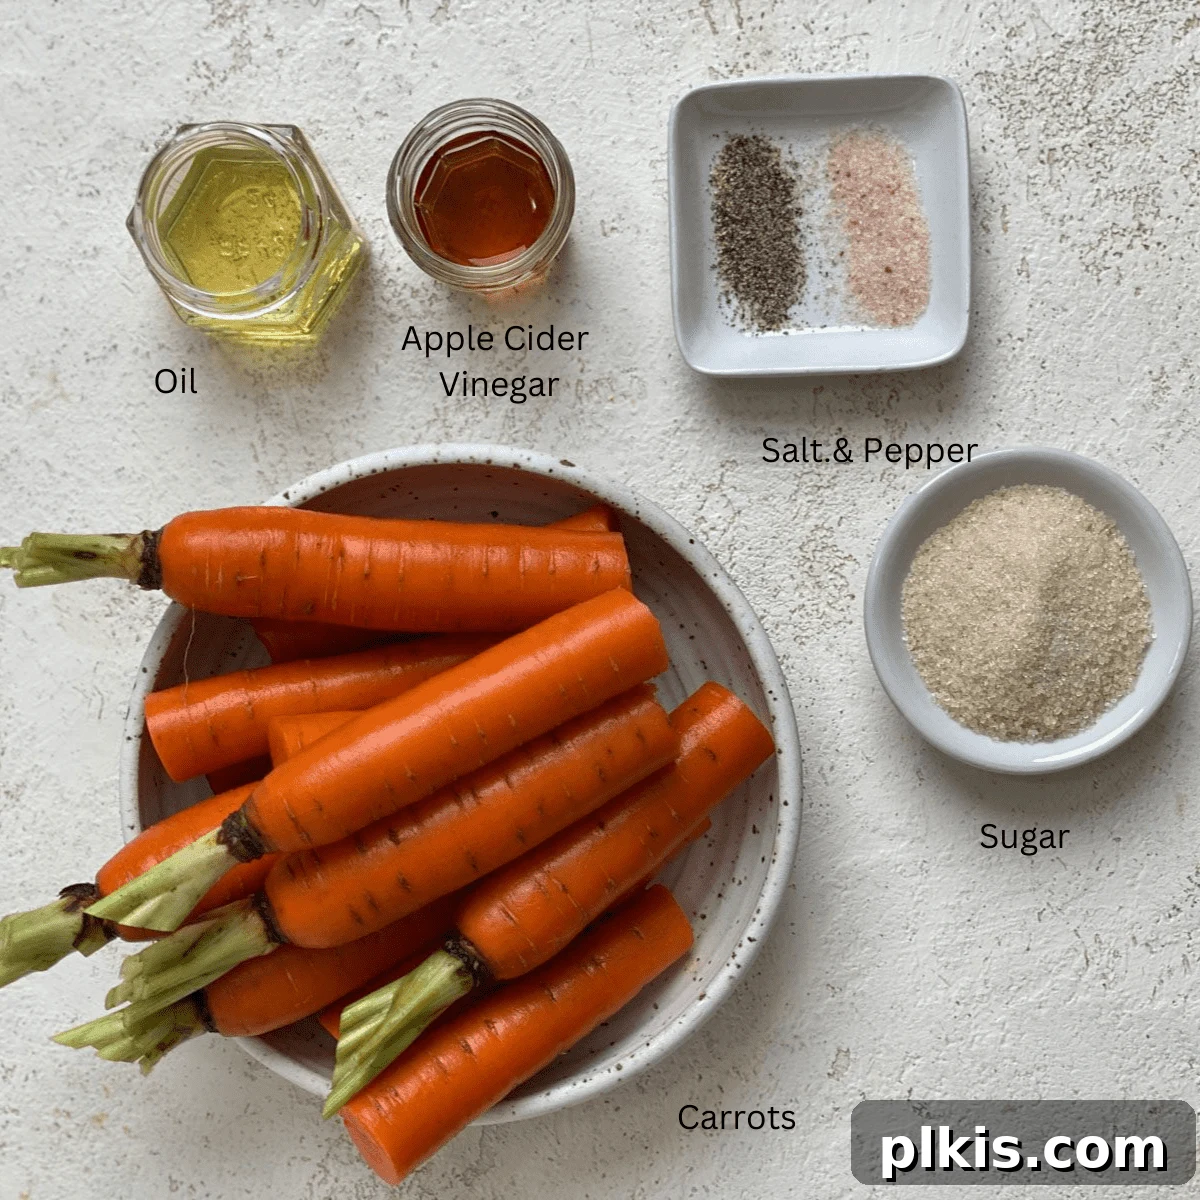
- Carrots: While we suggest using small carrots (around ½-inch in diameter) for their quick cooking time and tender texture, any size will work as long as you adjust your cutting method. Feel free to use classic orange carrots or vibrant rainbow carrots to add a splash of color to your table. Both whole carrots and pre-packaged baby carrots are suitable choices for this recipe.
- Sugar: Granulated white sugar provides a clean, classic sweetness that allows the natural flavor of the carrots to shine through. For those who prefer a deeper, more molasses-like flavor, brown sugar is an excellent alternative that adds a richer, slightly caramel note to the glaze.
For a refined sugar-free option, substitute with maple syrup to create exquisite maple glazed carrots. While maple syrup is a bit more expensive, its distinct flavor profile and natural sweetness are truly worth the splurge, offering a sophisticated twist to this simple side.
- Vinegar: A small but mighty splash of sherry or apple cider vinegar is crucial. It brightens the overall flavor profile, cutting through the sweetness and adding a nuanced depth that elevates the entire dish, preventing it from being overly sugary.
- Oil: Choose a neutral-tasting cooking oil, such as canola oil or vegetable oil, to help create the glaze without imparting its own strong flavor. For an extra layer of richness and a buttery taste, especially in a vegan preparation, opt for a high-quality vegan butter like Miyoko’s or Earth Balance. This enhances the caramelized effect beautifully.
- Salt & Black Pepper: Seasoning is vital to balance the sweetness. Always add salt and freshly ground black pepper to taste. For an intriguing umami boost and additional flavor depth, consider swapping the salt for a splash of soy sauce (or gluten-free tamari for those with dietary restrictions). This adds a wonderful savory dimension.
Mastering Glazed Carrots: A Step-by-Step Guide
This quick and incredibly easy glazed carrot recipe comes together in just three simple steps, making it perfect for busy days or last-minute additions to your holiday menu.
- 1) Prepare the Carrots: Begin by peeling your carrots thoroughly. Once peeled, chop them into uniform 4-inch pieces. Consistency in size is key to ensure even cooking and a consistent texture throughout the dish.
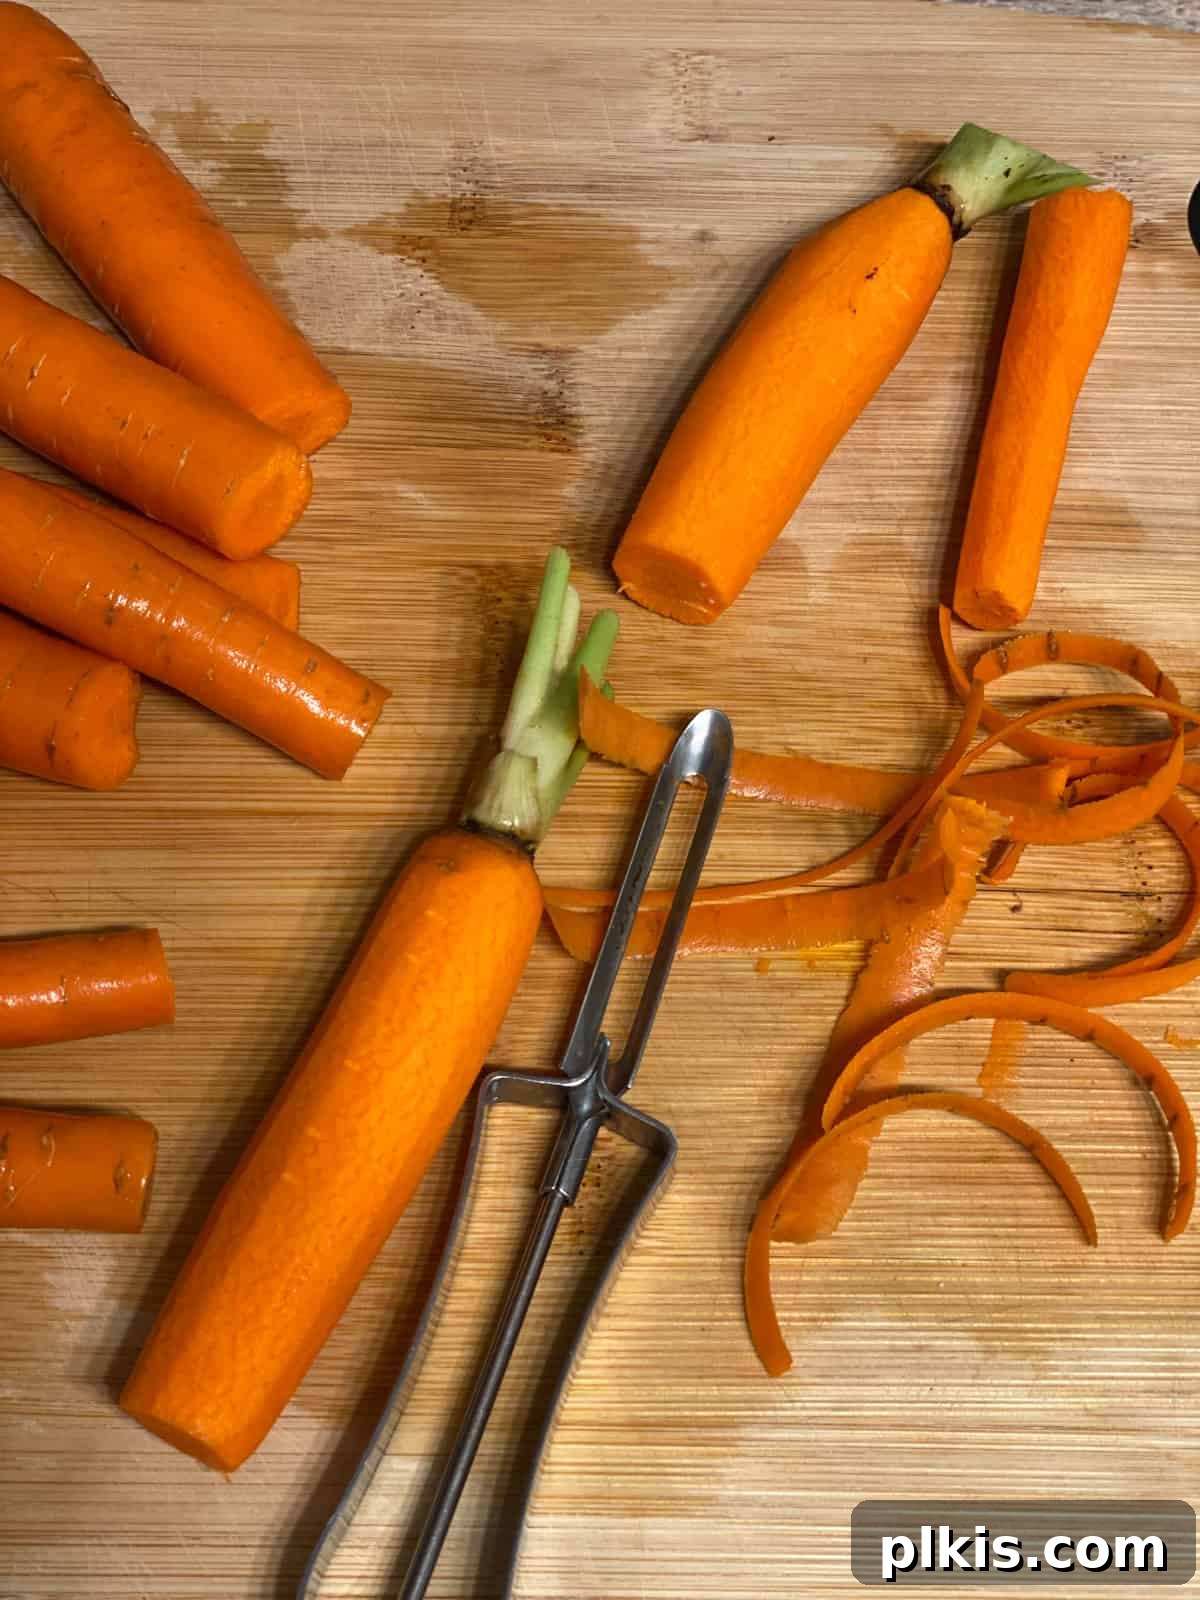
Pro Tip for Cutting Carrots: If you have thin carrots of relatively equal width, you can simply cut the entire carrot into 4-inch lengths. However, if working with larger carrots, we recommend cutting them into quarters lengthwise first, then into 4-inch pieces. Alternatively, for a quicker cooking time, you can slice the carrots into ½-inch coins at a bias. This creates more surface area for the glaze to adhere to, but be mindful that their cooking time will be shorter.
- 2) Simmer and Glaze: Transfer all the prepared carrots and the remaining glaze ingredients (sugar/maple syrup, oil/vegan butter, vinegar, salt, and pepper) into a large skillet. It’s important that the carrots fit in a single layer to ensure even cooking and caramelization. Place the skillet over medium-high heat and bring the mixture to a gentle simmer. You’ll see the liquid start to bubble and mingle with the glaze ingredients.
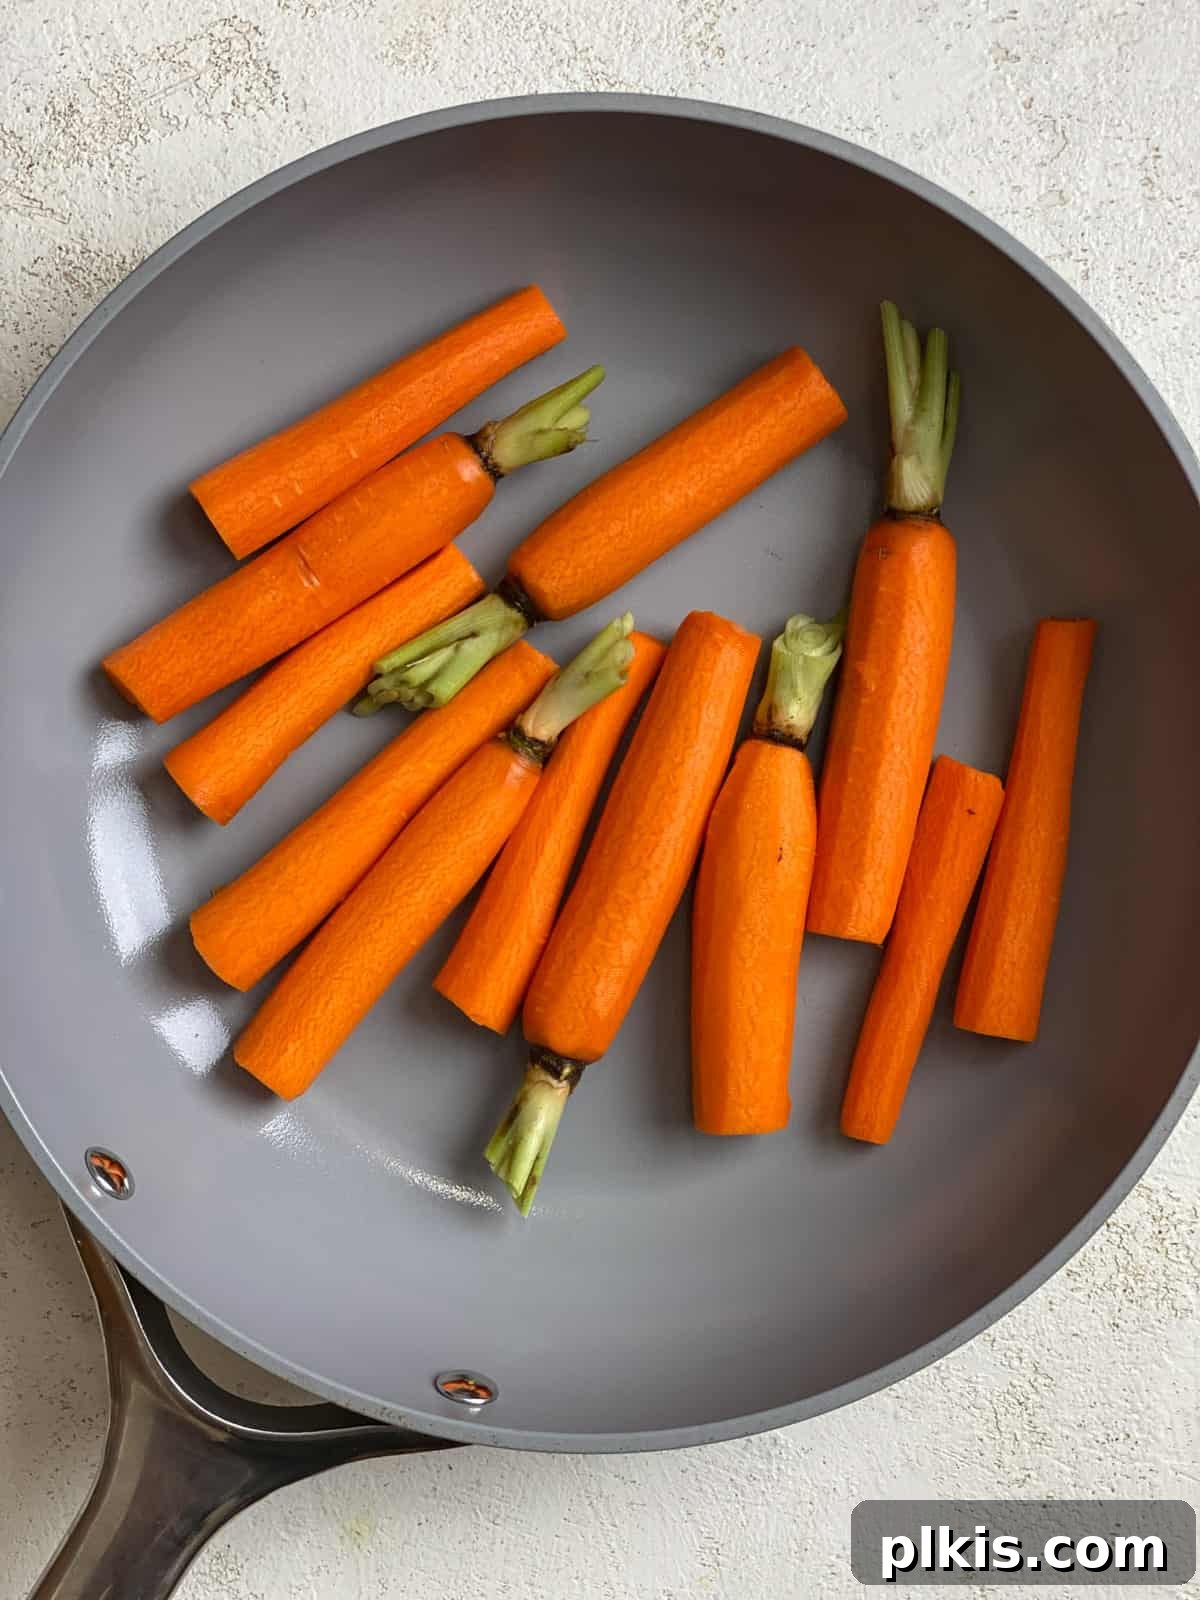
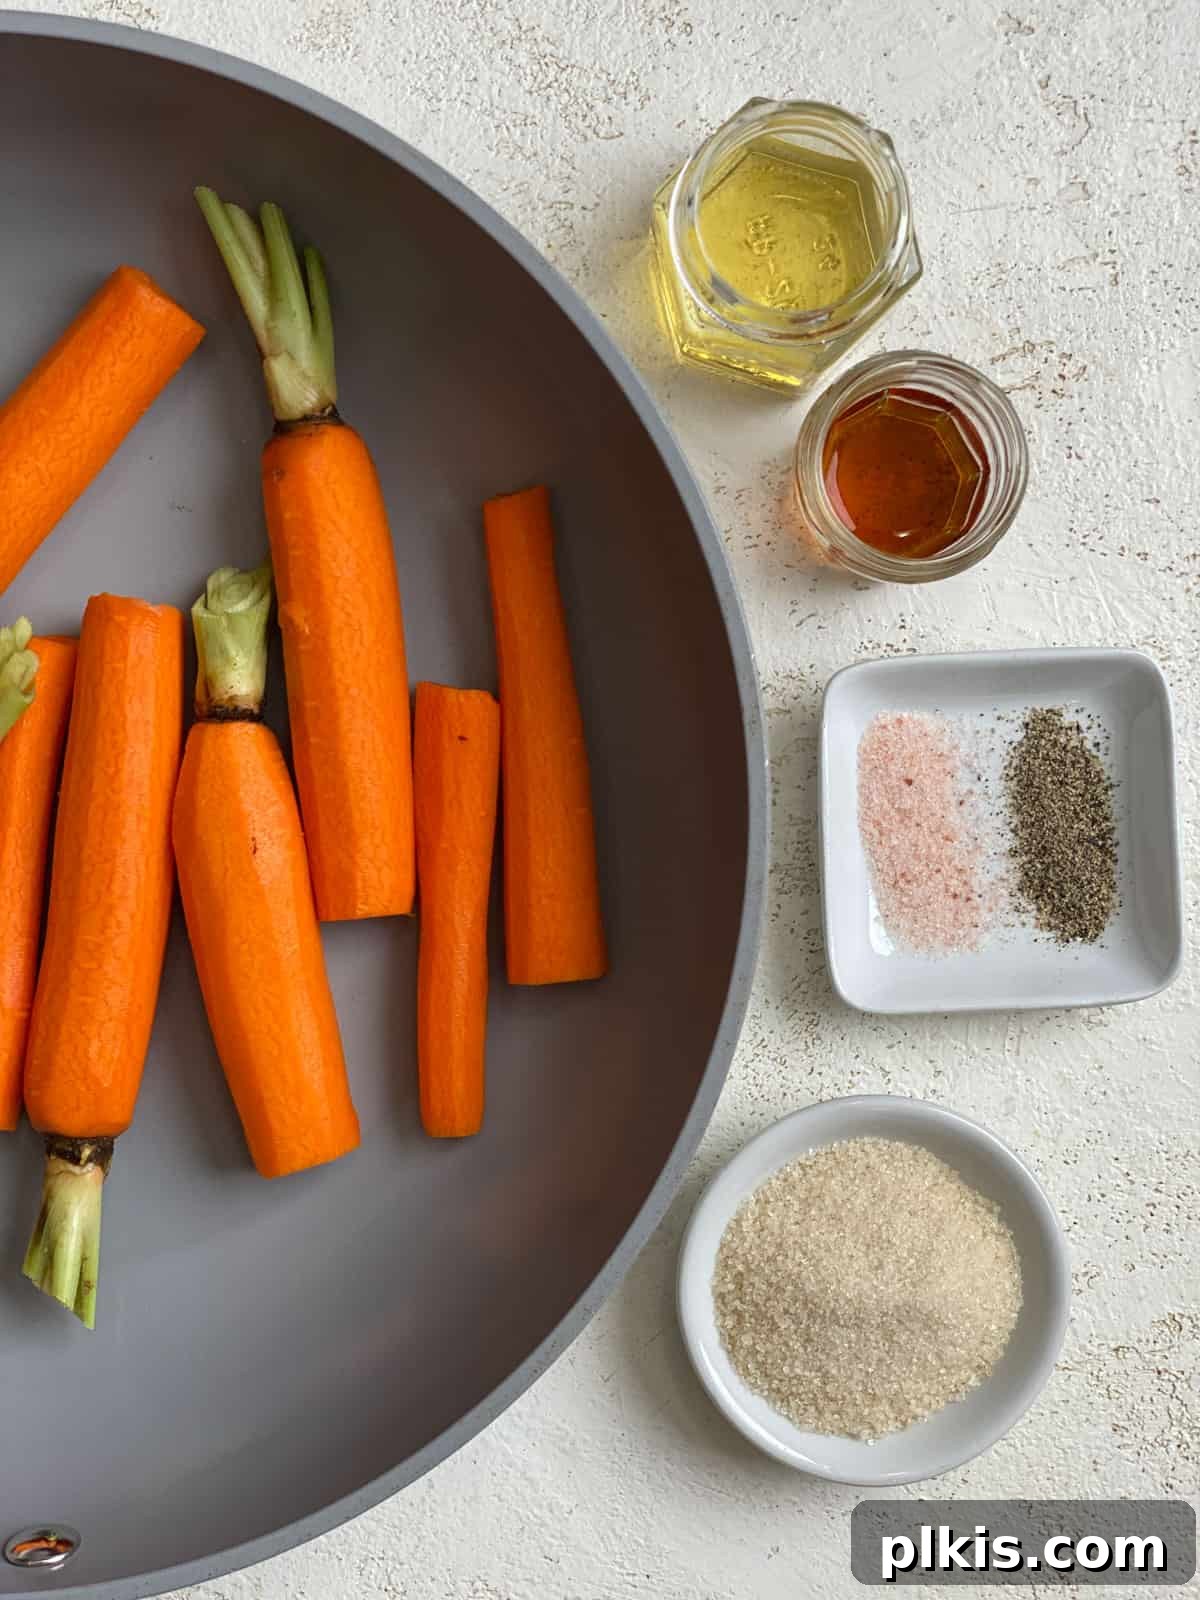
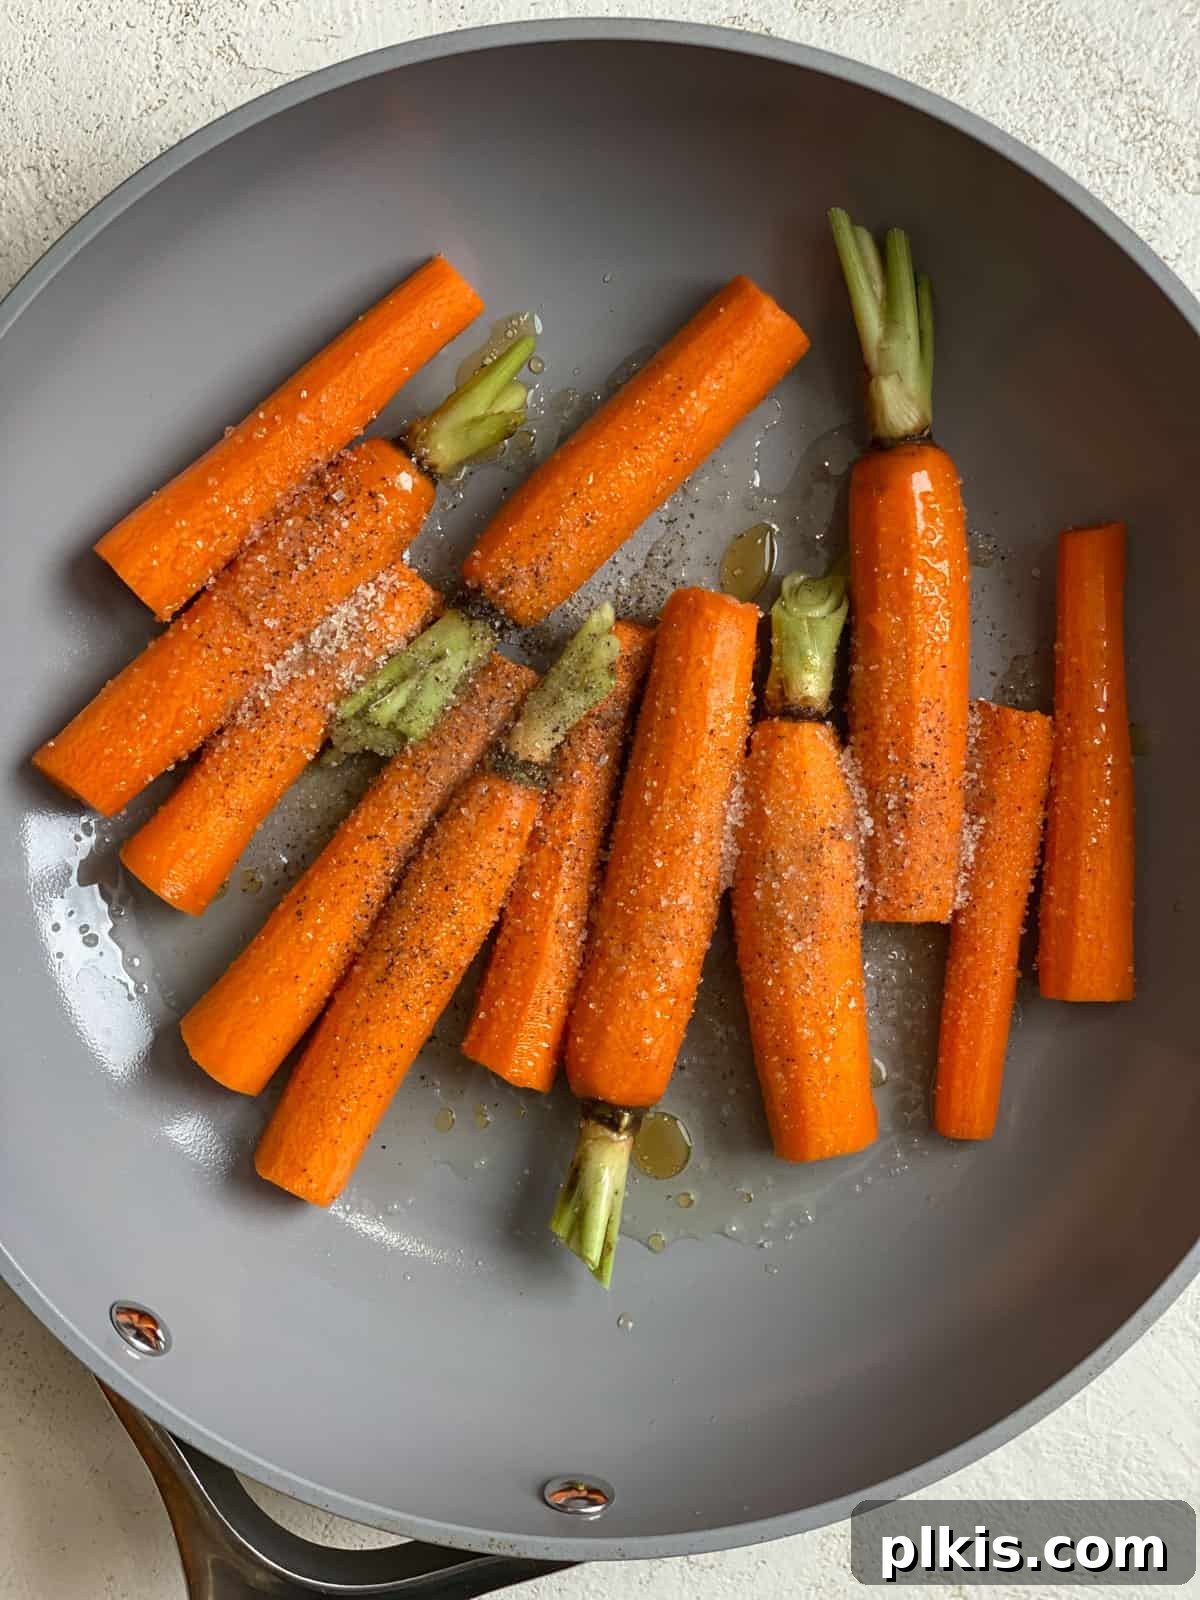
- 3) Cook to Perfection and Serve: Immediately reduce the heat to medium-low. Continue to cook the carrots, stirring occasionally to ensure even coating and prevent sticking, until they are cooked through to your desired tenderness and the liquid in the pan has completely evaporated. This typically takes about 10 minutes. The carrots should be beautifully glazed and slightly caramelized. Serve immediately to enjoy their warm, sweet, and savory goodness!
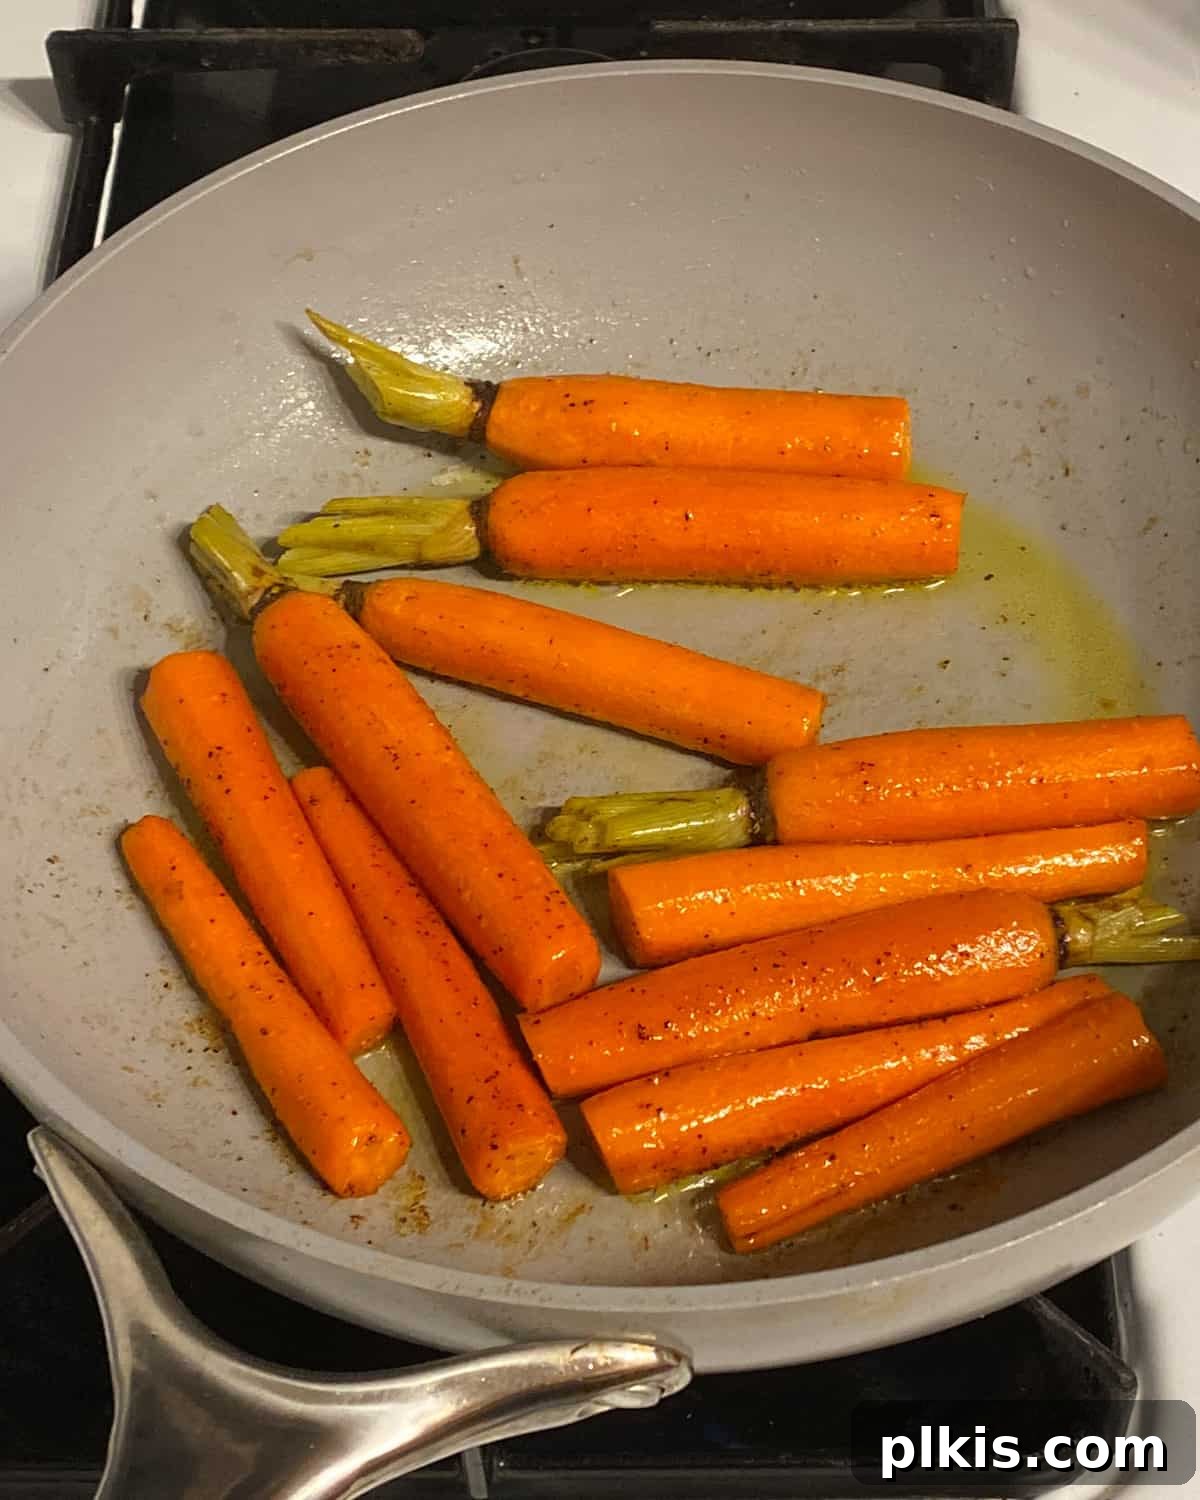
Troubleshooting Tip: If, for some reason, your carrots aren’t cooked to your liking by the time the liquid evaporates, don’t fret! Simply add a tablespoon of water to the pan and continue cooking. This will provide more moisture for the carrots to soften without burning the glaze, ensuring your sugar or maple carrots are perfectly tender.
For those interested in alternative cooking methods like roasting or air frying, please refer to our detailed FAQs section below for complete instructions.
Frequently Asked Questions About Glazed Carrots
Can I make roasted glazed carrots?
Absolutely! Roasted glazed carrots offer a deeper caramelization and a slightly different texture. To prepare them, first preheat your oven to 400°F (200°C) and line a baking sheet with parchment paper for easy cleanup. Toss the peeled and chopped carrots with all the glaze ingredients until they are thoroughly coated. Spread them in a single layer on the prepared baking sheet. Roast in the preheated oven, tossing them every 15 minutes, until the carrots are tender in the middle and beautifully browned and caramelized around the edges. This process typically takes between 35-55 minutes, depending on the thickness and size of your carrot pieces. We recommend starting to check for doneness around 25 minutes by piercing the thickest part of a carrot with a fork; they should be fork-tender. This oven method yields wonderfully rich and deeply flavored carrots, though it does require a bit more time than the stovetop.
Can I make air fryer glazed carrots?
Yes, the air fryer is an excellent option for achieving perfectly glazed carrots with less oil and a crispy-tender finish! Follow the same preparation steps as for roasted carrots: toss the prepared carrots with the glaze ingredients until well-coated. Then, spread the glazed carrots in a single layer in your air fryer basket. Cook at 400°F (200°C) for 15-20 minutes, shaking the basket and tossing the carrots every 6 minutes. The exact cooking time will vary based on the size and thickness of your carrots and your desired level of tenderness and crispness.
Can glazed carrots be made the day before?
While glazed carrots are always best enjoyed fresh, warm, and glistening straight from the pan, you can technically prepare them a day in advance. If you choose to do so, allow them to cool completely before storing them in an airtight container in the refrigerator for up to 4 days. When you’re ready to reheat, gently warm them in a pan with a small amount of vegan butter or oil over low heat until heated through. Be aware that reheating might soften them slightly, losing a bit of their initial crisp-tender texture. To save on precious prep time without compromising freshness, you can peel and slice your carrots up to 3 days in advance and store them in an airtight container in the fridge, ready to cook whenever you need them.
Can I use a sugar alternative?
For those following a keto diet or looking for sugar-free options, you can certainly adapt this recipe. To make keto-glazed carrots, substitute regular sugar with a brown sugar alternative (like erythritol-based sweeteners) or a sugar-free maple syrup. Pair these with a keto-friendly oil such as avocado oil, coconut oil, or olive oil for a delicious, diet-conscious side dish.
Do I have to peel the carrots?
Peeling carrots for this sugar or maple glazed recipe is generally recommended for the best texture and appearance, especially for thicker carrots. However, if you prefer to leave the skin on for added nutrients or to save time, simply scrub them very well under running water to remove any dirt or impurities. The choice is yours!
Are these the same as candied carrots or caramelized carrots?
Yes, all three terms—glazed, candied, and caramelized carrots—can be used interchangeably for this recipe! The sugar in the glaze cooks down and adheres to the carrots, creating a shiny, slightly sticky coating that essentially “candies” them. This process also leads to a beautiful “caramelization” on the surface, enhancing their natural sweetness and creating those irresistible sweet and savory notes. So, whatever you call them, they’re delicious!
Expert Tips for Irresistibly Glazed Carrots
- Ensure Even-Sized Pieces: This is crucial for uniform cooking. Carrots that are cut into varying sizes will cook at different rates, leading to some being overcooked and mushy while others are still firm. Take a moment to cut them consistently.
- For Extra Tender Carrots: If you prefer your carrots very tender, or if you’re using particularly thick pieces, consider par-boiling them for about 5 minutes before adding them to the pan with the glaze ingredients. This jumpstarts the cooking process and ensures they soften quickly in the glaze.
- Achieve a Beautiful Sear: While cooking on the stovetop, resist the urge to stir the carrots constantly. Allowing them to sit undisturbed for a few minutes at a time creates delicious caramelized spots and a slight sear on their surface, adding depth of flavor and texture. However, keep an eye on them to prevent burning.
- Customize the Sweetness: The amount of sugar or maple syrup listed in the recipe is a guideline. Feel free to increase or decrease it to match your personal preference. If you find the glaze turns out too sweet, a small pinch of additional sea salt can effectively cut through and balance the sweetness.
- Reduce Cooking Time: If you’re in a hurry, cutting the carrots into thinner batons or slices will significantly reduce their cooking time. Smaller pieces cook much faster, allowing you to get this delicious side dish on the table even quicker.
Elevate Your Sweet Carrots: Exciting Flavor Variations
Once you’ve mastered the basic glazed carrots recipe, the fun truly begins! This simple foundation is perfect for experimentation. Unleash your creativity by adding different spices, liquids, and aromatic ingredients to craft sweet glazed carrots perfectly suited for any occasion or palate.
Spices & Seasonings: Adding dry spices and seasonings is the easiest and most impactful way to infuse new flavors into these easy glazed carrots:
- Cinnamon: A warm, aromatic spice that beautifully complements the sweet elements of the dish, creating a cozy, autumnal feel. Perfect for holiday meals.
- Nutmeg: Often paired with cinnamon, just a tiny pinch of nutmeg adds a subtle, fragrant warmth that enhances the overall sweetness.
- Chili Powder or Cayenne Powder: For those who appreciate a hint of heat, a dash of chili powder or cayenne can create a wonderful sweet-and-spicy contrast.
- Paprika (Sweet or Smoked): Sweet paprika adds a mild, peppery note and a beautiful color. Smoked paprika, on the other hand, can create subtly smoked glazed carrots, offering an earthy and robust flavor profile.
- Garlic Powder: A touch of garlic powder, added to taste, can introduce a savory depth that balances the sweetness without overpowering the carrots.
- Ginger: For fragrant ginger glazed carrots, add finely minced fresh ginger to the pan with the other ingredients. Its zesty, spicy notes are a fantastic counterpoint to the sweet glaze.
Fresh Herbs: A sprinkle of fresh herbs just before serving adds a burst of color and a fresh, aromatic finish to your vegan glazed carrots.
- Thyme: Earthy and slightly minty, fresh thyme pairs wonderfully with the sweetness of carrots.
- Parsley: A classic garnish, fresh parsley adds a clean, herbaceous note and visual appeal.
- Dill: For a distinctive, slightly tangy flavor, fresh dill offers a unique twist that complements the carrots beautifully.
Mix and Match for Unique Combinations: Don’t be afraid to combine different elements! For example, orange-glazed carrots (using a splash of orange juice in the glaze) pair wonderfully with a hint of fresh ginger. Cinnamon and chili powder can create an exciting sweet and spicy dynamic. The possibilities are endless!
Storage and Reheating Recommendations
While these sugar or maple syrup carrots are truly at their peak when served fresh from the skillet, any leftovers can be easily stored and enjoyed later. Allow the cooked carrots to cool completely to room temperature before transferring them to an airtight container. They will keep beautifully in the refrigerator for up to 4 days. For longer storage, you can also freeze any leftover glazed carrots in a freezer-safe bag or container for up to 4 months. To maintain the best texture, thaw them overnight in the refrigerator before reheating.
To reheat your candied carrots, the best method is to gently warm them in a pan on the stovetop. Add a tiny bit of oil or vegan butter to the pan over low heat, then add the carrots and stir occasionally until they are heated through. While the microwave can be used for convenience (in 30-second increments), be aware that this method may result in a slightly mushier texture compared to stovetop reheating.
Explore More Delicious Vegetable Side Dishes
If you loved these glazed carrots, you’ll surely enjoy these other fantastic vegetable-focused side dishes perfect for any meal:
- The BEST Vegan Mashed Potatoes (+ Variations!)
- Creamy Mashed Cauliflower
- Easy Vegan Brussels Sprouts Recipe
- Vegan Roasted Vegetables
- Rosemary Roasted Potatoes
- Vegan Cornbread Recipe Cast Iron Skillet
You might also enjoy browsing through this extensive list of 45 vegan Thanksgiving recipes for more holiday inspiration.
Photos by Alfonso Revilla
How To Make Glazed Carrots [+ Flavor Variations]
Rating: 5 out of 5 stars from 65 votes
Prep Time: 3 mins
Cook Time: 10 mins
Total Time: 13 mins
Servings: 2 servings
Print Recipe
Here’s a simple guide to making easy sugar or maple glazed carrots on the stovetop (or oven/air fryer) in under 15 minutes with just a handful of ingredients and several flavor variations – perfect for Easter, Thanksgiving & Christmas!
Equipment
-
Measuring spoons
-
My favorite knives
Ingredients
- ½ pound of carrots – peeled and cut into 4-inch lengths
- 1 tablespoon of vegetable or canola oil, or margarine
- 1 ½ tablespoon of sugar
- ¼ teaspoon of sherry or cider vinegar
- ½ teaspoon of salt, or to taste
- ½ teaspoon of freshly ground black pepper, or to taste
Instructions
- Put all ingredients into a saucepan large enough so that the carrots all fit in one layer. Turn the heat to medium-high, and bring to a simmer. Reduce heat to medium-low and cook, stirring and tossing occasionally, until the carrots are cooked through and the pan is dry, around 10 minutes. This should, ideally, all happen at the same time – if for some reason the carrots aren’t cooked through when the liquid has all evaporated, add a tablespoon of water and continue cooking until the carrots are done. Serve immediately.
Notes
- Cut even-sized pieces: They won’t cook uniformly if they aren’t even in size.
- For more tender carrots: You can par-boil the carrots for 5 minutes before starting the pan-fried steps.
- For more of a sear: Don’t stir them too often as they cook to give them a chance to sear. However, don’t leave them too long, or they’ll burn.
- Adjust the sweetness: Increase or decrease the amount of sugar used to taste. If you find them too sweet, add a small amount of additional sea salt to cut the sweetness.
Nutrition Facts (per serving)
- Calories: 83kcal
- Carbohydrates: 20g
- Protein: 1g
- Fat: 0.3g
- Saturated Fat: 0.04g
- Polyunsaturated Fat: 0.1g
- Monounsaturated Fat: 0.02g
- Sodium: 660mg
- Potassium: 370mg
- Fiber: 3g
- Sugar: 14g
- Vitamin A: 18947IU
- Vitamin C: 7mg
- Calcium: 40mg
- Iron: 0.4mg
Additional Information
- Author: Stefan
- Course: Appetizer, Side Dish
- Cuisine: American
- Method: Stovetop
- Diet: Vegan
Tried this recipe? Please tag us at @PlantBasedOnABudget! 🙂