
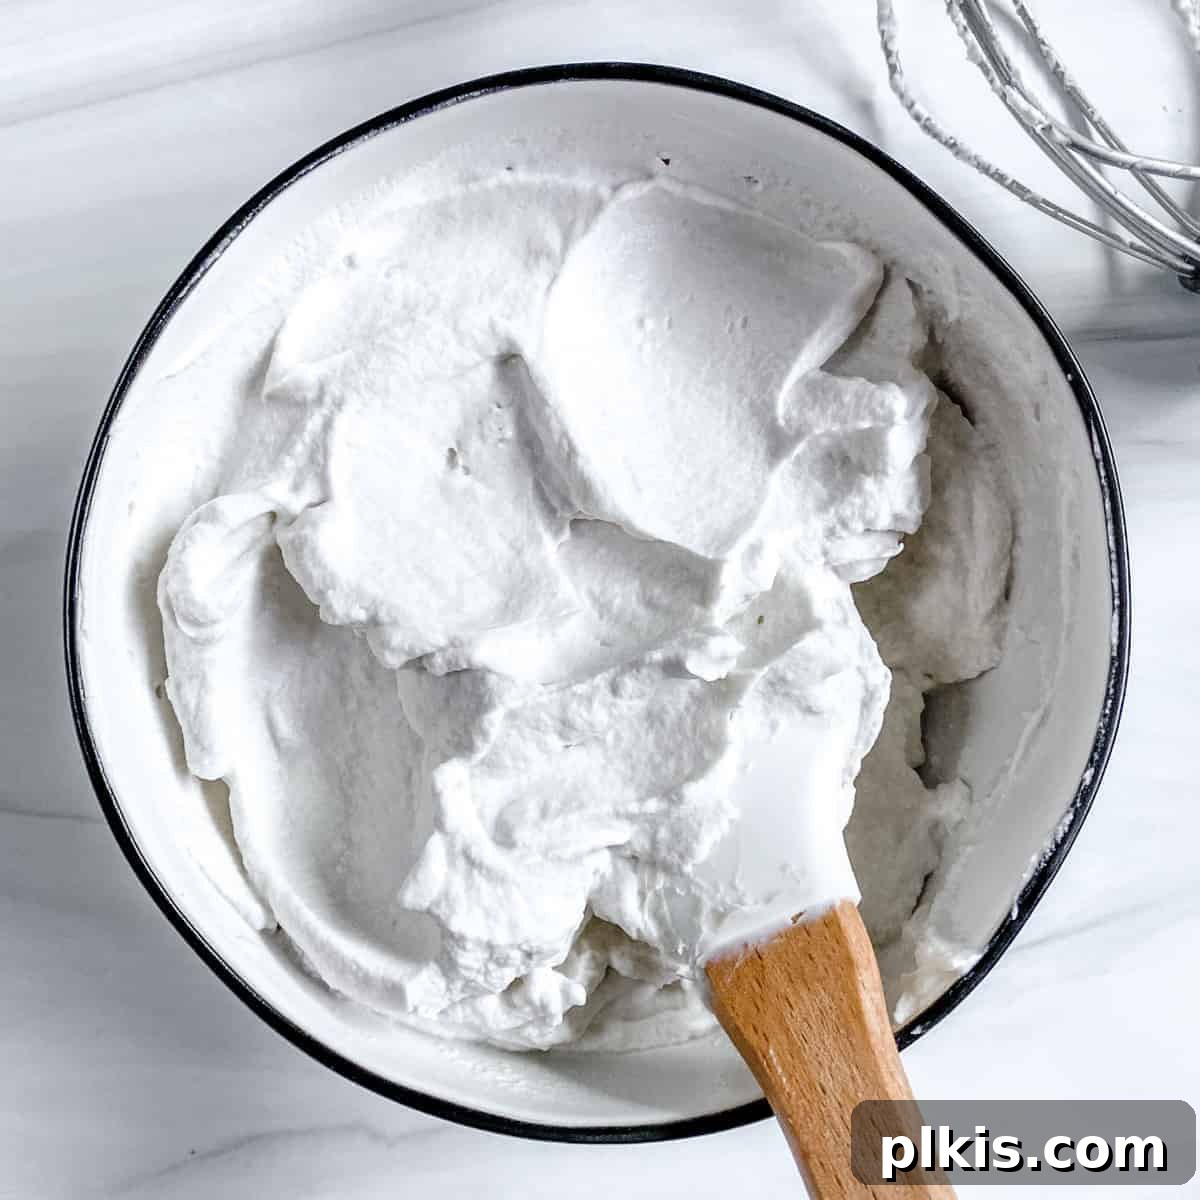
How to Make the Best Dairy-Free Coconut Whipped Cream
Are you searching for a delectable, dairy-free alternative to traditional whipped cream? Look no further! This homemade coconut whipped cream, crafted from simple canned coconut milk, is a game-changer. It’s not only a fantastic vegan option but also aligns perfectly with paleo, Whole30, and keto dietary needs, making it the ultimate versatile topping for all your favorite desserts.
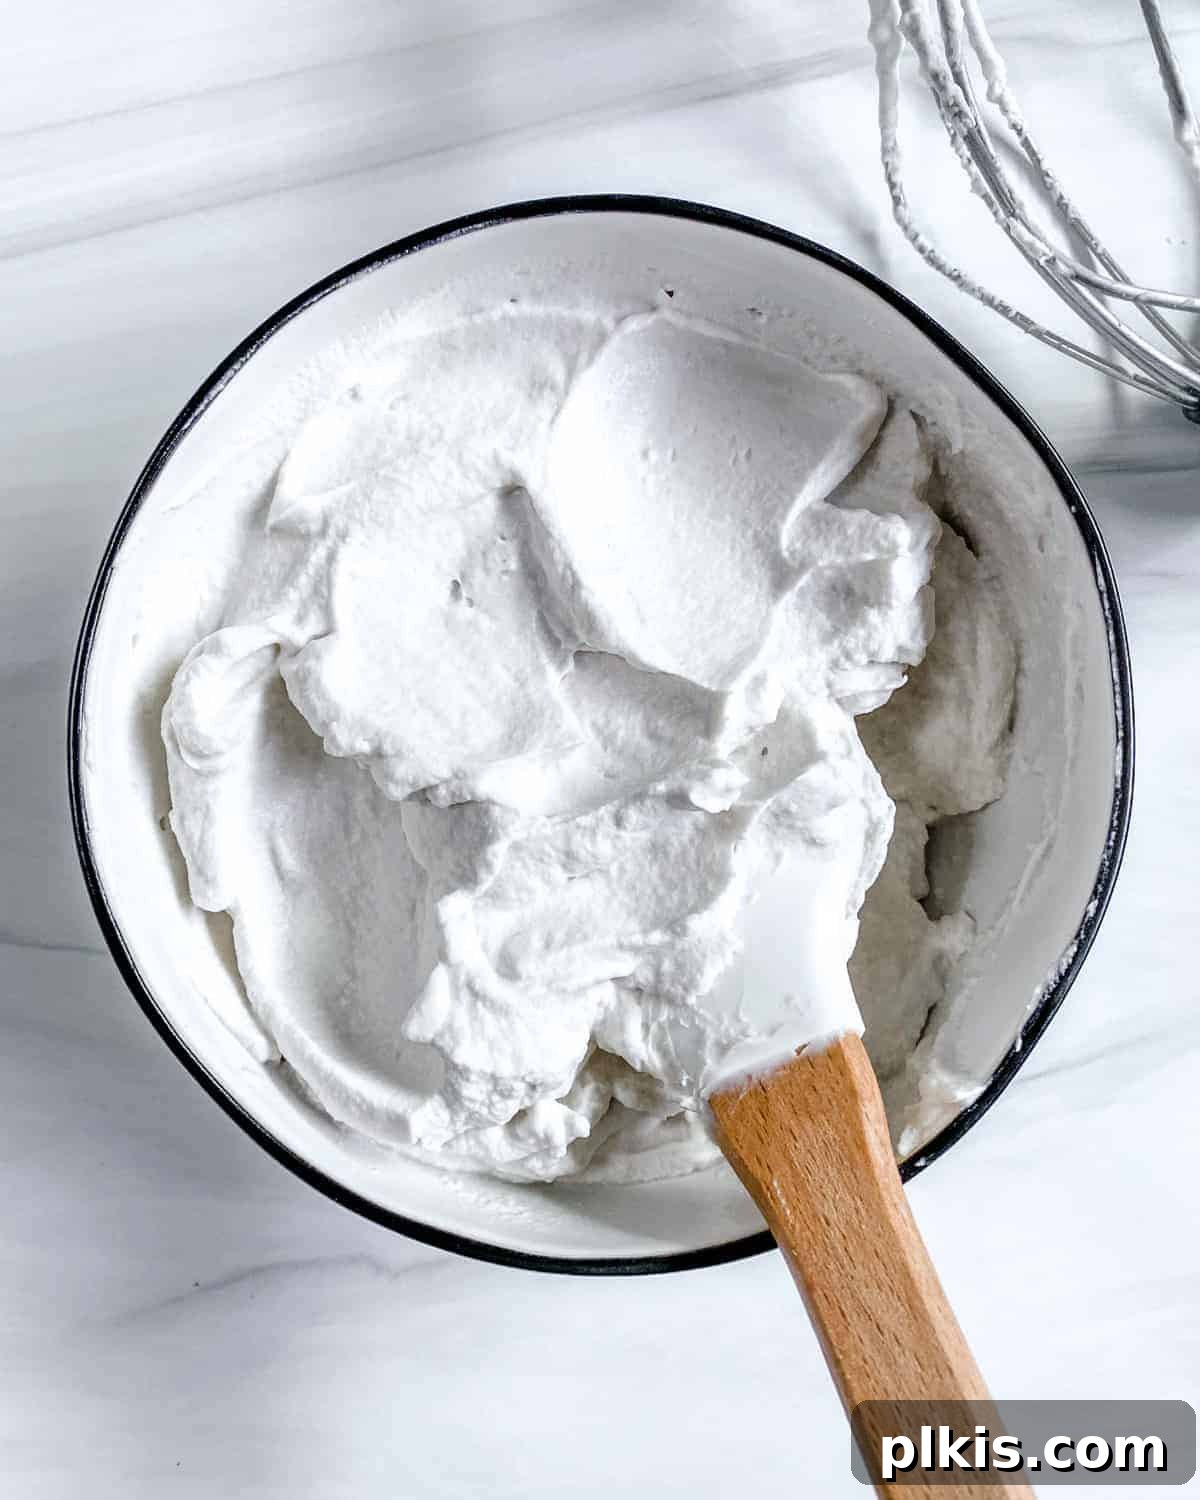
Achieving Light and Fluffy Vegan Whipped Cream at Home
In today’s evolving culinary landscape, commercial dairy alternatives are becoming more prevalent. However, many regions still struggle to find a reliable, store-bought vegan whipping cream. Even where available, these options often come with a hefty price tag. The good news? With a few cans of full-fat coconut milk – a pantry staple for many – you can effortlessly create a wonderfully light, airy, and fluffy coconut vegan whipped cream that rivals its dairy counterpart.
While coconut whipped cream does possess a slightly denser texture compared to conventional dairy whipped cream, it whips up beautifully, creating a delightful topping perfect for an array of baked goods, ice creams, beverages, and other desserts. Essentially, anywhere you’d typically use dairy whipped cream, this plant-based version can step in. Its broad dietary compatibility (paleo, keto, Whole30, dairy-free, vegan) also makes it an ideal inclusion for large gatherings, ensuring everyone can enjoy a sweet treat.
Imagine this luscious topping gracing your holiday tables! We’re already envisioning it atop our Thanksgiving pecan pie and classic apple pie. Learning how to whip coconut cream is incredibly simple, requiring just a few cans of full-fat coconut milk and a minimal time commitment.
Essential Ingredients for Your Coconut Whipped Cream
Crafting perfect coconut whipped cream requires only a handful of ingredients. Quality matters, so choose wisely!
- Full-Fat Canned Coconut Milk: This is the star of our recipe. You absolutely must use full-fat canned coconut milk, not the light versions or coconut milk found in cartons designed for drinking. The high fat content is crucial for the cream to separate and whip effectively. The cans need to be thoroughly chilled in the refrigerator, ideally overnight (or even longer), to allow the thick, solid coconut cream to separate from the clear coconut water.
- Vanilla Extract: While technically optional, a good quality vanilla extract transforms the plain coconut cream into a wonderfully aromatic and flavorful dessert topping. It helps to mellow out any prominent coconut flavor, creating a more universally appealing taste.
- Sweetener (Granulated/Powdered Sugar Preferred): For the best whipping results, we recommend using granulated or powdered sugar. Options include white granulated sugar, coconut sugar, date sugar, or sugar-free alternatives like erythritol. Liquid sweeteners such as maple syrup or brown rice syrup can sometimes weigh down the coconut cream, hindering its ability to whip into stiff peaks. However, if your coconut cream is particularly thick or you’ve had success with liquid sweeteners in the past, feel free to use them. Always add sweeteners gradually and adjust to your taste.
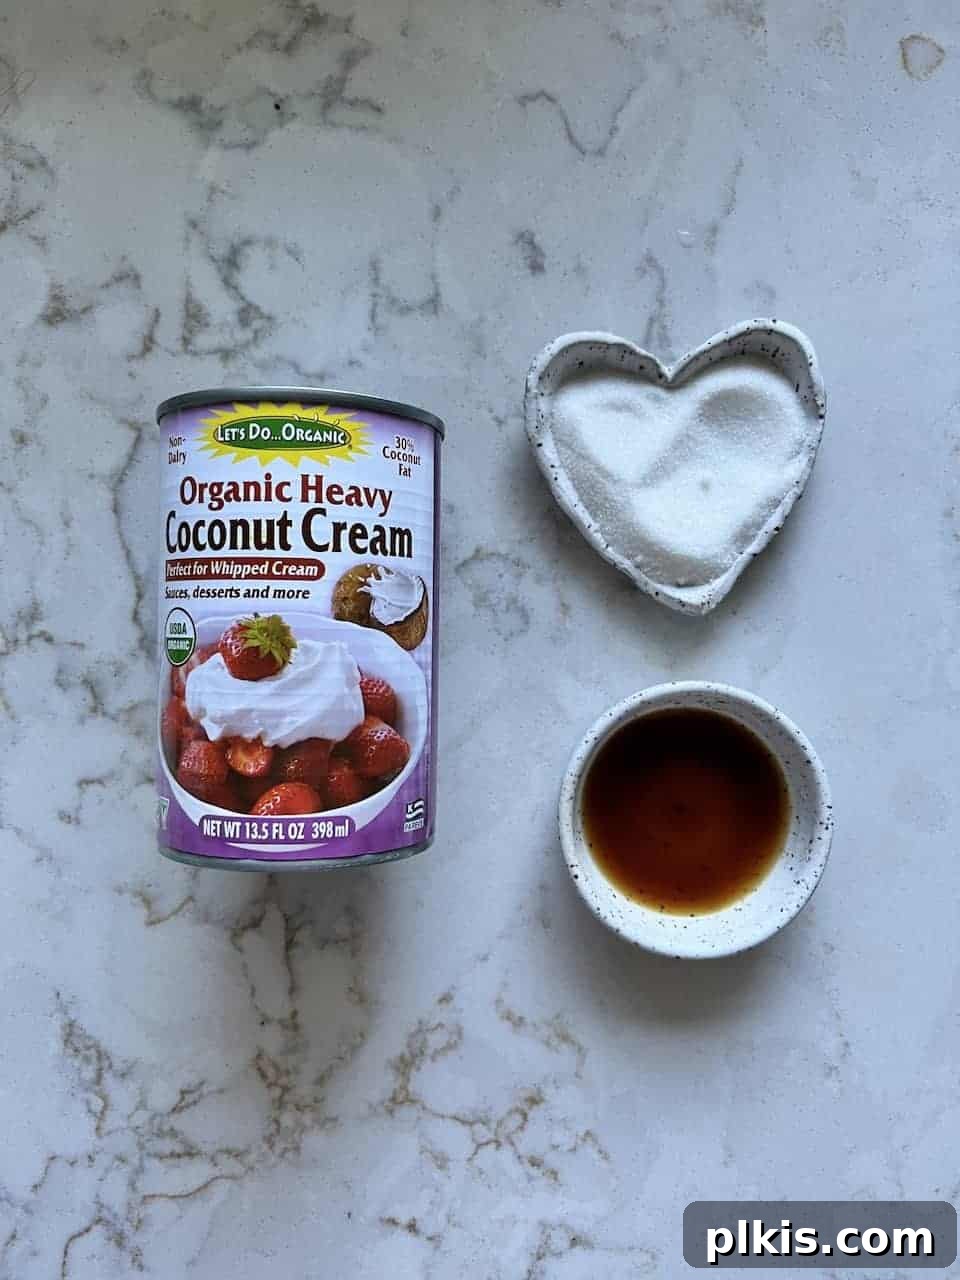
Selecting the Best Coconut Milk Brand for Optimal Results
The success of your coconut whipped cream hinges significantly on the brand of coconut milk you choose. Some brands include additives that can prevent the cream from whipping properly, while others simply don’t seem to yield consistent results, even without obvious stabilizers. Navigating the world of canned coconut milk can be tricky, so here are our top tips for selecting the ideal brand:
- Our foremost recommendation is to opt for a brand with minimal additional additives. Specifically, try to avoid brands that list stabilizers or thickeners like guar gum high up in their ingredient list. These can interfere with the cream’s ability to separate and whip.
- Secondly, always ensure you are purchasing full-fat coconut milk. Light or reduced-fat versions simply do not contain enough fat to create a stable, whipped texture. They will remain liquid, no matter how long you chill or whip them.
- Based on our extensive testing, the best brands that consistently produce excellent coconut whipped cream include (in no particular order): Thai Kitchen, 365 Organic, Native Forest, and Aroy-D. These brands generally have a higher fat content and fewer problematic additives.
It’s important to note that even when following all these guidelines, you might occasionally encounter a can that simply refuses to whip correctly. This can be frustrating, but it’s a common experience for many home cooks. To mitigate this, we highly recommend chilling a few cans of coconut milk at once. This way, if one can doesn’t perform as expected, you’ll have a backup ready to go, saving you time and potential disappointment.
Step-by-Step Guide: How to Make Fluffy Coconut Whipped Cream
Creating this dairy-free delight is surprisingly straightforward, but patience and proper chilling are key. Follow these steps for the perfect light and fluffy texture:
- Chill Your Coconut Milk Thoroughly: The most crucial first step is to refrigerate your cans of full-fat coconut milk overnight. We recommend a minimum of 10-12 hours, but for optimal separation, leaving them for 24 hours (or even longer) is ideal. This extended chilling period allows the thick, solid coconut cream to fully separate and rise to the top of the can, leaving the thinner coconut water at the bottom.
- Separate the Cream from the Water: When you’re ready to make your whipped cream, retrieve the chilled can from the fridge. For easiest separation, turn the can upside down before opening it. The coconut water, now at the top, should be easy to drain off. Carefully open the bottom of the can and pour out the liquid coconut water. Then, scoop the thick, solid coconut cream into a medium-sized mixing bowl. If you accidentally open the can the other way, simply scoop the firm cream from the top, leaving the water behind.
Don’t discard the leftover coconut water! It’s a fantastic ingredient for smoothies, baking recipes, sauces, or simply as a refreshing beverage.
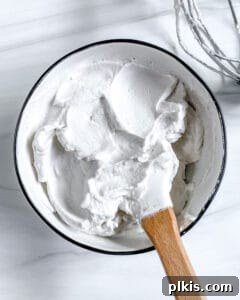
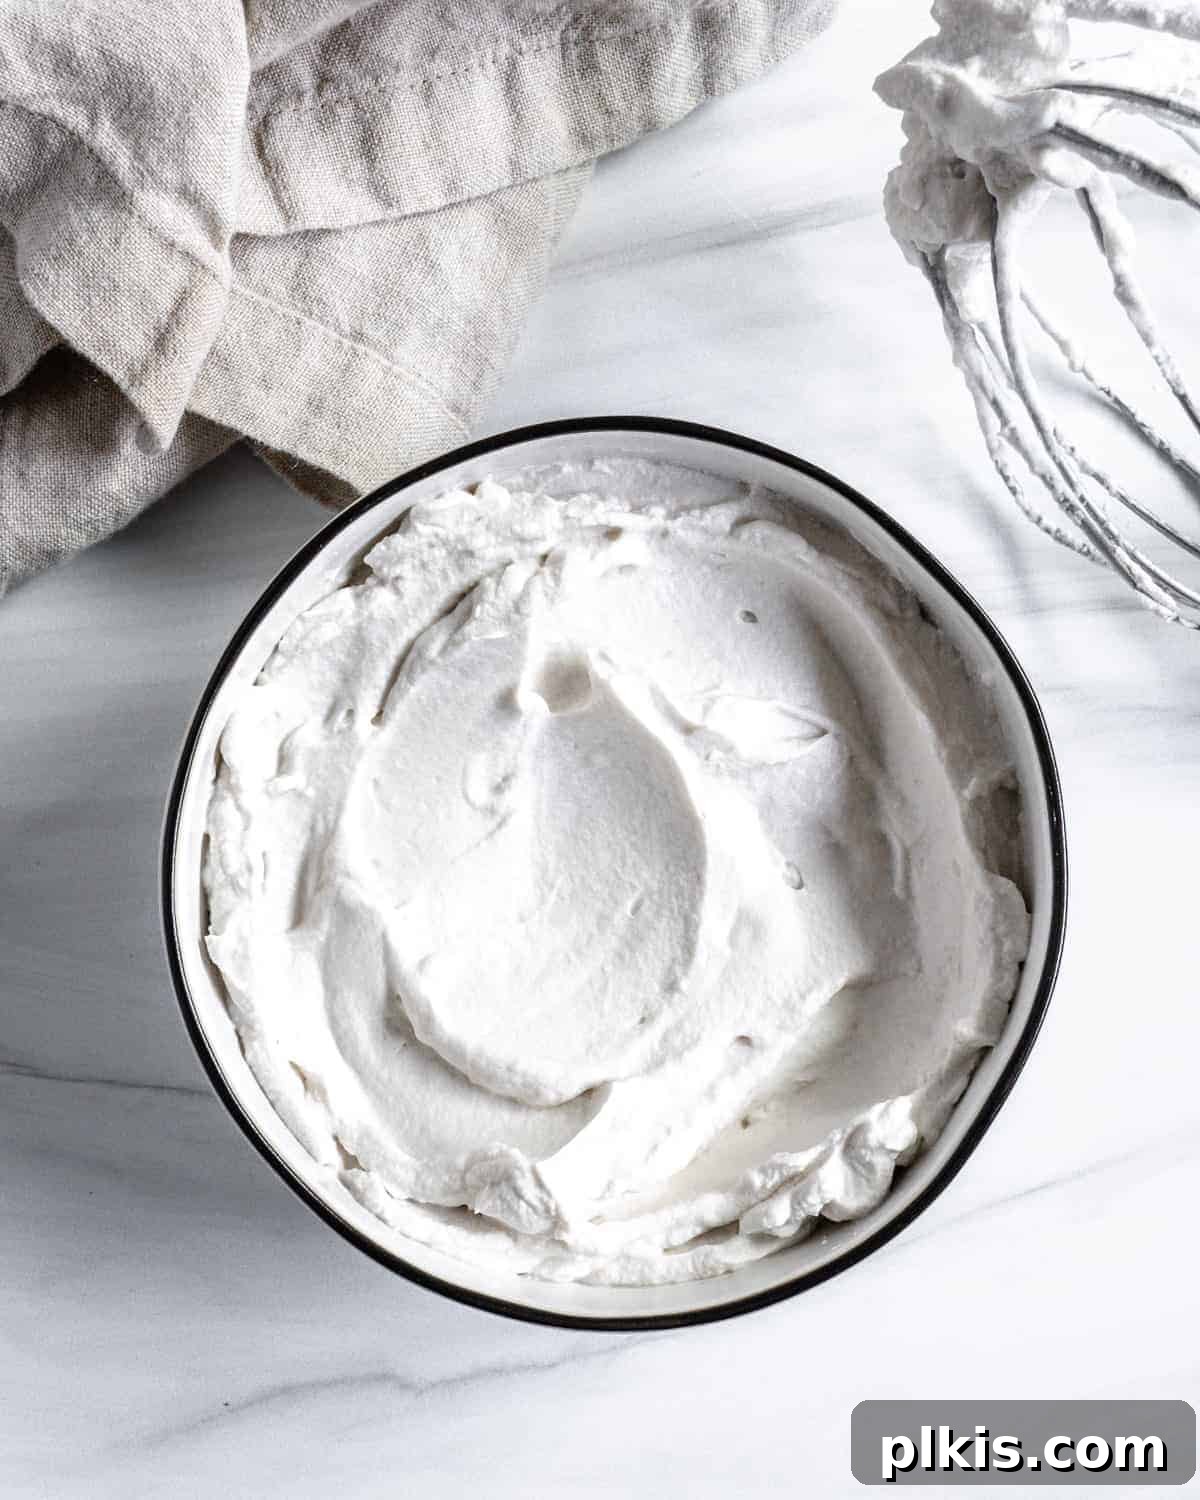
- Whip the Coconut Cream: Immediately transfer the thick coconut cream to a chilled medium mixing bowl. Using either a stand mixer with a whisk attachment or a hand mixer, begin whipping the coconut cream on high speed. Initially, the cream might look slightly grainy or lumpy, almost curdled. Don’t worry; this is normal! Continue to whip. It can take anywhere from 2 minutes for very well-chilled, high-quality cream, up to 7-8 minutes for other brands, until it transforms into a smooth, light, and fluffy texture with stiff peaks. As you whip, periodically scrape down the sides of the bowl to ensure all the cream is incorporated.
- Incorporate Sweetener and Flavorings: Once your vegan whipped cream has started to form stiff peaks, gradually add your chosen sugar (granulated or powdered) and vanilla extract. Continue to whip on high speed for another minute or two, ensuring the sweetener is fully dissolved and the flavorings are evenly distributed. Taste the whipped cream and adjust the sweetness or vanilla levels as desired.
- Enjoy! Your homemade, dairy-free coconut whipped cream is now ready to be served.
During the whipping process, if you find your coconut cream isn’t whipping properly because it’s too thick, you can add a tiny amount of the reserved coconut water (one spoonful at a time) to thin out the cream slightly and make it easier to whip. Alternatively, if using a liquid sweetener, that can also help with consistency. Be conservative with any liquid additions to maintain the whipped structure.
Storage and Shelf Life of Coconut Whipped Cream
Once your coconut whipped cream is beautifully whipped, you can use it immediately or store it for later enjoyment. Proper storage is essential to maintain its delightful texture:
- Refrigeration: Transfer the whipped coconut cream to an airtight container and store it in the refrigerator for 7-10 days. While chilling, it will naturally thicken further and become quite firm. When you’re ready to use it, you might need to re-whip it slightly for a minute or two with a hand mixer to restore its light and fluffy consistency. Be mindful that if left out of the fridge for too long, it will soften considerably and lose its shape.
- Freezing: For longer storage, you can freeze coconut milk whipped cream. Place it in an airtight freezer-safe container or a Ziplock/Stasher bag for up to a month. After thawing in the refrigerator, it will likely have a softer, more liquid consistency. You will almost certainly need to re-whip it once it’s thawed to bring back its desired texture.
Creative Serving Recommendations for Vegan Whipped Cream
This homemade vegan whipped cream is an incredibly versatile and delicious dairy alternative, meaning you can incorporate it into virtually all your favorite dishes where you’d typically use dairy whipped cream. Here are some inspiring ways to enjoy it:
- Simple Fruit Topping: Dollop generously over a bowl of fresh berries, sliced bananas, or any seasonal fruit for an effortlessly elegant snack or dessert.
- Healthier Frosting Alternative: Use it as a lighter, less sweet frosting for your favorite cupcakes and cakes. It offers a delicate richness without being overly heavy.
- Ice Cream & Frozen Desserts: A perfect accompaniment to homemade banana ice cream, sundaes, or any other ice cream-based dessert.
- Breakfast & Brunch Enhancer: Elevate your morning routine by adding a dollop to fluffy pancakes, crispy waffles, or rich French toast.
- Dessert Decoration: Use it to beautifully decorate tarts, add a creamy layer to a vegan cheesecake (like this delightful banana cheesecake), or crown your favorite pies and other chilled desserts. It also works wonderfully dolloped over warm desserts such as apple pie, though it will melt somewhat.
- Beverage Topping: Garnish homemade vegan milkshakes, frothy frappuccinos, and other chilled drinks like this refreshing Cinnamon & Hemp Seed Coffee Shake. While it can also be used for hot chocolate, be aware it will melt fairly quickly, transforming into a creamy, luxurious foam – which is often a delightful experience in itself!
- Mousse Base: Whipped coconut cream serves as an excellent dairy-free base for creating a smooth and indulgent vegan mousse. Explore different flavorings to create unique dessert experiences.
We’d love to hear how you incorporate this homemade vegan whipped cream into your culinary adventures! Share your ideas in the comments section below.
Frequently Asked Questions About Vegan Whipped Cream
Many common questions arise when venturing into the world of dairy-free whipped cream. Here are answers to some of the most frequent queries:
- Can I truly substitute coconut cream for dairy whipping cream? Absolutely! Coconut cream, when properly chilled and whipped, serves as an excellent and direct substitute for vegan heavy cream or traditional dairy whipping cream in most applications.
- Is coconut whipped cream a healthier option than dairy whipping cream? In many respects, yes. Coconut milk naturally contains less cholesterol than dairy cream and offers a good source of dietary fiber, along with several essential vitamins and minerals. These include iron, vitamin B6, potassium, folate, and thiamine. Beyond its nutritional profile, coconut whipped cream is inherently dairy-free, paleo, keto-friendly, and vegan, catering to various dietary preferences. However, it’s important to remember that coconut cream is still a high-calorie food, similar in caloric density to dairy cream, and should be enjoyed in moderation as part of a balanced diet.
- Does coconut whipped cream melt like regular whipped cream? Yes, it does. Like its dairy counterpart, coconut whipped cream is sensitive to heat and will soften and eventually ‘melt’ (lose its whipped consistency) if left at room temperature or on a warm dessert. It’s crucial to keep your whipped cream chilled, and any desserts topped with it should be refrigerated until just before serving to maintain its structural integrity.
- How can I fix runny coconut whipped cream? If your coconut cream turns out too thin after whipping, there are a few troubleshooting steps you can try. First, ensure it was thoroughly chilled. You can attempt to re-chill the mixture in the fridge for 30-60 minutes, then try whipping it again. Sometimes, adding a small amount of additional powdered sugar or a tiny pinch of starch (like tapioca starch or cornstarch) can help thicken the mixture. A very small amount of solid, chilled coconut oil, melted and then stirred in, can also aid in thickening once re-chilled and re-whipped. However, it’s important to be realistic: some cans of coconut milk, despite all efforts, simply won’t whip properly due to inherent variations in composition or additives. If you’ve tried everything and it’s still not working, it’s usually best to use that particular can for other recipes (like curries or smoothies) and try a different brand or can for your whipped cream needs.
- Can I make chocolate coconut whipped cream? Absolutely! To create a chocolate version, simply add 1-2 tablespoons of unsweetened cocoa powder along with the vanilla and sugar during the final whipping stage. Adjust to your desired chocolate intensity.
- Why didn’t my coconut milk separate in the can? If your coconut milk didn’t separate into a solid cream and liquid water layer, it’s most likely due to insufficient chilling time or the specific brand of coconut milk. Ensure it’s been in the coldest part of your fridge for at least 24 hours. Some brands, particularly those with a lot of stabilizers, may not separate as cleanly.
Top Recipe Tips and Notes for Perfect Vegan Whipped Cream
Achieving consistently perfect coconut whipped cream can sometimes feel like an art, but these expert tips will significantly increase your chances of success:
- Prioritize Additive-Free Coconut Milk: As mentioned, avoiding additives like guar gum is paramount. We’ve experienced mixed results with cans containing guar gum; if you must use one, chilling it for at least two days instead of just one can sometimes help. However, for the most reliable outcome, seek out brands that list only coconut and water as ingredients.
- Chill Everything – Not Just the Milk: Keeping your equipment cold is just as important as chilling the coconut milk itself. For optimal whipping, place your mixing bowl (especially if it’s metal) and your whisk attachment in the refrigerator or freezer for 30-40 minutes before you begin whipping the cream. This helps maintain the cold temperature of the coconut cream, which is crucial for achieving stiff peaks.
- Understand the Subtle Coconut Flavor: While vanilla and sugar help to mask it, this whipped cream will inherently have a subtle coconut flavor. If you are particularly averse to coconut, this might not be your ideal dairy-free topping. However, for most, the flavor is mild and adds a delightful tropical nuance.
- Experiment with Extra Flavors: Don’t limit yourself to just vanilla! This recipe is a fantastic canvas for other extracts and spices. Add them at the same time as the sugar and vanilla. Consider extracts like mint, orange, almond, or coffee. Spices such as cinnamon, nutmeg, or a festive pumpkin pie spice blend can transform your whipped cream for seasonal desserts.
- Never Rush the Chilling Stage: We understand the temptation to speed up the chilling process by placing cans in the freezer for a shorter duration. However, this method rarely yields the desired separation and consistency. Trust us, we’ve tried! Stick to the overnight (or longer) refrigeration for the best results.
- Embrace the Inconsistency: After many years of making coconut whipped cream, we’ve learned to accept that sometimes, despite following all the rules, a can simply won’t cooperate. If you’ve tried all the tips and tricks and your cream still isn’t whipping properly, don’t despair or assume you’ve done something wrong. This unpredictable nature is just part of working with natural coconut milk. In such cases, repurpose that can for other recipes that don’t require whipping (like curries, soups, or smoothies), and try again with a fresh can, perhaps from a different brand. Keeping a few extra cans chilled in the fridge is a smart contingency plan for this very reason.
Looking for more delicious ways to incorporate your homemade coconut milk whipped cream? Why not browse through our extensive section of dessert recipes now for endless inspiration!
Photos by Alfonso Revilla
Vegan Whipped Cream Recipe
Dairy-free, soy-free, and adaptable to be sugar-free, this vegan whipped cream is a dream come true for plant-based dessert lovers!
Prep Time: 7 minutes
Total Time: 7 minutes
Servings: 3 servings
Equipment
- Measuring spoons
- Mixing Bowl
- Hand mixer or stand mixer with whisk attachment
Ingredients
- 1 can (13.5 ounce) full-fat coconut milk (chilled overnight)
- 2 teaspoons vanilla extract
- Sugar, to taste (~3 to 4 tablespoons, granulated or powdered preferred)
Instructions
- Refrigerate the can of full-fat coconut milk overnight (at least 10-12 hours, preferably 24 hours) to allow the cream and water to separate.
- Carefully open the chilled can of coconut milk (it’s often easiest to open it upside down after chilling). Slowly pour out the liquid coconut water, reserving it for other uses if desired.
- Scoop the remaining thick, solid coconut cream into a medium, chilled mixing bowl.
- Using a hand mixer or stand mixer with a whisk attachment, whip the coconut cream on high speed for 5-7 minutes, or until it becomes light, fluffy, and forms stiff peaks.
- Mix in the vanilla extract and sugar (or your chosen sweetener) until fully incorporated and the desired sweetness is reached. Taste and adjust if necessary.
Notes
When selecting canned coconut milk, prioritize brands that do not contain guar gum or other stabilizers, as these can hinder the whipping process. The reserved coconut water is great for smoothies, cooking, or as a hydrating beverage.
Nutrition Information (per serving, based on 3 servings)
- Calories: 259 kcal
- Carbohydrates: 4g
- Protein: 3g
- Fat: 27g
- Saturated Fat: 24g
- Polyunsaturated Fat: 1g
- Monounsaturated Fat: 1g
- Sodium: 17mg
- Potassium: 284mg
- Sugar: 1g
- Vitamin C: 1mg
- Calcium: 23mg
- Iron: 4mg
Additional Info
Author: Jake
Course: Dessert
Cuisine: American
Method: No Cook
Diet: Vegan
Tried this recipe? Please tag us at @PlantBasedOnABudget! 🙂