
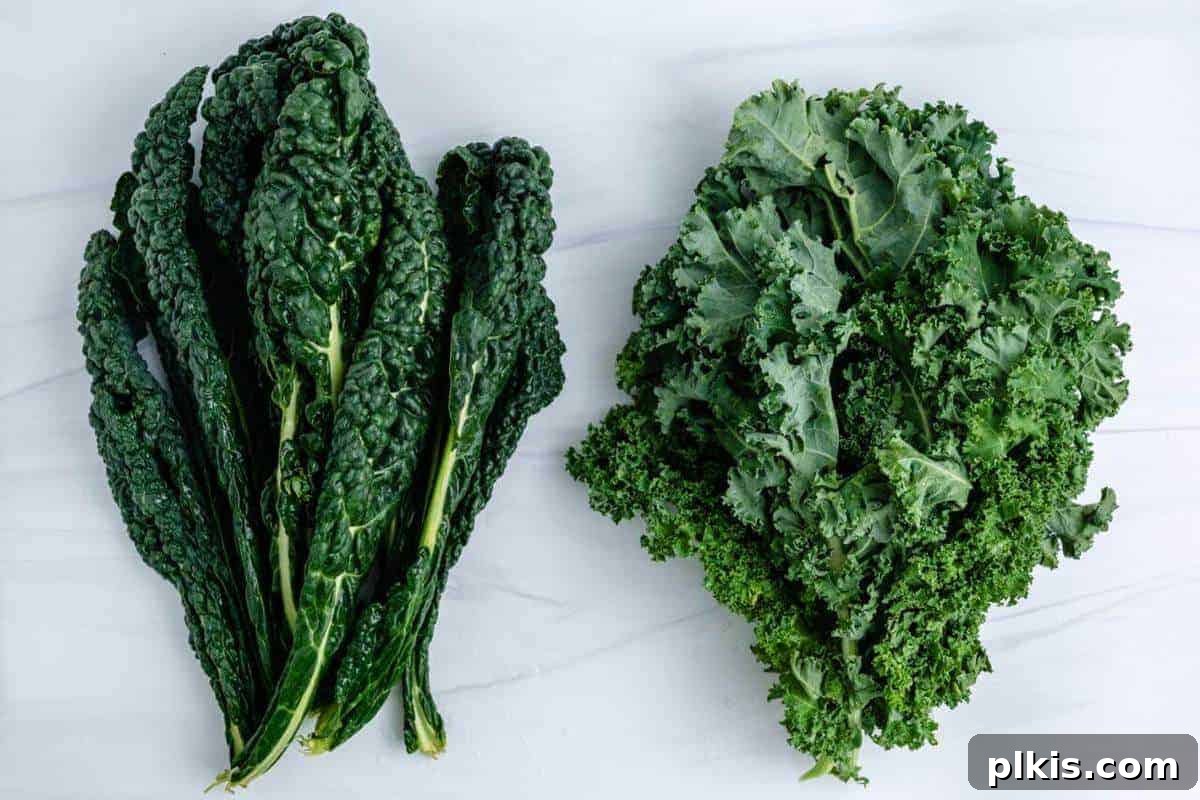
Unlock your culinary potential with this comprehensive guide to essential knife skills for beginners. Whether you’re just starting your cooking journey or looking to significantly improve your kitchen efficiency and safety, mastering proper knife techniques is a fundamental step. This guide will walk you through everything you need to know, from selecting the right knives to executing the most common and vital cuts with confidence and precision.
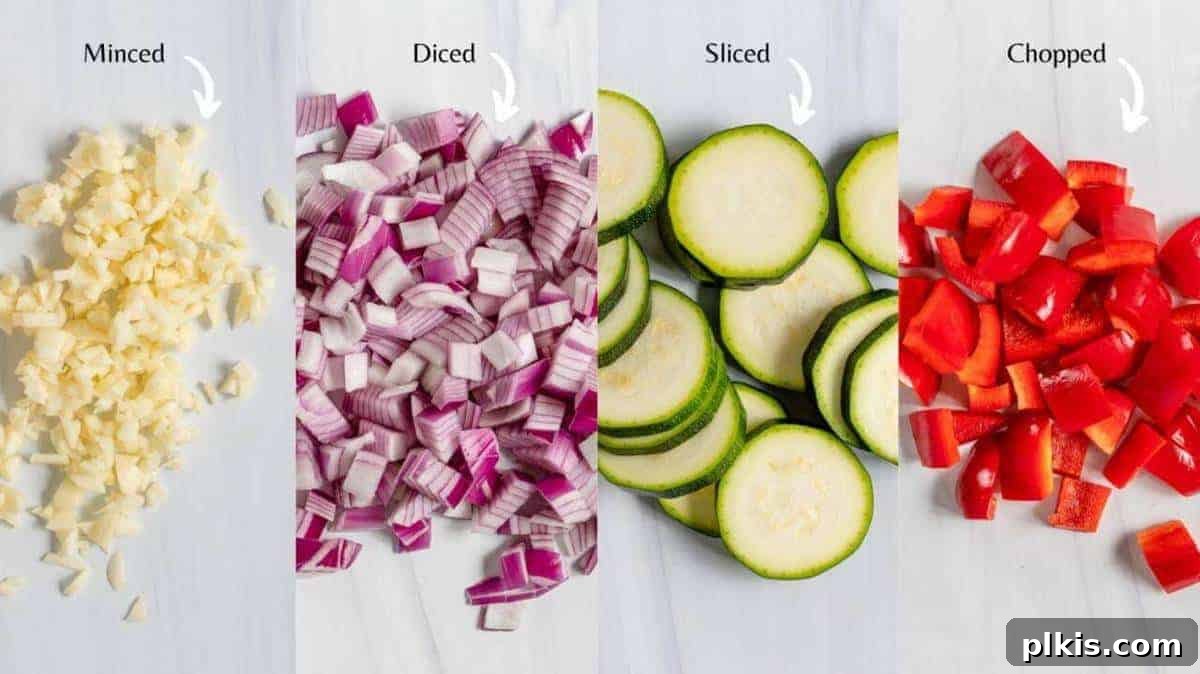
Why Mastering Basic Knife Skills is Indispensable for Every Home Cook
In the bustling heart of any kitchen, the knife is king. Learning fundamental knife skills isn’t just about speed; it’s about transforming your entire cooking experience. If you’ve ever found yourself staring at a pile of ingredients, dreading the endless chopping, or noticed your prep time ballooning, then this guide is for you. Beyond mere efficiency, mastering knife cuts significantly enhances the consistency and aesthetic appeal of your dishes, ensuring everything cooks evenly and looks professionally prepared. More critically, it dramatically reduces the risk of injury, making your time in the kitchen safer and more enjoyable.
By investing a little time in understanding these foundational techniques, you’ll gain the confidence to tackle any recipe, from simple weeknight meals to elaborate gourmet creations. You’ll learn the crucial role each knife plays, how to wield them with expert precision, and the essential cuts that form the backbone of nearly every culinary task. This guide will equip you with the knowledge to select and properly use the three must-have knives in your kitchen, understand the paramount rules of knife safety, and execute seven core knife cuts that every home chef should master.
The 3 Essential Knives Every Kitchen Needs
While specialty knives abound, a few key pieces of cutlery form the cornerstone of a functional kitchen. Investing in these three versatile knives will cover the vast majority of your cutting needs, allowing you to approach any ingredient with confidence.
- Chef’s Knife: This is undeniably the most versatile tool in your arsenal, an undisputed workhorse for everyday cooking. Characterized by its long, wide, and incredibly sharp blade, a standard Western-style chef’s knife typically ranges from 8 to 10 inches. Its Japanese counterpart, the Santoku, is slightly shorter, usually 6-7 inches, with a flatter blade profile. The chef’s knife excels at a multitude of tasks: from vigorously chopping large, dense vegetables like butternut squash and sweet potatoes, to finely mincing garlic and herbs, and even breaking down various proteins. Its curved blade allows for a smooth rocking motion, making it ideal for continuous chopping. When choosing a chef’s knife, look for one that feels balanced and comfortable in your hand, as this will be your primary culinary companion.
- Paring Knife: Designed for precision and delicate tasks, the paring knife is the polar opposite of the chef’s knife in size but equally important in function. These small knives, typically measuring 3-4 inches in length, offer superior control for intricate work. They are perfect for smaller, more detailed chopping jobs that require finesse rather than brute force. Think of tasks like hulling strawberries, meticulously removing “eyes” from potatoes, finely cutting small cloves of garlic, segmenting citrus fruits, or peeling apples and other small fruits and vegetables with precision. Its compact size makes it an extension of your hand for jobs where a larger blade would be unwieldy or unsafe.
- Serrated Knife: Often referred to as a bread knife, the serrated knife is instantly recognizable by its saw-like, sharp teeth running along the blade. This unique design makes it indispensable for slicing through items that have a tough exterior and a soft interior without crushing or tearing them. Its primary use is slicing cleanly through crusty loaves of bread, delicate cakes, pastries, and even tough-skinned fruits like watermelon, pineapple, or tomatoes. The serrations grip the surface and saw through, preventing the knife from slipping or flattening the item. A good serrated knife makes all the difference when presentation and integrity of soft foods are key.
Ready to elevate your kitchen with a reliable knife set? For an excellent starting point that balances quality with affordability, our favorite affordable Cuisinart set offers exceptional value with durable knives and protective covers. If you’re looking to make a more substantial, long-term investment in a professional-grade set designed to last a lifetime, we wholeheartedly recommend this quality option by J.A. Henckels International.
Fundamental Rules for Safe Knife Handling
Safety should always be your top priority in the kitchen, especially when handling sharp objects. Adhering to these fundamental rules for knife handling will not only prevent accidents but also make your cutting tasks more efficient and enjoyable. Practicing these habits diligently will build a strong foundation for a lifetime of confident cooking.
- Always Use the Right Knife for the Job: This isn’t just a matter of convenience; it’s a critical safety measure. Using a paring knife for heavy-duty chopping or a chef’s knife for delicate peeling increases the risk of slipping and injury. Each knife is designed with a specific purpose and blade geometry to make particular cuts easier, more precise, and ultimately, safer. A chef’s knife for large vegetables, a paring knife for intricate work, and a serrated knife for bread or delicate items—matching the tool to the task ensures optimal performance and minimizes strain.
- Keep Knives Razor Sharp: Counterintuitively, a dull knife is far more dangerous than a sharp one. A dull blade requires excessive force to cut through ingredients, increasing the likelihood of it slipping off the food and onto your hand. It makes precise cuts nearly impossible and can lead to hand fatigue. Regularly sharpen your knives using a quality knife sharpening tool or a whetstone. A quick test for sharpness is to try slicing a ripe tomato; a sharp knife will glide through effortlessly, while a dull one will tear the skin. If your blade starts feeling sluggish or struggles with basic tasks, it’s time for a sharpening session.
- Always Use a Stable Cutting Board: A sturdy, non-slip cutting board is your knife’s best friend and your kitchen counter’s protector. Cutting directly on hard surfaces like granite or metal not only dulls and chips your knife blades rapidly but also poses a significant risk if the ingredients or the board itself slide. Always use a cutting board, preferably made of wood, bamboo, or composite material, as these are gentler on blades. To further stabilize your cutting board and prevent any hazardous wobbling or sliding, place a damp cloth, a silicone mat, or a non-slip grip pad beneath it. This simple step creates a secure foundation for all your cutting tasks.
- Master the Safe Knife Grip: A secure and confident grip is paramount. Ensure your grip on the knife handle is firm but not tense, keeping your fingers well away from the sharp edge of the blade. The recommended technique for most tasks is the ‘claw grip’ for your guiding hand. This involves curling your fingertips inwards, tucking them safely under your knuckles, and using the flat part of your index or middle finger knuckle to guide the side of the blade as you cut. This creates a protective barrier for your fingertips, dramatically reducing the chance of accidental nicks or cuts.
- Always Hold the Blade Away from Your Body: This golden rule applies at all times—when actively cutting, when transporting the knife, and especially during washing and drying. If the knife slips or if you lose your grip, pointing the blade away from your body ensures that any potential impact will be with the countertop or floor, not with you. When carrying a knife, hold it by the handle with the blade pointing down and slightly behind you. When washing, wash the blade facing away from you, and dry it carefully from the spine down to the edge.
- Stabilize Ingredients Before Cutting: Wobbly or rolling ingredients are a recipe for disaster. Before making any significant cuts, ensure your ingredient is stable and flat on the cutting board. For round vegetables like onions, potatoes, or bell peppers, slice a thin section from one side to create a stable, flat base. For larger items such as cabbage or melons, quartering or halving them first provides a much safer and more manageable surface for further preparation. A stable ingredient allows for controlled, precise cuts and minimizes the risk of the knife slipping.
- Never Try to Catch a Falling Knife: This is perhaps the most critical rule of all. It’s an instinctive reaction to try and catch something falling, but with a knife, this instinct can lead to severe injury. If a knife slips from your hand, immediately step back and allow it to fall. The knife can always be replaced; your fingers and hands cannot. Alert anyone nearby and then safely pick it up once it has settled.
How to Hold a Chef’s Knife for Optimal Control and Safety
The way you hold your chef’s knife fundamentally impacts your control, precision, and safety. There are two primary grips commonly taught and used by professional chefs, each offering distinct advantages.
The Handshake Grip
The handshake grip is a natural and intuitive way many beginners hold a knife. To execute this grip, simply grasp the handle securely, much as you would shake someone’s hand. Your fingers wrap around the handle, and your thumb rests comfortably on the side. This provides a firm hold and a good sense of stability, especially for powerful chopping tasks where sheer force is sometimes needed. However, while stable, this grip can offer less direct control over the blade’s edge, which is crucial for finer, more delicate work. It’s a good starting point for general tasks, but typically less precise than the pinch grip.
A crucial tip for the handshake grip (and any grip): Avoid placing your index finger over the top of the blade. While this might feel like it offers more control or leverage initially, it’s actually unstable. It puts undue stress on your index finger, leads to quicker hand fatigue, and more importantly, reduces your control over the blade, making it prone to wobbling and increasing the risk of injury. Keep all fingers wrapped around the handle for maximum safety and power.
The Pinch Grip
The pinch grip is widely considered the superior grip for most professional chefs due to its unparalleled combination of strength, control, and balance. To achieve this grip, hold the handle close to the blade, similar to the handshake grip. However, instead of placing your index finger on top of the blade, pinch the base of the blade (the bolster, where the blade meets the handle) between your thumb and the curled-in side of your index finger. Your remaining fingers then wrap around the handle for support. This grip positions your hand closer to the center of balance of the knife, providing exceptional control over the blade’s tip and edge. It allows for more precise movements, reduces wrist fatigue over long periods, and is especially beneficial for fine cuts, dicing, and intricate tasks where accuracy is paramount.
The 7 Essential Knife Cuts Every Home Chef Must Master
Once you’re comfortable with your grip and have your safety rules in mind, it’s time to practice the foundational knife cuts. These are the techniques you’ll encounter in nearly every recipe, and mastering them will significantly elevate your cooking prowess and efficiency in the kitchen.
1. Slice (Rondelle)
Slicing, particularly the “rondelle” cut, refers to creating uniform, round, coin-like pieces from cylindrical or elongated ingredients. Think of cucumbers, carrots, bananas, or zucchini transformed into perfectly even rounds. This versatile cut is excellent for adding visual appeal and ensuring even cooking, making it perfect for fresh salads, sheet pan roasting, quick stir-fries, or even deep-frying chips.
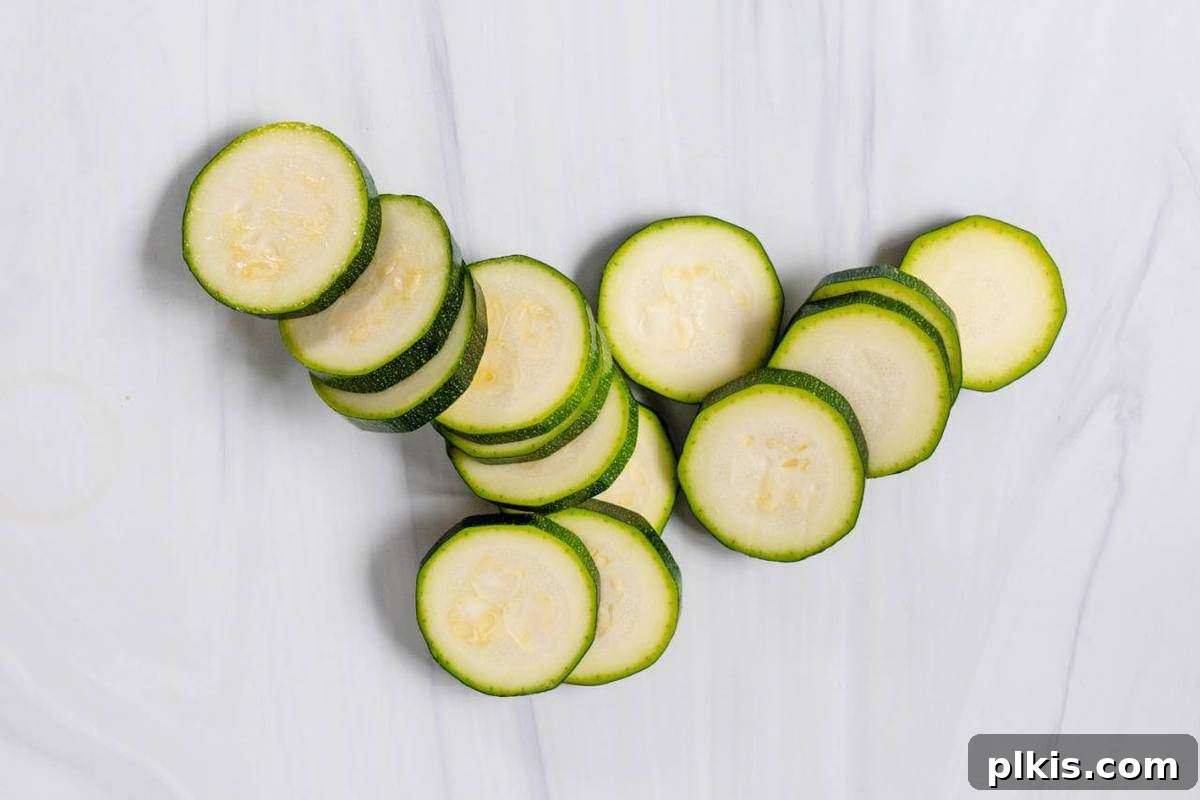
How to Execute a Slice (Rondelle):
- Prepare the Ingredient: Begin by thoroughly washing and drying your chosen vegetable or fruit. Depending on the ingredient and your preference, you may opt to peel it (e.g., carrots). Ensure it’s stable on your cutting board.
- The Cutting Motion: Using a chef’s knife or paring knife (depending on the ingredient size), position the tip of the blade on the cutting board, then rock the knife forward and down, drawing it towards the heel while slicing through the ingredient. This tip-to-heel rocking motion is crucial for clean, efficient cuts. Slice along the length of the ingredient to your desired thickness, typically ranging from ⅛-inch for delicate preparations to ½-inch for heartier dishes. Maintain a consistent thickness for even cooking.
- Bias Slicing (Optional but Recommended): To create visually appealing, elongated oval slices (often seen in stir-fries or as garnishes), slice on a bias. This means cutting at a 45-degree angle to the ingredient’s length, rather than straight across. This technique also increases the surface area, which can be beneficial for browning or absorbing marinades.
2. Dice
Dicing is one of the most fundamental and frequently used knife cuts in cooking, producing uniform, symmetrical cubes of various sizes. The consistency of diced ingredients ensures they cook evenly and integrate beautifully into dishes. Common dice sizes include large diced (¾-1-inch cubes), medium diced (approximately ½-inch cubes), and finely diced (¼-inch cubes). This cut is ideal for a vast array of dishes, from hearty soups and comforting casseroles to fresh salsas and robust stews, where consistent texture and even cooking are paramount.
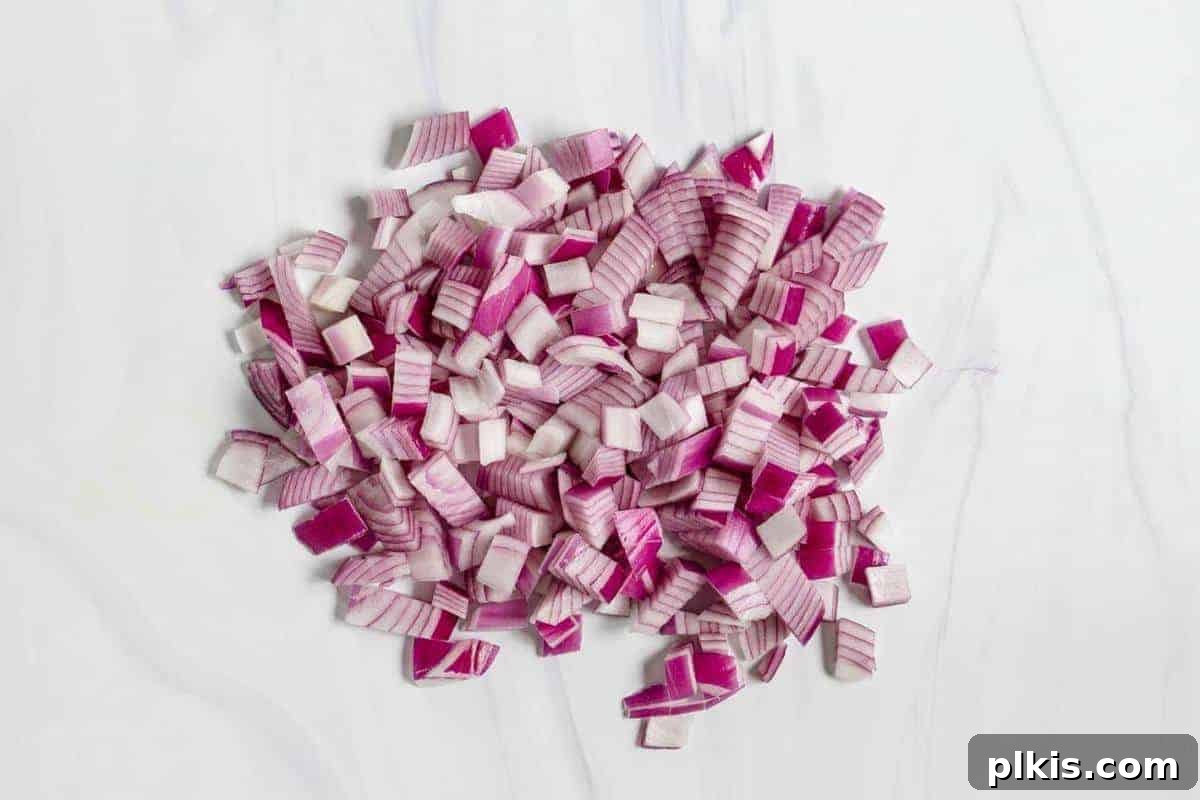
How to Dice a Vegetable (General Method):
- Preparation: Wash, dry, and optionally peel your vegetable. For stability, trim any rounded edges to create flat sides, forming a rough rectangular or square block.
- Create Uniform Planks: Begin by slicing the vegetable into uniform planks (or “slabs”) according to the desired thickness of your dice. For example, for ½-inch dice, aim for ½-inch thick planks.
- Form Batons: Stack a few of these planks (typically 2-3 at a time for efficiency and safety). Then, slice them lengthwise into uniform “batons” or sticks of the same width as your desired dice (e.g., ½-inch wide batons). Use your knuckles as a guide to maintain evenness.
- Complete the Dice: Gather the batons, align their edges neatly, and then slice horizontally across them, again maintaining the desired width. This final cut will yield perfect, even cubes.
How to Dice an Onion (Specific Technique):
Dicing an onion requires a slightly different approach due to its unique layered, spherical structure, but it’s a crucial skill for almost any savory dish.
- Initial Cut and Prep: Using your chef’s knife, cut the onion in half directly through the root end. Place one half flat-side down on your cutting board. Remove the dry, papery outer peel. Trim about ½ to 1 inch from the top (stem end), but crucially, leave the root end intact – this will hold the onion together during the dicing process.
- Vertical Slices: With the flat side down and the root end facing you, make several vertical cuts through the onion, parallel to the cutting board, starting from the cut edge and moving towards the root. Do not cut through the root end; stop about ½ inch before it. The spacing of these cuts will determine the width of your dice.
- Horizontal Slices: While holding the onion firmly with one hand (using the claw grip), make 2-3 horizontal slices parallel to the cutting board, starting from the base and moving towards the root. Again, do not cut through the root end. This creates a grid-like pattern within the onion.
- Final Crosswise Cut: Now, slice the onion crosswise from the top (where you started your vertical cuts) down towards the root. As you slice, perfect cubes will fall away. Repeat the process with the other half of the onion.
3. Chop and Rough Chop
Chopping is a less formal, more forgiving knife skill compared to dicing, making it ideal when absolute precision isn’t the primary goal. It involves cutting ingredients into pieces that are generally larger and less uniform than diced items. A “rough chop” takes this a step further, yielding even bigger, more rustic pieces. This technique is a fantastic time-saver and reduces effort, particularly when the appearance of the cut food isn’t critical, such as for ingredients destined for blended soups, hearty stews, or thick sauces where everything will be pureed or slow-cooked.
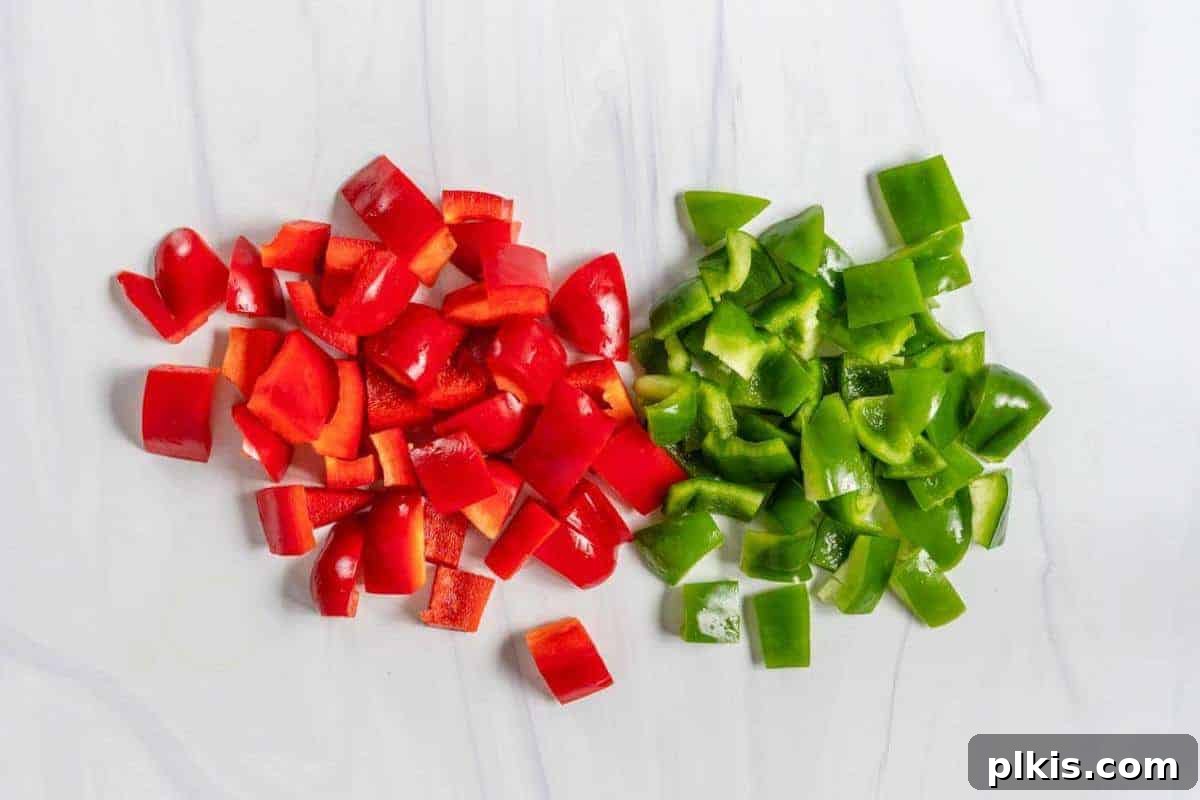
How to Chop:
- Initial Preparation: As always, wash, dry, and optionally peel your vegetable or fruit. For larger items, you may want to quarter or half them to create more manageable sections.
- Determine Size and Execute: Decide on the approximate size you want for your chopped pieces. Then, simply slice and chop the ingredient into pieces of roughly similar size. The motion is often a strong downward stroke or a less refined rocking motion, without the meticulous stacking and alignment required for dicing. The key here is speed and practicality over absolute uniformity. For a “rough chop,” simply aim for larger, more varied pieces.
4. Julienne
The julienne cut, often referred to as “matchsticks,” produces very thin, elongated baton-like strips. These elegant cuts are typically 2-3 inches long and incredibly fine, usually 1/16 to 1/8-inch thick. This technique is most effective with firm ingredients that hold their shape well, such as carrots, celery, bell peppers, apples, or potatoes. Julienne cuts add a refined texture and visual appeal to dishes, making them perfect for crisp salads, quick stir-fries, spring rolls, or creating delicate matchstick fries.
How to Julienne:
- Square the Ingredient: Begin by trimming your ingredient. Remove any rounded edges to create a stable, rectangular block. This squaring process ensures that every slice will be uniform.
- Create Thin Planks: Carefully slice the rectangular block into uniform planks that are 1/8 to 1/16-inch thick. Consistency here is key to achieving well-formed matchsticks.
- Form Strips (Matchsticks): Stack a few of these thin planks on top of each other. Then, slice them lengthwise into equally thin strips, again aiming for 1/8 to 1/16-inch thickness. Maintain your “claw grip” on the guiding hand to ensure safety and precision.
For a slightly larger cut: If you desire thicker strips, such as for crudités on a charcuterie board or heartier homemade fries, increase the thickness in steps 2 and 3 to ¼ to ½ inch. This will result in “batons” rather than matchsticks, a robust cut perfect for dipping or roasting.
- Adjust Length: Finally, gather your matchstick strips and cut them down to your desired length. Typically, a length of 2 to 2½ inches creates standard, elegant matchsticks.
5. Brunoise
Brunoise, a French culinary term meaning “tiny cubes,” represents the pinnacle of dicing techniques. It’s essentially a very fine dice, resulting in miniature cubes that are typically 1/16-inch on all sides. This precise cut is often reserved for aromatics like carrots, celery, and onions, where a subtle distribution of flavor and a delicate texture are desired. Brunoise is frequently used as a garnish or to evenly disperse flavors throughout refined soups, delicate sauces, and clear stocks without adding noticeable bulk or texture.
How to Brunoise:
- Start with Julienne: The brunoise cut begins with the julienne technique. First, prepare your ingredient by squaring it off, then slice it into planks, and finally cut these planks into precise 1/16-inch thick julienne strips (matchsticks).
- Finely Dice the Strips: Once you have your uniform julienne strips, gather them tightly. Then, simply dice these strips across their width into 1/16-inch cubes. The result will be perfectly uniform, tiny cubes that will melt into your dish, providing flavor without prominent texture.
6. Mince
Mincing is the art of cutting ingredients into the absolute smallest pieces possible, creating a very fine dice or chop. This technique is most commonly applied to potent aromatic ingredients like garlic, ginger, chilies, or fresh herbs. The goal of mincing is to maximize the flavor release and ensure these strong ingredients are distributed thoroughly and evenly throughout a dish, becoming an integral part of the flavor profile rather than distinct textural elements.
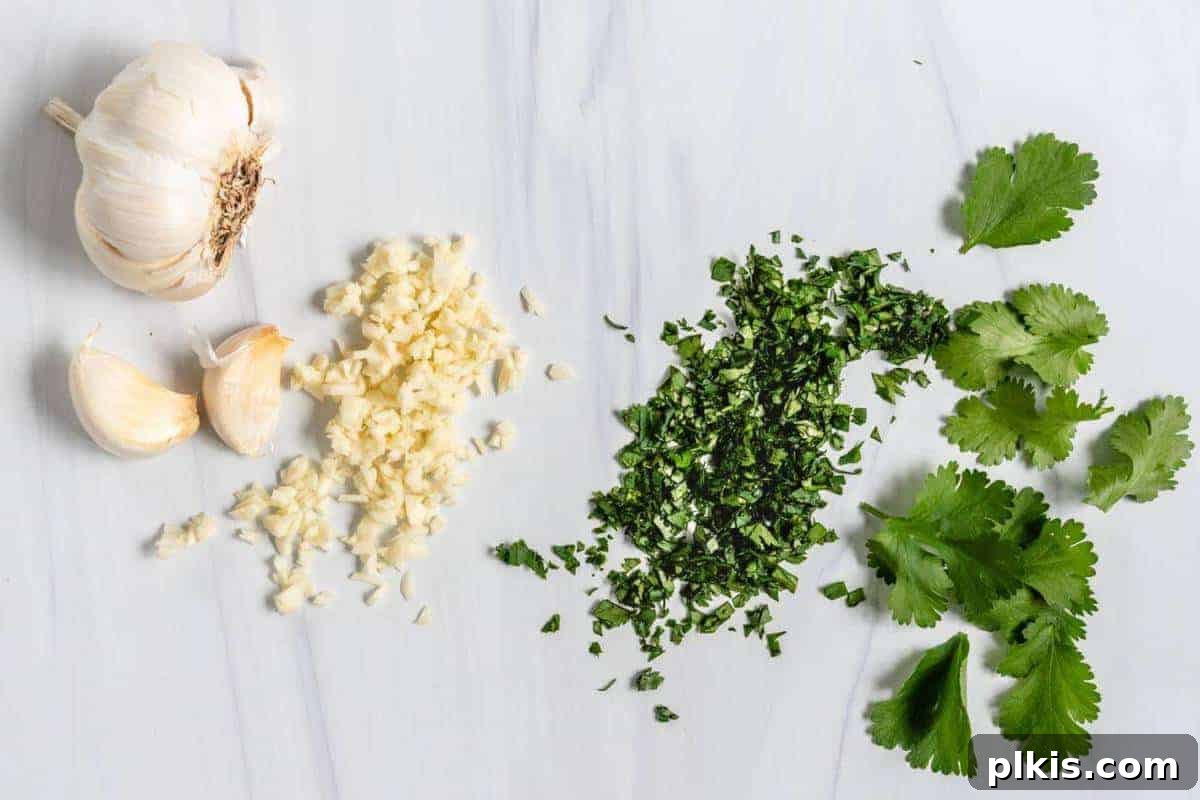
How to Mince:
- Initial Thin Slicing: Begin by preparing your ingredient (e.g., a peeled garlic clove or a piece of ginger). Slice it into very thin 1/16-inch julienne strips or even thinner slices.
- Option 1: Brunoise and Mince: You can first brunoise the julienne strips into tiny cubes (as described above). Then, continue mincing these small cubes.
- Option 2: Direct Mincing (Rocking Motion): A common and efficient method for mincing, especially for garlic and herbs, involves a continuous rocking motion.
- First, roughly chop your ingredient into small pieces.
- Place the tip of your chef’s knife firmly on the cutting board.
- Place your non-dominant hand flat on the spine (top, non-sharp edge) of the knife, with your fingers spread outwards, away from the blade.
- Rock the knife back and forth in a semi-circular or arc-like motion over the chopped pieces. Continually gather the pieces back into a pile with the side of your blade as you mince.
- Continue this rocking motion until the ingredients reach your desired consistency – a very fine, almost paste-like texture.
7. Ribbon (Chiffonade)
The chiffonade technique (French for “made of rags” or “ribbon”) is a visually striking knife skill primarily used for leafy greens and broad-leafed aromatic herbs like basil, mint, spinach, or kale. While not an everyday necessity for every dish, learning to chiffonade is incredibly useful for creating thin, delicate ribbons that serve as beautiful garnishes, add texture to salads, or quickly cook down in stir-fries. It allows for even distribution of flavor and a pleasing presentation.
How to Chiffonade:
- Prepare the Greens: Thoroughly wash and dry your leafy greens or herbs. Ensure they are completely dry, as moisture can make them stick together and lead to uneven cuts. If necessary, remove any tough stems.
- Stack and Layer: Carefully stack several leaves on top of each other. The number of leaves you can stack depends on their size and thickness; usually, 3-6 leaves work best. Ensure they are neatly aligned.
- Roll and Slice: Tightly roll the stacked leaves lengthwise into a compact cylinder, much like rolling a cigar. Hold the roll firmly with your non-dominant hand, securing it with your “claw grip.” Then, use your chef’s knife to slice across the roll at very thin intervals, creating beautiful, delicate ribbons or shreds. The tighter the roll and the sharper your knife, the finer and more uniform your ribbons will be.