
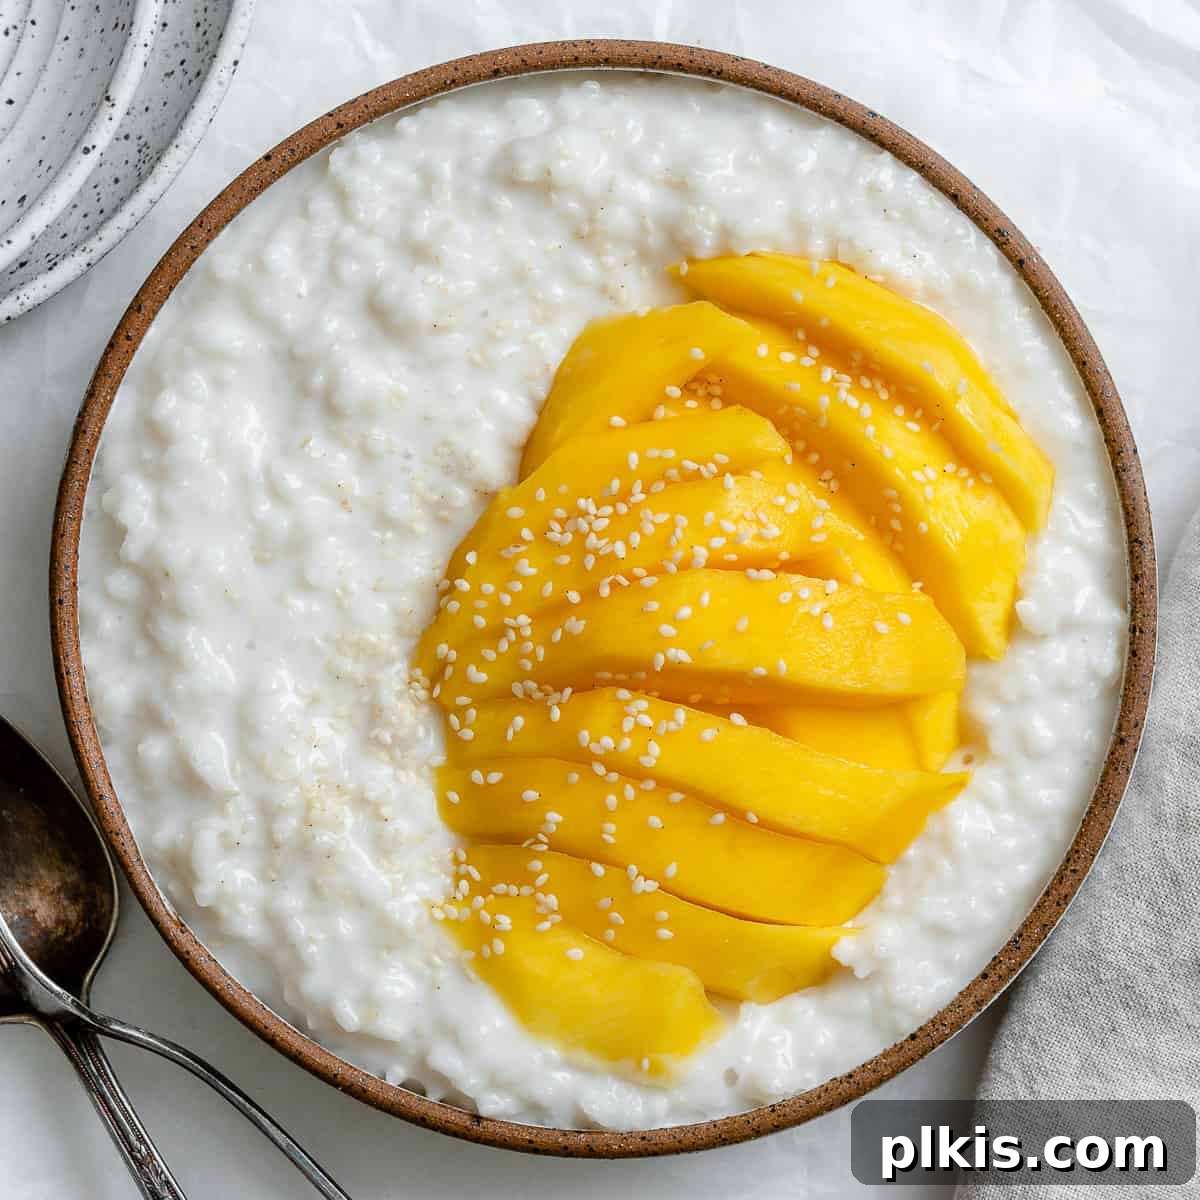
Indulge in the quintessential taste of Thai summer with this irresistible Thai Mango Sticky Rice recipe. Known in Thailand as Khao Niaow Ma Muang, this beloved dessert combines lusciously sweet, creamy coconut milk sticky rice with slices of perfectly ripe, fresh mango. It’s a symphony of textures and flavors that’s surprisingly easy to make, budget-friendly, and naturally both gluten-free and vegan, making it a perfect treat for everyone!
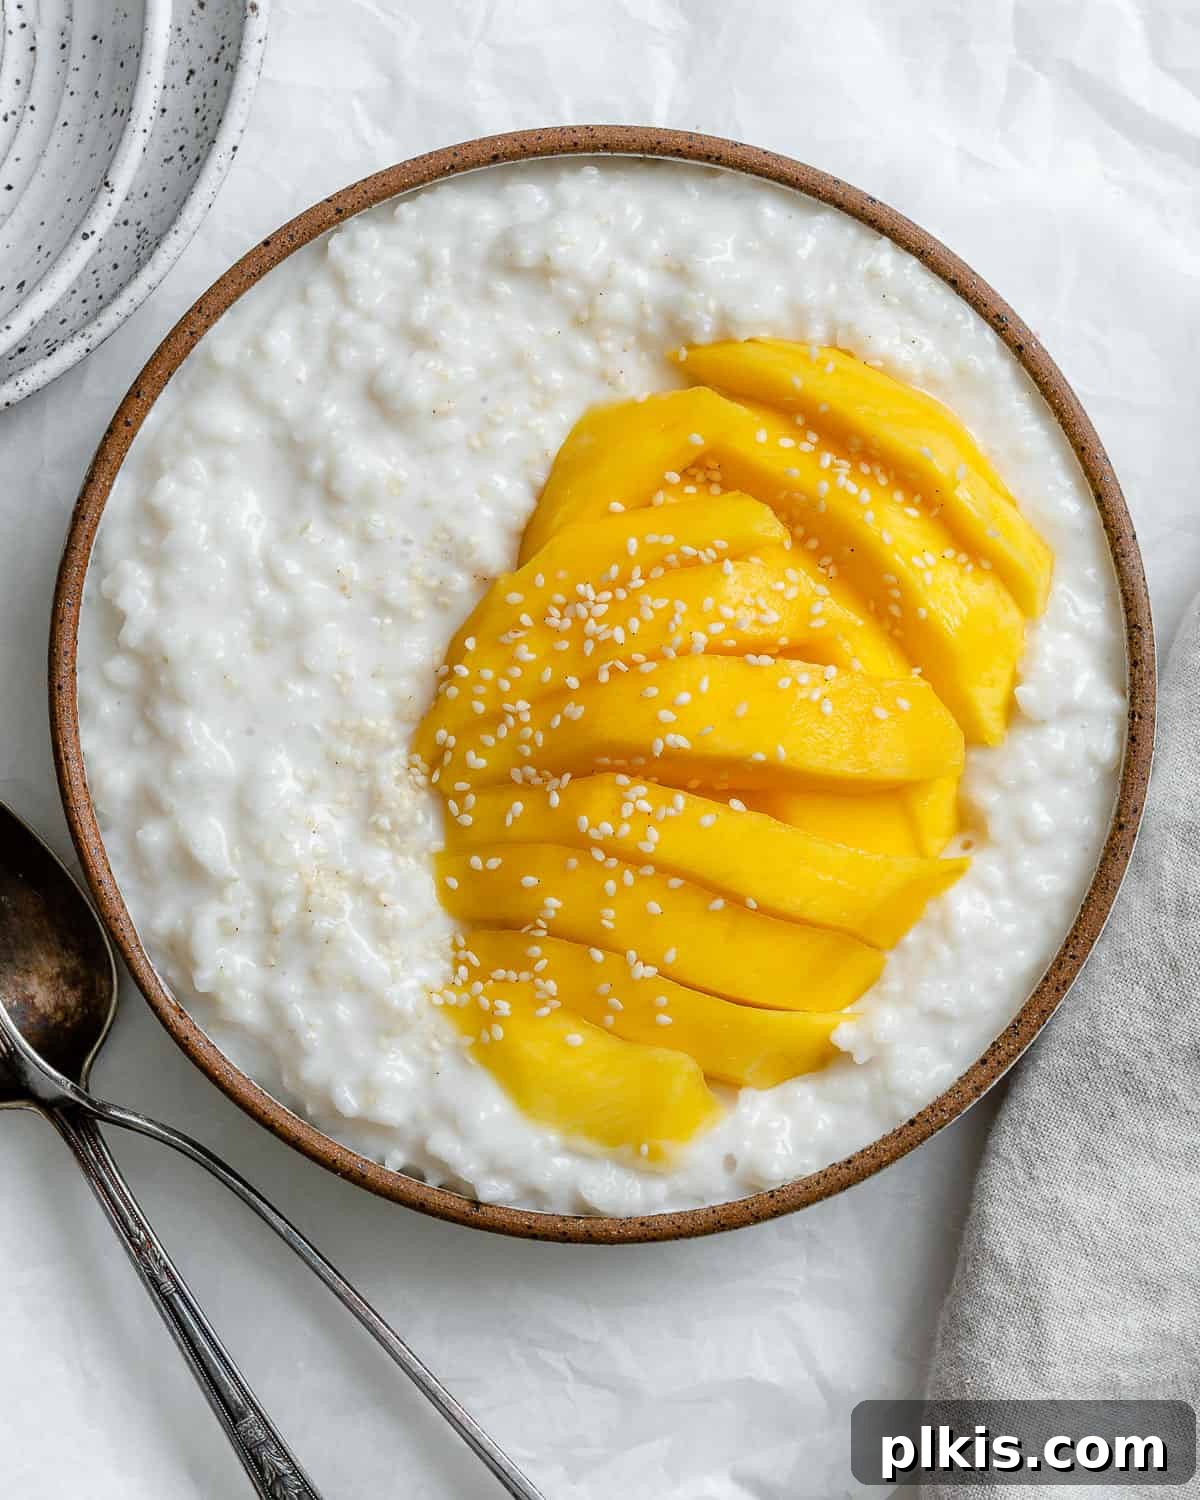
Discover the Magic of Thai Mango Sticky Rice (Khao Niaow Ma Muang)
Thai Mango Sticky Rice, or Khao Niaow Ma Muang, is more than just a dessert; it’s a cultural icon and a celebrated street food throughout Southeast Asia, especially during the peak mango season in April and May. This traditional delicacy features a harmonious blend of textures and tastes: tender, sweet glutinous rice infused with rich coconut milk and sugar, beautifully complemented by the vibrant sweetness and delicate acidity of freshly sliced mango.
The magic begins with glutinous rice, meticulously steamed to achieve its signature sticky yet fluffy texture. Meanwhile, a luxurious sauce is prepared by gently heating coconut milk with sugar, often a pinch of salt to enhance its sweetness, and sometimes aromatic pandan leaves. Once the rice is perfectly cooked, it’s lovingly combined with this warm coconut concoction, allowing each grain to absorb the creamy liquid, transforming it into a wonderfully sweet and fragrant base.
What truly sets Khao Niaow Ma Muang apart is the balance it strikes. The inherent richness and sweetness of the coconut sticky rice are expertly cut by the bright, fruity notes of ripe mango. The result is a dessert that feels simultaneously decadent and light, making it the ultimate summery delight. Whether you’re a seasoned chef or a beginner in the kitchen, you’ll find that mastering this dish is incredibly simple, requiring just a handful of pantry staples and a few straightforward steps. It’s a testament to how humble ingredients can create an extraordinary flavor experience, perfect for rounding off a meal of vegan Pad Thai, a hearty crockpot Thai red curry, or even a vegan Thai pizza.
Essential Ingredients for Authentic Coconut Sticky Rice
Crafting this delightful dessert requires a surprisingly short list of readily available and affordable ingredients. Each component plays a crucial role in achieving the authentic taste and texture of Thai Mango Sticky Rice.
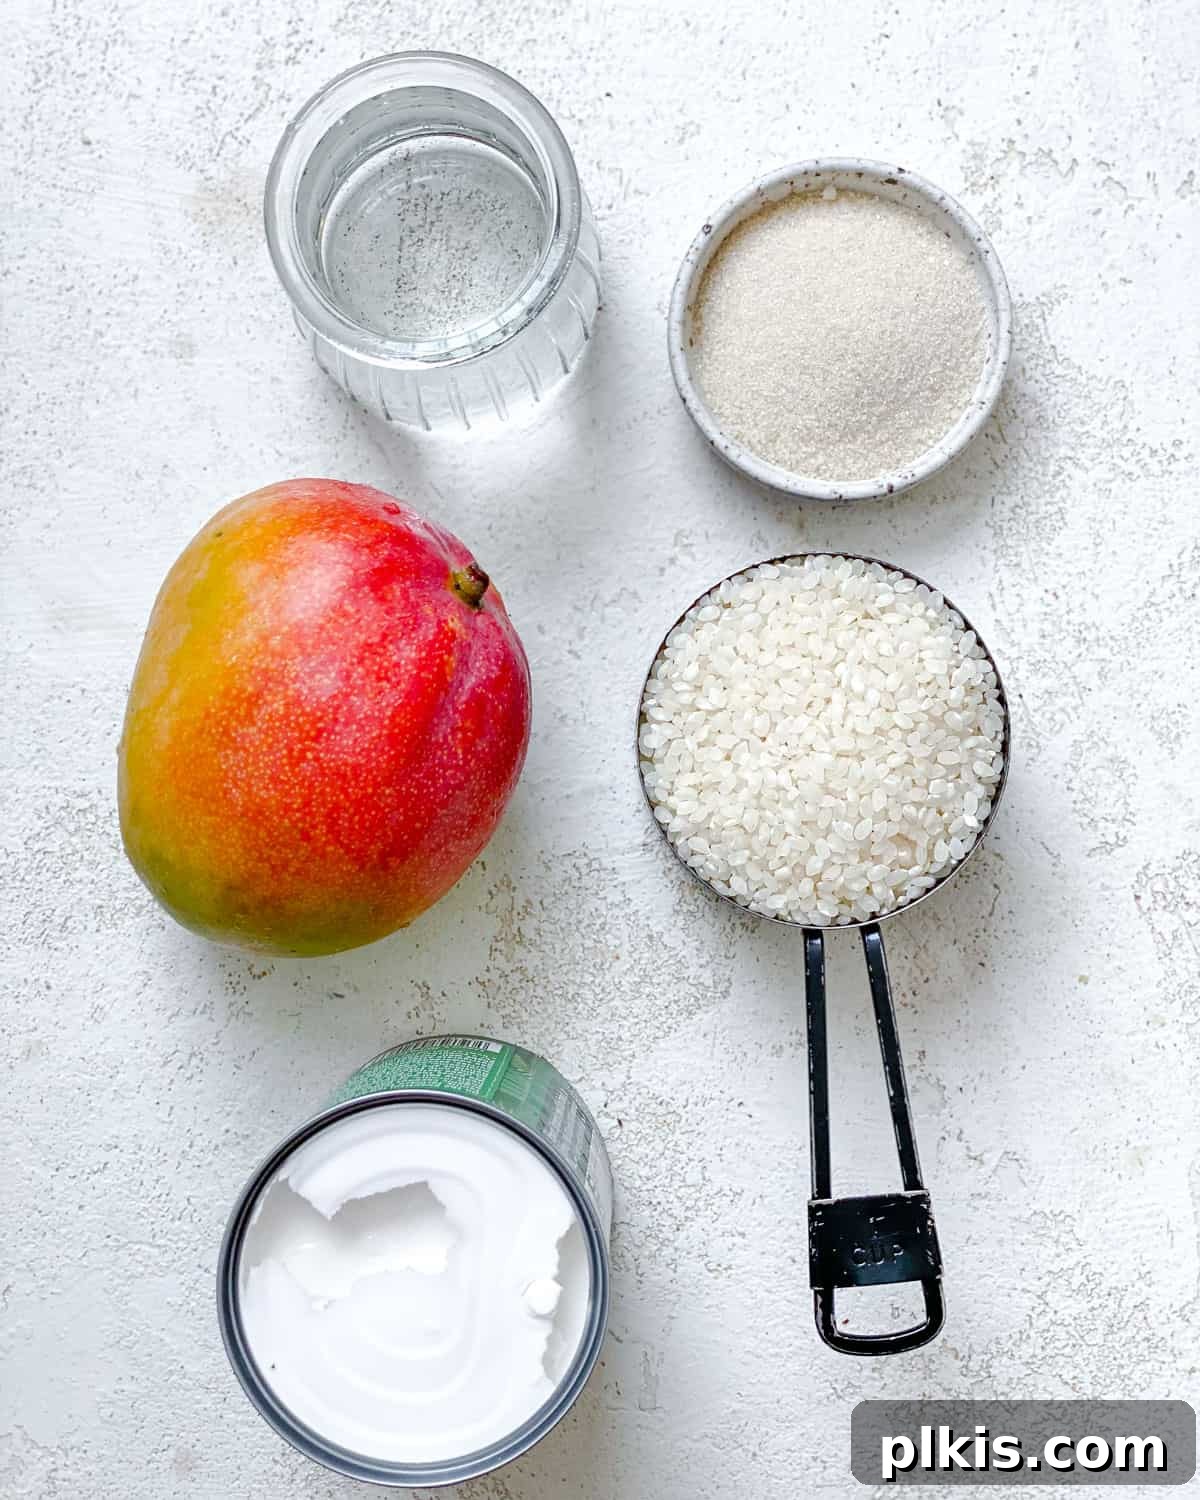
- Sticky Rice (Glutinous Rice): This is the star of the show. It’s imperative to use Thai glutinous rice, often labeled “Thai sweet rice” or “mochi rice.” Regular long-grain or jasmine rice will not yield the desired sticky, chewy texture. Glutinous rice contains a high amount of amylopectin, which gives it its characteristic stickiness when cooked. While white glutinous rice is most common, black versions also exist and take longer to cook. A 50/50 blend can create a visually striking purple rice.
- Water: Used for rinsing and steaming the sticky rice. The quality of water can subtly impact the final taste, so filtered water is often preferred.
- Coconut Milk: For the most luxurious and creamy mango sticky rice, full-fat canned coconut milk is highly recommended. Its rich texture and flavor are integral to the dessert. While lite coconut milk can be used as a lower-fat alternative, it will result in a less decadent dish. Look for brands with a high coconut extract percentage for best results.
- Sugar: Traditionally, palm sugar or jaggery are used for their caramel-like notes and depth of flavor. However, you can easily substitute with other sweeteners like coconut sugar, raw cane sugar, or even maple syrup for a slightly different profile. For those managing sugar intake, alternatives like xylitol or erythritol can also be experimented with, adjusting the amount to taste. The key is to balance the sweetness to your personal preference.
- Mango: The quality of your mango makes all the difference. Always opt for ripe, in-season mangoes to ensure maximum sweetness, juiciness, and a wonderfully soft texture. Popular Thai varieties like Nam Dok Mai or Ataulfo (honey mango) are ideal due to their tender flesh and intense sweetness with minimal fibers.
- Sesame Seeds (Optional Garnish): A sprinkle of sesame seeds, either raw or toasted, white or black, adds a lovely textural contrast and a subtle nutty flavor. They also enhance the visual appeal of the dish.
- Pinch of Salt (Recommended): Although often overlooked, a small pinch of salt in the coconut milk mixture is crucial. It doesn’t make the dessert salty but rather amplifies and balances the sweetness, enhancing the overall flavor profile of the coconut mango rice.
- Pandan Extract (Optional Flavor Boost): For an added layer of authentic Thai aroma, a few drops of pandan extract can be incorporated into the coconut milk. Pandan offers a unique, slightly vanilla-like, grassy fragrance that is characteristic of many Southeast Asian desserts.
By carefully selecting these simple ingredients, you lay the foundation for a truly unforgettable homemade Thai Mango Sticky Rice experience.
Mastering the Art of Making Sticky Rice
Creating delicious mango coconut sticky rice is a straightforward process, broken down into a few key steps. Patience and attention to detail, especially during the rice preparation, will ensure a perfectly tender and flavorful dessert.
Step-by-Step Instructions
- Rinse the Rice Thoroughly: Begin by placing your glutinous rice in a fine-mesh sieve or a bowl. Rinse it under cold running water, stirring with your fingers, until the water runs almost completely clear. This step is vital to remove excess starch, which prevents the rice from becoming overly gummy.
- Soak for Optimal Texture: For the best, most authentic, and tender texture, soaking the rice is crucial. After rinsing, transfer the rice to a clean bowl and cover it with cold water, ensuring the water level is a few inches above the rice. Allow it to soak for a minimum of 4-5 hours, or ideally, overnight (8-12 hours). Soaking significantly reduces cooking time and helps achieve that desirable chewy yet soft consistency. Once soaked, drain the water and rinse the rice once more before cooking.
- Steam the Rice to Perfection: The traditional and preferred method for cooking sticky rice is steaming. You can use a bamboo steamer, a metal steamer basket, or even a colander lined with a kitchen towel or cheesecloth, placed over a pot of simmering water. Ensure the water in the pot does not touch the bottom of your steaming apparatus. Spread the soaked rice evenly in the steamer, cover, and steam for 20-40 minutes. The cooking time will vary depending on how long the rice was soaked. The rice is ready when it is tender, slightly translucent, and uniformly cooked through. You can also adapt a rice cooker by using its “sticky rice” or “sweet rice” setting if available, or by steaming within the cooker.
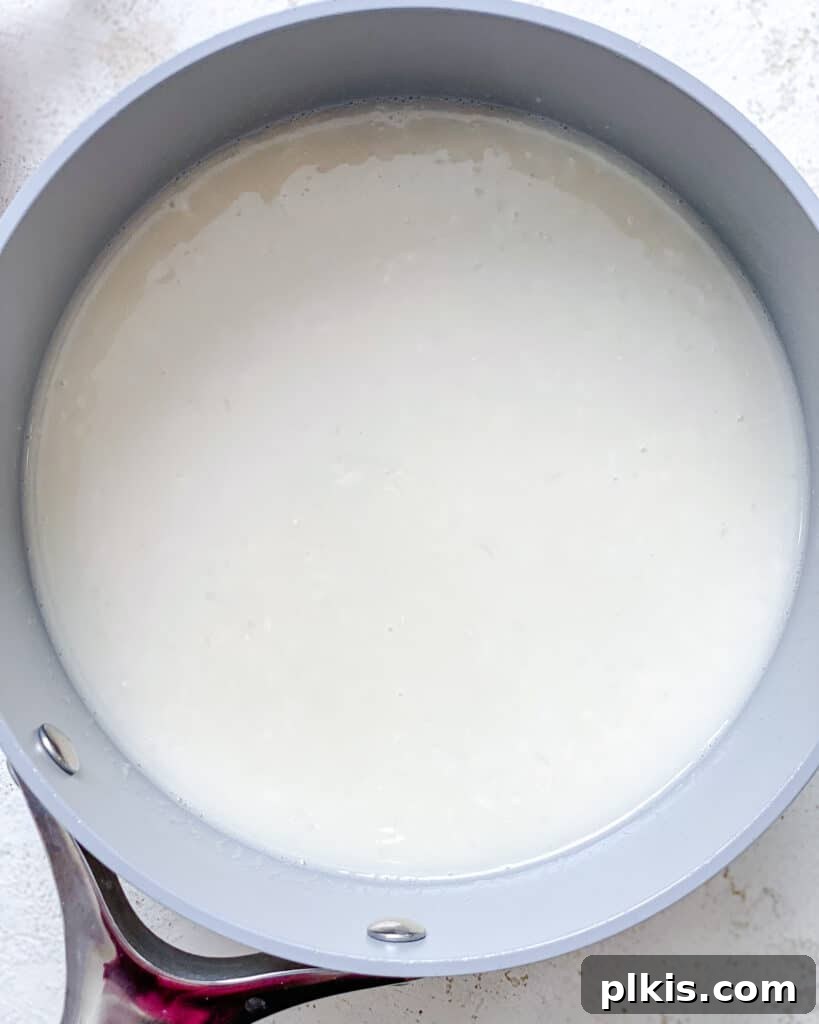
- Prepare the Sweet Coconut Sauce: While the rice is steaming, prepare the coconut milk sauce. In a small saucepan, gently heat the full-fat coconut milk with the sugar (and optional pinch of salt or pandan extract) over low to medium heat. Stir continuously until the sugar is completely dissolved. Do not bring to a rapid boil; a gentle simmer is sufficient. Warming the sauce ensures it integrates beautifully with the hot rice.
- Combine Rice and Sauce: Once the rice is cooked, immediately transfer it to a large, non-reactive bowl. Pour the warm coconut milk mixture over the hot rice. Using a spatula or a wooden spoon, gently fold and stir the rice, ensuring every grain is coated with the sweet coconut sauce. Be careful not to mash the rice.
- Allow to Absorb and Rest: Cover the bowl and let the coconut sticky rice sit undisturbed for at least 15-30 minutes. This resting period allows the rice to fully absorb the liquid, becoming incredibly flavorful, sweet, and perfectly sticky. This is where the magic truly happens!
By following these detailed steps, you’ll achieve a perfect batch of coconut sticky rice that’s ready to be paired with fresh mango.
How to Serve Mango on Sticky Rice?
Serving Thai Mango Sticky Rice is an art form in itself, focusing on both taste and visual appeal. While many enjoy it warm and freshly prepared, others prefer it chilled. If you prefer a cooler dessert, allow the coconut sticky rice to sit in the refrigerator for about an hour after combining it with the sauce. Otherwise, serve it warm for a more comforting experience.
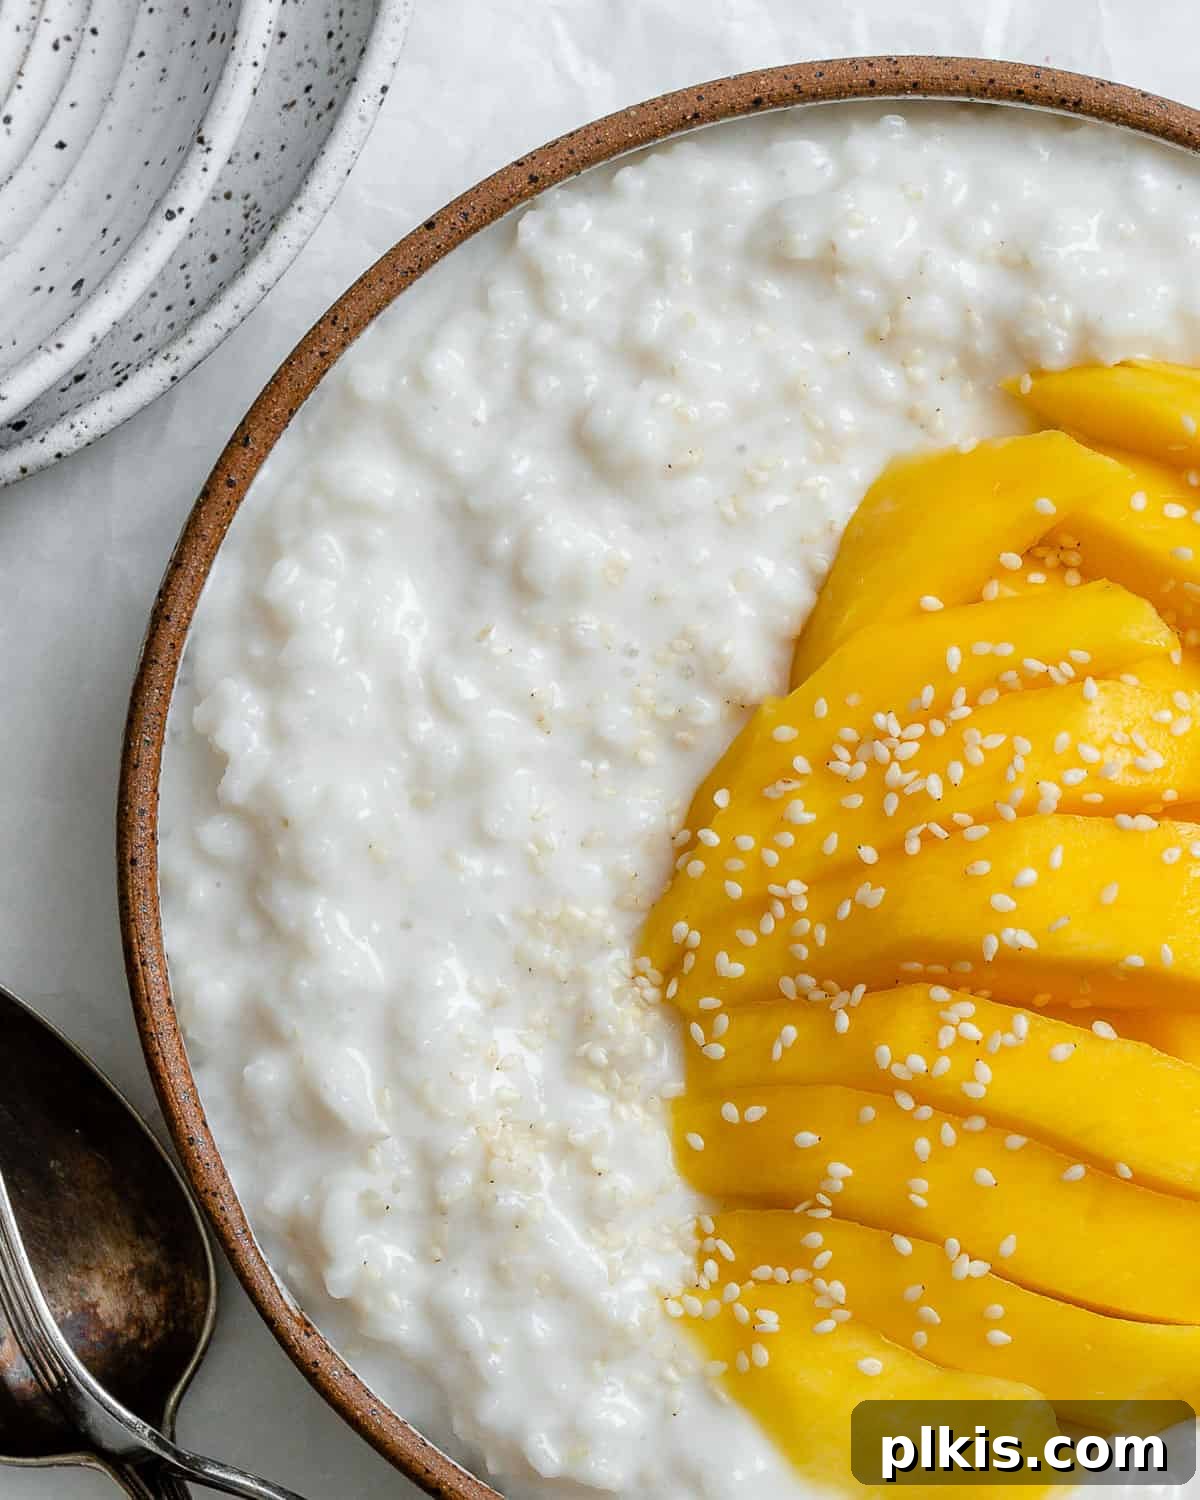
The mango should be peeled and thinly sliced just before serving. For a traditional presentation, you can use a ¼ cup measuring cup or small ramekins to mold individual servings of the sticky rice. Simply press the rice firmly into the cup, then invert it onto a plate. Arrange the fresh mango slices artfully around or on top of the molded rice. For a final flourish, a sprinkle of toasted sesame seeds or crispy yellow mung beans (a traditional Thai topping) adds a delightful crunch and nutty flavor. Optionally, serve with a wedge of lime on the side; a squeeze of fresh lime juice can add a tangy, bright counterpoint that truly elevates the flavors.
Expert Tips for Perfect Thai Mango Sticky Rice
Elevate your homemade Thai Mango Sticky Rice from good to exceptional with these expert tips and variations:
- Adjust Sweetener to Taste: The sweetness of your mango can vary, so taste your coconut milk mixture and adjust the amount of sugar gradually until it reaches your desired sweetness level. Remember, you can always add more, but you can’t take it away!
- Achieving a Thicker Sauce: If you desire a thicker, more luxurious coconut sauce to drizzle over your mango sticky rice, simmer the coconut milk and sweetener in a small saucepan. You can thicken it slightly by stirring in 1 teaspoon of cornstarch mixed with a tablespoon of cold water (a slurry) and simmering for 1-2 minutes until it coats the back of a spoon.
- Prepare Extra Sauce for Drizzling: Many enjoy an extra drizzle of rich coconut sauce over their finished dessert. To make this, combine ⅓-½ cup of coconut cream (or full-fat coconut milk + 1 teaspoon cornstarch for thickening) with 1-2 tablespoons of sweetener in a saucepan. Bring it to a gentle boil, then reduce the heat and simmer for 1-2 minutes until it thickens slightly. This extra sauce can be poured generously over the coconut mango rice just before serving.
- Infuse with Aromatic Pandan: For an even more authentic Thai flavor profile, add a pandan leaf (fresh or frozen, tied into a knot) to the coconut milk and sweetener while simmering. Remove the leaf before combining the sauce with the rice. Pandan imparts a unique, fragrant aroma that is a hallmark of many Thai desserts.
- Mastering Rice Cooking Time: The cooking time for glutinous rice can vary significantly based on how long it was soaked and the specific steaming method used. Always start checking the rice at the 20-minute mark. It’s ready when the grains are tender, translucent, and have lost their hard, opaque center. Avoid overcooking, which can lead to mushy rice.
- Choosing the Right Mango: Select mangoes that are fragrant, slightly soft to the touch, and free of blemishes. Varieties like Nam Dok Mai, Ataulfo, or Honey mangoes are preferred for their smooth, sweet flesh and minimal fibers.
Frequently Asked Questions (FAQs)
How to steam coconut sticky rice?
Steaming sticky rice is quite simple. You can use a traditional bamboo steamer, a metal steamer basket, or even a heat-proof sieve lined with a clean kitchen towel or cheesecloth. Place your prepared (rinsed and soaked) glutinous rice in the lined sieve or steamer basket. Set this over a large pot containing a few inches of simmering water, ensuring the water does not touch the rice. Cover the steamer tightly and cook for 20-40 minutes, or until the rice is tender and translucent. Ensure to maintain a steady simmer throughout the cooking process.
Should you eat mango sticky rice warm?
Thai Mango Sticky Rice is delightful whether served warm or chilled. Traditionally, it’s often enjoyed slightly warm or at room temperature, as the warm rice absorbs the coconut milk more effectively, creating a truly tender and cohesive texture. However, during hot summer months, many prefer a chilled version. The choice largely comes down to personal preference.
How to reheat sticky rice?
To reheat leftover sticky rice, the best method is gentle steaming. Place the rice in a steamer basket over simmering water for a few minutes until it regains its soft texture. Alternatively, you can microwave it with a splash of water or a tiny bit of plant-based milk, covering it loosely, until warm and pliable. Avoid overheating, which can dry out the rice.
How to Make Ahead and Store Thai Mango Sticky Rice
While Thai Mango Sticky Rice is undoubtedly at its peak when enjoyed immediately after preparation, it’s understandable to have leftovers or wish to prepare parts of it in advance.
In our opinion, the dessert is best eaten immediately to savor its fresh textures and vibrant flavors. The warm, tender rice and cool, juicy mango create a perfect contrast that begins to diminish over time.
However, if you do have any leftovers, store them in an airtight container in the refrigerator for 2-3 days. It’s best to store the sticky rice and mango slices separately if possible, to prevent the mango from weeping juice into the rice and affecting its texture. When serving leftovers, allow the rice to come closer to room temperature or gently reheat as described in the FAQs, and then add freshly sliced mango.
While it’s technically possible to freeze sticky rice, we generally prefer not to freeze this dish. Upon thawing, the rice tends to become tougher and loses its characteristic soft, chewy consistency, significantly impacting the overall enjoyment. The fresh mango also does not freeze well for this specific dessert. If you insist on freezing, you could freeze just the coconut sticky rice (without mango) in an airtight container for up to a month, but be prepared for a textural change upon reheating.
More Delicious Vegan & Fruity Dessert Recipes:
- Vegan Pineapple Upside Down Cake
- Stuffed Baked Apples
- Vegan Apricot Crisp
- Beet Energy Balls
- Vegan Lemon Loaf Cake
- Chocolate Fruit Bars
- Vegan Pear Crisp
Photos by Alfonso Revilla
Thai Mango Sticky Rice Recipe
This traditional Thai dessert is incredibly popular for good reason! Creamy, sweet coconut sticky rice paired with fresh, juicy mango creates a delightful and naturally vegan and gluten-free treat that’s easy to make at home.
Key Information
- Prep Time: 5 minutes
- Cook Time: 20-40 minutes (depending on soaking)
- Refrigerate (Optional): 1 hour
- Total Time: Approximately 1 hour 25 minutes (including optional refrigeration)
- Servings: 4 servings
- Author: Toni Okamoto
- Course: Dessert
- Cuisine: Asian, Thai
- Method: Stovetop (Steaming)
- Diet: Vegan, Gluten-Free
This recipe has received high ratings from many satisfied home cooks!
Equipment You’ll Need
- Knife set
- Measuring Cups
- Steamer basket or bamboo steamer
- Medium saucepan
- Large mixing bowl
Ingredients
- 1 cup Thai sticky rice (glutinous rice)
- ⅔ cup water (for steaming, plus more for soaking)
- 1 cup full-fat coconut milk (from a can, for the sauce)
- ¼ cup sugar (or to taste, traditional palm sugar recommended)
- 1 ripe mango, peeled and thinly sliced
- Sesame seeds for garnish (optional)
- Pinch of salt (optional, for coconut sauce)
- Pandan leaf or extract (optional, for aromatic flavor)
Instructions
- Rinse and Soak the Rice: Place the sticky rice in a bowl and rinse under cold water several times until the water runs mostly clear. Then, cover the rice with fresh cold water and let it soak for 4-5 hours or preferably overnight. Drain and rinse once more before cooking.
- Steam the Sticky Rice: Prepare your steamer. Place the soaked and rinsed rice evenly in a steamer basket or a colander lined with cheesecloth. Steam over simmering water for 20-40 minutes, or until the rice is tender, sticky, and translucent.
- Prepare the Coconut Sauce: While the rice is steaming, gently heat the full-fat coconut milk and sugar (and optional pinch of salt or pandan leaf) in a small saucepan over low heat. Stir until the sugar is completely dissolved. Do not boil. If using a pandan leaf, remove it before proceeding.
- Combine Rice and Sauce: Immediately transfer the hot steamed rice to a large mixing bowl. Pour the warm coconut milk sauce over the rice. Gently fold and stir the rice until every grain is evenly coated and the liquid is absorbed. Cover the bowl and let it rest for 15-30 minutes to allow the flavors to meld and the rice to fully absorb the sauce.
- Prepare Mango and Serve: Peel and thinly slice the ripe mango. For presentation, you can lightly press portions of the sticky rice into a small bowl or measuring cup, then invert onto serving plates. Arrange the fresh mango slices next to or on top of the rice.
- Garnish and Enjoy: Optionally, sprinkle with sesame seeds or crispy yellow mung beans for added texture. Serve warm or at room temperature.
Notes
- Sweetness Adjustment: Always taste the coconut sauce and adjust the sugar amount to match your preference and the sweetness of your mango.
- Thicker Sauce: For a richer topping, simmer an extra ⅓-½ cup of coconut cream with 1-2 tbsp sweetener until slightly thickened, then drizzle over the plated dessert.
- Pandan Infusion: Add a knotted pandan leaf to the coconut milk while simmering for a traditional aromatic boost. Remove before combining with rice.
- Rice Consistency: Soaking time significantly affects cooking time. Check rice at 20 minutes; it should be tender and slightly translucent.
Nutrition (per serving, approximate)
- Calories: 364 kcal
- Carbohydrates: 60 g
- Protein: 5 g
- Fat: 13 g
- Saturated Fat: 11 g
- Polyunsaturated Fat: 0.4 g
- Monounsaturated Fat: 1 g
- Sodium: 13 mg
- Potassium: 249 mg
- Fiber: 2 g
- Sugar: 20 g
- Vitamin A: 560 IU
- Vitamin C: 19 mg
- Calcium: 27 mg
- Iron: 3 mg