

The Ultimate Vegan Kitchen Sink Cookies: A Sweet & Salty Adventure
Prepare for a delightful journey into the world of flavor with our incredible recipe for Vegan Kitchen Sink Cookies! These cookies are the epitome of indulgence: wonderfully soft, perfectly chewy, and generously loaded with an irresistible blend of your favorite sweet and salty mix-ins. Imagine biting into a cookie packed with crunchy pretzels, rich vegan chocolate, and crispy potato chips – a truly unique taste sensation that will captivate your palate. The best part? This recipe is entirely egg and dairy-free, making it accessible for even more to enjoy without compromising on taste or texture. Get ready to bake a batch of these customizable, crowd-pleasing treats that are guaranteed to become a new favorite!

What Exactly Are Kitchen Sink Cookies?
Often known by playful monikers like “compost cookies,” “garbage cookies,” or “dump cookies,” the name “Kitchen Sink Cookies” might initially sound a bit unconventional. However, the moniker is simply a charming shorthand for “everything but the kitchen sink cookies,” aptly describing their philosophy. These aren’t just any ordinary vanilla cookies; they are a blank canvas for culinary creativity, jam-packed with an eclectic assortment of your most beloved sweet and savory additions. The idea is to throw in “everything but the kitchen sink”—whatever delightful odds and ends you have in your pantry—to create a truly unique and personalized treat.
What makes this recipe particularly special is its incredible versatility. You have complete freedom to include virtually any mix-ins your heart desires: luscious vegan chocolate chips, crunchy nuts, salty pretzels, vibrant candies, savory potato chips, and much more (we’ll dive into more suggestions below!). There are practically no rules when it comes to crafting these crowd-pleasing cookies, making them a fantastic baking project for families, entertaining guests, or simply satisfying your own cravings. Unlike store-bought options, such as the famous Panera Kitchen Sink Cookies, this homemade version is remarkably easy to follow, budget-friendly, and offers the added benefit of being 100% dairy and egg-free. This ensures that more people, including those with dietary restrictions or allergies, can savor every bite of these delightfully chewy and flavorful cookies.
If you’re eager to explore more delicious plant-based baking, be sure to check out our other highly-rated vegan cookie recipes. You might love our refreshing lemon blueberry cookies, the charmingly sweet raspberry jam thumbprint cookies, or the rich and decadent chocolate crinkle cookies. Each offers a unique flavor profile while adhering to our commitment to delicious, plant-based baking.
Essential Ingredients & Smart Substitutions
Crafting the perfect vegan kitchen sink cookie starts with a solid foundation of quality ingredients. While the mix-ins are where the fun truly begins, ensuring your base dough is just right is key to achieving that ideal soft, chewy texture. Here’s a closer look at the core components of our recipe and how to make smart substitutions.
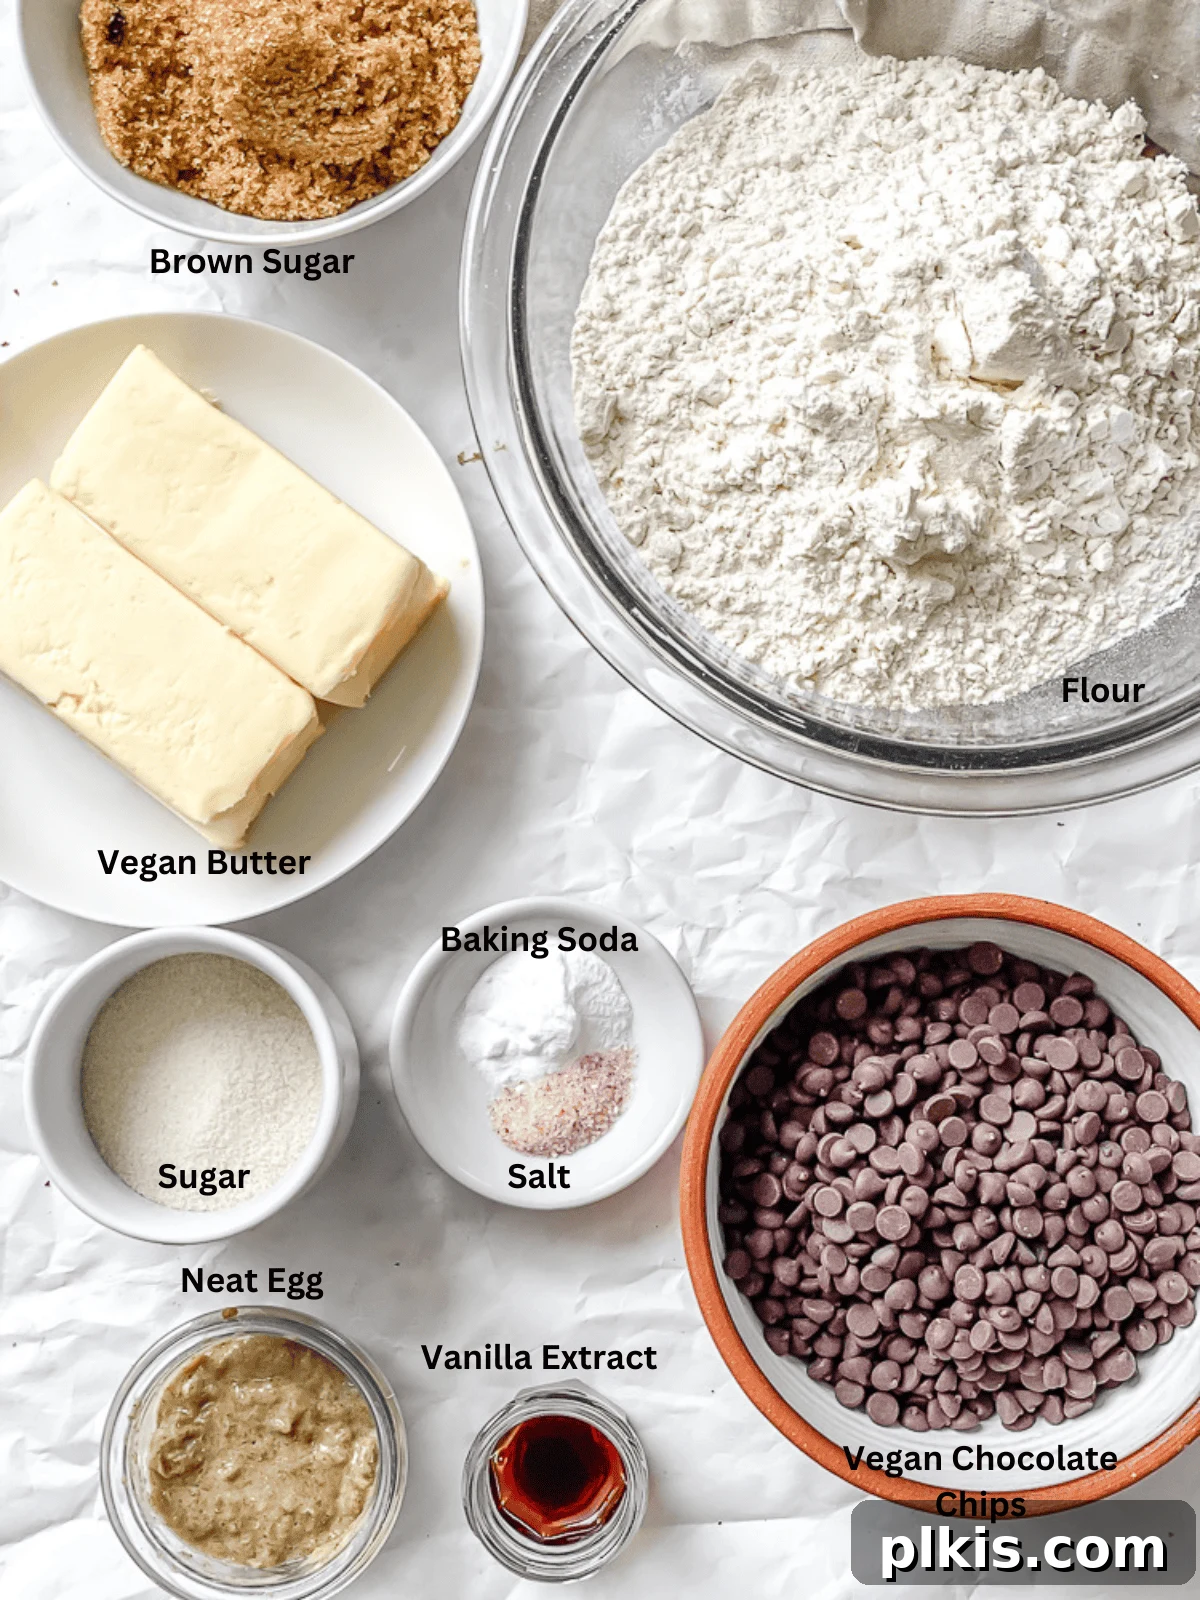
- Vegan Butter: The quality of your vegan butter can significantly impact the final texture and spread of your cookies. We recommend using a high-quality, stick-style vegan butter, such as Flora Plant Butter, Miyoko’s Kitchen Cultured Vegan Butter, Earth Balance sticks, or Melt Organic. Ensure your vegan butter is at room temperature for optimal creaming with the sugars, which is crucial for a light and fluffy cookie dough.
- Sugars: Our recipe calls for a harmonious blend of both white granulated sugar and brown sugar. This combination is essential for achieving the perfect balance of sweetness, a delightful toffee-like or caramel-like flavor, and that wonderfully chewy texture that defines a great cookie. Brown sugar contributes moisture and a deeper flavor, while granulated sugar aids in crispiness and spread.
- ‘Egg’ Replacer: Making this kitchen sink cookie recipe entirely eggless is simple! We use Neat Egg as our preferred egg alternative, which creates a fantastic bind and texture. Alternatively, you can easily prepare a chia egg or flax egg by mixing ground chia or flax seeds with water and letting it sit until gelled. For more comprehensive information on plant-based egg substitutes in baking, consult our detailed vegan egg replacers guide.
- Vanilla Extract: A splash of natural vanilla extract is indispensable for any great cookie recipe. It provides a warm, inviting aroma and enhances all the other flavors in the dough, adding depth and complexity to your sweet and salty creation.
- Baking Soda: This leavening agent is vital for giving your cookies their characteristic lift and contributing to their soft, chewy interior while promoting a slight spread. Always double-check that your baking soda is fresh and active for the best results.
- All-Purpose Flour: Standard all-purpose flour forms the structural base of these cookies. If you’re looking to experiment, you could try substituting with spelt flour for a slightly nuttier flavor, or incorporate up to 50% whole wheat flour for added fiber and a heartier texture.
For Gluten-Free Vegan Kitchen Sink Cookies: Simply swap the all-purpose flour for a high-quality gluten-free all-purpose flour blend. Brands like Bob’s Red Mill 1-to-1 Baking Flour or King Arthur Gluten-Free All-Purpose Flour work wonderfully in this recipe, yielding delicious gluten-free results without sacrificing texture.
- Salt: A small amount of salt is surprisingly crucial in sweet recipes. It doesn’t just add a hint of saltiness; it balances the overall sweetness of the cookies and amplifies the flavors of all the mix-ins, making the sweet elements taste even sweeter and the savory ones more pronounced.
The Best Kitchen Sink Cookie Mix-Ins: Unleash Your Creativity!
The true magic of Kitchen Sink Cookies lies in their boundless customization. You’ll need approximately two cups of your favorite mix-ins for this recipe, but remember, there are absolutely no strict rules! The key to a truly phenomenal kitchen sink cookie is to achieve a dynamic balance between sweet and salty elements, creating an exciting flavor profile with every bite. Don’t be afraid to experiment and create your signature cookie!
Sweet Sensations
These ingredients bring sweetness, chewiness, and delightful bursts of flavor to your cookies:
- Vegan Chocolate Chips or Chunks: Go wild with varieties! Whether you prefer classic milk chocolate, rich dark chocolate, creamy white chocolate, or even a mix of all three, vegan options are abundant and readily available.
- Dried Fruit: Add natural sweetness and chewiness. Think plump raisins, tart cranberries, chewy chopped dates, sweet apricots, or even dried cherries for a burst of color and flavor.
- Coconut: Shredded or flaked (unsweetened is best to control sweetness). A few tablespoons add a tropical aroma and delicate texture. Toast it lightly before adding for extra depth of flavor.
- Cereal: Crunchy cereals like vegan cornflakes, puffed rice cereal, or even crumbled oat flakes can add a wonderful texture contrast. Avoid very sugary cereals to prevent overwhelming the cookie’s sweetness.
- Vegan Marshmallows: Mini vegan marshmallows melt into soft, gooey pockets during baking, adding an irresistible chewiness and subtle sweetness.
- Vegan Toffee Bits or Fudge Chunks: For buttery, caramel-like notes, vegan toffee bits or small dairy-free fudge chunks are a fantastic addition.
- Vegan Candy: Chop up your favorite vegan peanut butter cups, candy bars, or even sprinkle in some colorful sprinkles for a festive touch.
Craving Chocolate Overload? To make a decadent vegan chocolate kitchen sink cookie recipe, simply replace ⅓ cup of the all-purpose flour with unsweetened cocoa powder. This will give your cookie base a rich, deep chocolate flavor!
Salty Surprises & Savory Delights
These mix-ins introduce a crucial savory counterpoint, enhancing all the sweet flavors and adding satisfying crunch:
- Chopped Nuts/Seeds: Walnuts, pecans, almonds, cashews, sunflower seeds, or pumpkin seeds. They add a delightful crunch and healthy fats. Lightly toast them beforehand for even more flavor.
- Rolled Oats: Just a few tablespoons of rolled oats can add a comforting, chewy texture reminiscent of an oatmeal cookie.
- Crushed Pretzels: A classic kitchen sink cookie ingredient! Break them down to varying sizes for textural interest. The salty crunch is absolutely essential.
- Lightly Salted Potato Chips: Opt for sturdy, plain potato chips and crush them roughly. Their unique salty crispiness is a surprising and beloved addition.
- Graham Crackers: Crushed vegan graham crackers contribute a sweet, honey-like (or cinnamon) flavor and a sandy, crumbly texture.
- Flaky Sea Salt: A sprinkle of flaky sea salt over the top of the cookies just before or after baking can elevate all the flavors and provide a beautiful finish.
How To Make Everything But The Kitchen Sink Cookies: A Step-by-Step Guide
Making these glorious vegan kitchen sink cookies is a straightforward process that yields incredibly rewarding results. Follow these simple steps to create your perfect batch of sweet and salty delights.
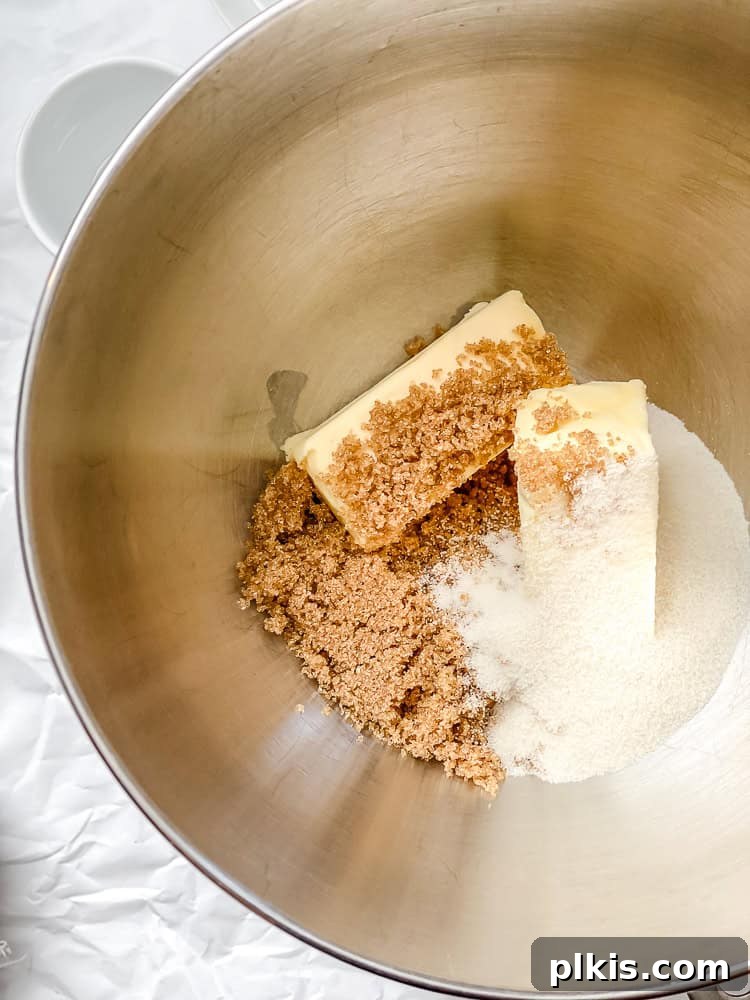
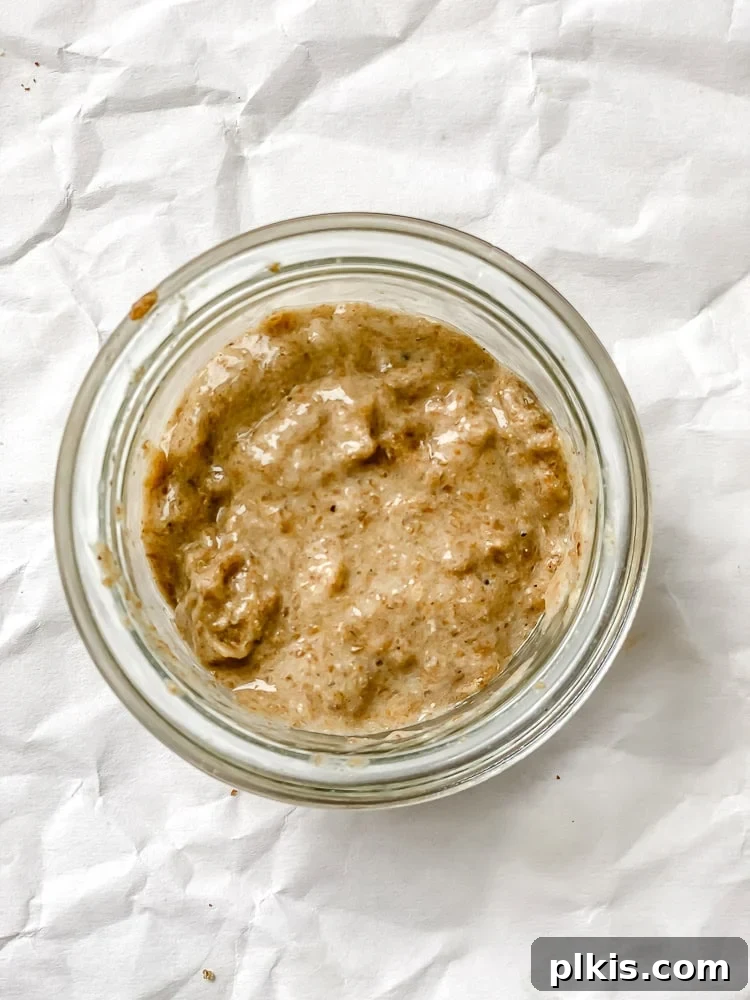
Step 1: Get Prepared. Begin by preheating your oven to 375 degrees F (190 degrees C). Line a baking sheet with either parchment paper or a silicone baking mat to prevent sticking and ensure even baking. If you are using Neat Egg, prepare it now according to the package instructions and set it aside to gel while you continue with the dough. In a large mixing bowl or the bowl of a stand mixer, combine your room-temperature vegan butter with both white granulated sugar and brown sugar.
Step 2: Cream Until Fluffy. Using a stand mixer with the paddle attachment or an electric hand mixer, beat the vegan butter and sugars together until the mixture is light, fluffy, and noticeably pale in color. This process typically takes about 2-3 minutes, ensuring air is incorporated, which contributes to the cookies’ final texture. Scrape down the sides of the bowl as needed to ensure everything is thoroughly combined.
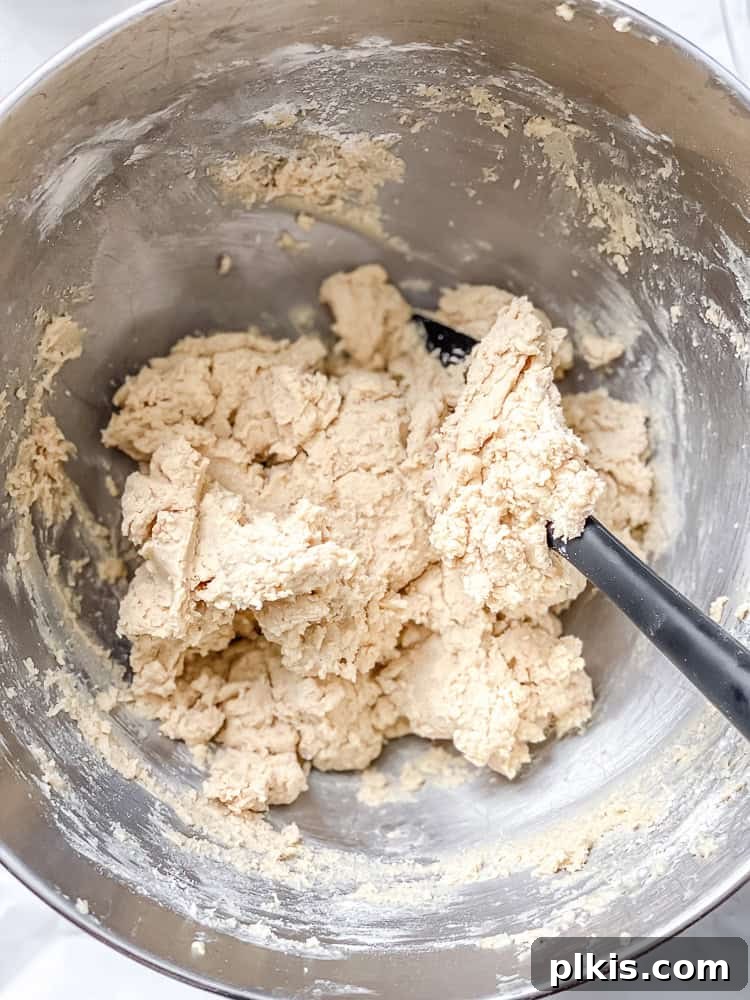

Step 3: Combine Wet and Dry, Then Add Mix-Ins. To the creamed mixture, add your prepared egg alternative, vanilla extract, baking soda, all-purpose flour, and salt. Mix on low speed until just combined. It’s crucial not to overwork the dough at this stage, as overmixing can lead to tougher cookies. Once the wet and dry ingredients are barely incorporated, gently fold in your chosen two cups of sweet and salty mix-ins by hand using a spatula until they are evenly distributed throughout the dough.
Step 4: Scoop and Shape. Using a cookie dough scoop (about 1.5-2 tablespoons per cookie) for consistency, drop rounded balls of dough onto your prepared baking sheet. Ensure there’s about an inch of space between each cookie to allow for proper spreading. Once all the dough is scooped, gently flatten each cookie ball very slightly with the palm of your hand or the back of a spatula. This helps them spread evenly and bake uniformly.
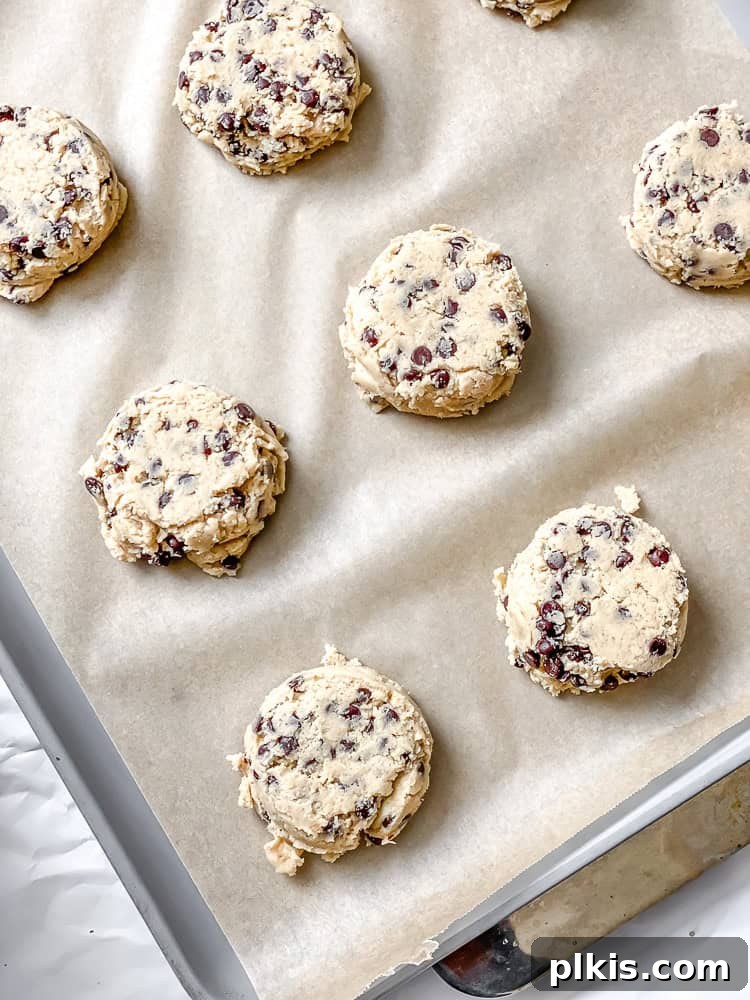
Step 5: Bake and Cool. Transfer the baking sheet to your preheated oven and bake the “garbage cookies” for approximately 10-12 minutes. You’ll know they’re ready when the edges are beautifully golden brown, and the tops appear set but still look soft and slightly underbaked in the center. This slight underbaking is the secret to their wonderfully chewy texture. Once baked, remove the cookies from the oven and let them cool on the baking sheet for a few minutes before transferring them to a wire cooling rack to cool completely. Allowing them to cool on the rack helps them firm up and prevents them from becoming soggy. Now, they’re ready to be savored! Enjoy every unique, sweet, and salty bite.
Common Questions About Vegan Kitchen Sink Cookies (FAQs)
Here are some frequently asked questions to help you master your vegan kitchen sink cookie baking experience:
Absolutely! While Neat Egg works beautifully in this recipe, you can certainly use other plant-based egg replacers. A chia egg or flax egg (1 tablespoon ground seeds mixed with 3 tablespoons water, left to gel for 5 minutes) is a reliable substitute. Some bakers have also had success with ¼ cup of unsweetened applesauce or mashed ripe banana, though I haven’t specifically tested those in this particular recipe. For detailed guidance on various vegan egg alternatives and their best uses in baking, be sure to consult our comprehensive vegan egg replacers guide.
Yes, absolutely! Preparing the dough in advance can be a fantastic time-saver. You can store the prepared cookie dough in an airtight, plastic-wrapped bowl in the refrigerator for up to 3 days. For longer storage, roll the dough into individual balls, flash freeze them on a tray until solid (about 30-60 minutes), then transfer them to a freezer-safe bag (like a Ziplock or Stasher bag) and store for up to 3 months. When baking from frozen, you may need to increase the baking time by several minutes, typically 2-5 minutes, until the edges are golden and the center is set.
Panera’s Kitchen Sink Cookies typically do not contain nuts as a primary ingredient, making them a safe choice for many with nut allergies. However, they are NOT vegan, as they contain dairy and eggs. Our homemade recipe offers a delicious, customizable, and completely plant-based alternative that you can load with or without nuts, depending on your preferences and dietary needs.
There are a few key tips to prevent excessive spreading:
- Properly measure your flour: Too little flour results in thinner cookies.
- Chill the dough: If your kitchen is warm or your butter was very soft, chilling the dough for 30 minutes before baking can significantly help.
- Use cold baking sheets: Don’t place new dough on a hot baking sheet from a previous batch; use a cool one or let it cool down.
- Avoid over-greasing: Only lightly oil your baking sheet if not using parchment or a silicone mat. Too much fat can cause spread.
For best results and to keep cleanup easy, place your pretzels or potato chips in a large Ziplock bag. Seal the bag, removing as much air as possible. Then, use a rolling pin or the bottom of a heavy pan to gently crush them until they reach your desired consistency – some finer crumbs and some larger chunks for textural interest. Avoid turning them into a fine powder!
Pro Recipe Tips for Perfect Vegan Kitchen Sink Cookies
Achieving bakery-quality vegan kitchen sink cookies is easy with a few expert tips. These insights will help you ensure every batch turns out perfectly soft, chewy, and loaded with flavor.
- Measure the Flour Properly (and Accurately!): This is one of the most common baking pitfalls. Too much flour can lead to dense, dry, or cakey cookies, while too little can make them spread too thin. For the most accurate measurement, fluff the flour in its bag or container with a fork. Then, use a spoon to gently scoop the flour into your measuring cup until it’s overflowing. Finally, level off the top with the straight edge of a knife or a flat spatula. Never pack the flour into the cup or scoop directly from the bag with the measuring cup.
- Do Not Over-Mix the Cookie Dough: Once you’ve added the flour and other dry ingredients, mix only until they are just combined. Overworking the dough develops the gluten, which can result in tough, rubbery cookies. As soon as you see no streaks of dry flour, stop mixing and move on to folding in your mix-ins.
- For Visually Stunning Cookies: If you want your cookies to look as good as they taste, try this trick: press a few extra pieces of your favorite mix-ins (like chocolate chips, pretzel bits, or small candy pieces) onto the tops of the cookie dough balls just before baking. This ensures a beautiful, loaded appearance once baked.
- Adjust Baking Time for Desired Texture: The beauty of cookies is their versatility in texture.
- For an extra soft and chewy cookie, reduce the baking time by a minute or two. The cookies might look slightly underdone in the center, but they will continue to set as they cool, resulting in a wonderfully tender interior.
- For a crunchier cookie with crisp edges, increase the baking time by a minute or two, keeping a close eye on them to prevent burning.
- Chill the Dough for Optimal Results: While not strictly necessary if your vegan butter is firm and your kitchen is cool, chilling the cookie dough for at least 30 minutes (or even overnight) can greatly improve the texture and prevent excessive spreading. Chilled dough also allows the flavors to meld, often leading to a richer-tasting cookie.

Storage and Freezing Instructions for Vegan Kitchen Sink Cookies
Proper storage is essential to keep your “everything but the kitchen sink” cookies fresh and delicious for as long as possible. Whether you’ve baked a big batch or want to enjoy them over several days or weeks, here’s how to store them effectively:
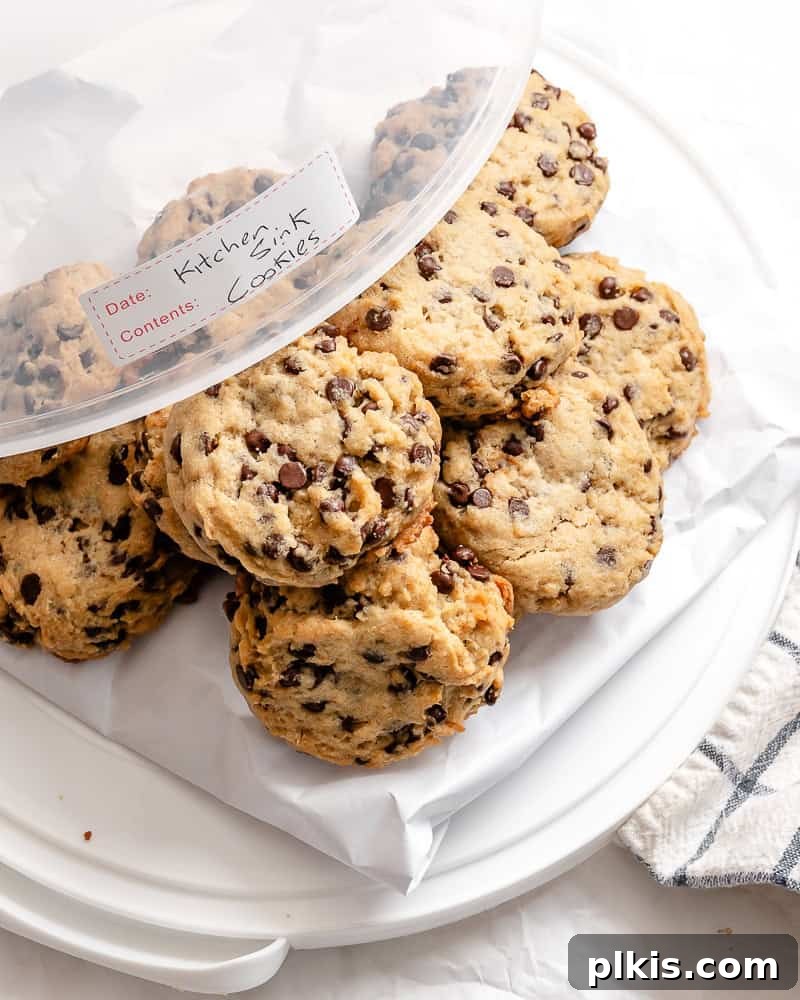
Room Temperature Storage: Once completely cooled, store your vegan kitchen sink cookies in an airtight container at room temperature for 3-4 days. To maintain their soft texture, you can even place a slice of bread in the container; the cookies will absorb moisture from the bread, keeping them moist.
Refrigeration: For slightly extended freshness, you can store the cookies in an airtight container in the refrigerator for up to a week. If you prefer them softer after refrigeration, warm them gently in the microwave for a few seconds (5-10 seconds per cookie usually does the trick) to restore their chewy texture.
Freezing Baked Cookies: These cookies freeze exceptionally well, making them perfect for meal prep or having a quick treat on hand. To freeze, first allow the baked cookies to cool completely. Then, arrange them in a single layer on a baking sheet and flash freeze for about an hour, or until solid. This prevents them from sticking together. Once frozen, transfer the cookies to a freezer-safe Ziplock bag or an airtight container, separating layers with parchment paper if stacking. They will keep well for up to 3 months. When you’re ready to enjoy them, simply allow them to thaw on the counter for 15-30 minutes, or warm them in the microwave or a low oven for a few minutes for a freshly baked experience.
Explore More Delicious Vegan Cookie Recipes!
If you’ve enjoyed baking these customizable kitchen sink cookies, you’ll love exploring our other plant-based cookie creations. Each recipe is designed to be flavorful, easy to make, and perfect for satisfying any sweet tooth:
- Hearty and wholesome Oatmeal Zucchini Cookies
- Bright and zesty Vegan Lemon Shortbread Cookies
- Classic and comforting Dairy-Free Chocolate Chip Cookies
- Unique and secretly healthy Chickpea Chocolate Chip Cookies
- Festive Chocolate Chip Peppermint Cookies
- Chewy and delightful Vegan Oatmeal Chocolate Chip Cookies
- Rich and satisfying Peanut Butter Cookie Sandwiches
Printable Recipe Card: Vegan Kitchen Sink Cookies
Vegan Kitchen Sink Cookies
These soft, chewy, and highly customizable cookies are loaded with your favorite sweet and salty mix-ins for an indulgent treat. This recipe is completely egg and dairy-free!
Prep Time: 15 mins
Cook Time: 10-12 mins
Total Time: 25-27 mins
Yields: 24 cookies

Equipment:
- Stand Mixer (or large mixing bowl and electric hand mixer)
- Large Mixing Bowl
- Baking Tray
- Wire Cooling Rack
- Cookie Scoop (optional, but recommended for consistency)
Ingredients:
- 1 cup (226g) vegan butter, softened at room temperature
- 1 cup (200g) packed light brown sugar
- ½ cup (100g) granulated sugar
- 1 Neat Egg (prepared according to package instructions), or 1 flax/chia egg
- 1 ½ teaspoons pure vanilla extract
- 1 teaspoon baking soda
- 2 ¼ cups (270g) all-purpose flour (use a GF blend for gluten-free)
- ½ teaspoon fine sea salt
- 2 cups of your favorite sweet and salty mix-ins (e.g., chopped walnuts, vegan chocolate chips, crushed pretzels, potato chips, dried cranberries, vegan marshmallows, shredded coconut)
Instructions:
- Preheat your oven to 375 degrees F (190 degrees C). Line a baking sheet with parchment paper or a silicone baking mat.
- If using Neat Egg, prepare it now according to package instructions and set aside.
- In a large bowl or the bowl of a stand mixer, beat together the softened vegan butter, brown sugar, and granulated sugar until light and fluffy, about 2-3 minutes. Scrape down the sides of the bowl as needed.
- Add the prepared egg alternative, vanilla extract, and baking soda to the creamed mixture. Mix until just combined.
- Gradually add the all-purpose flour and salt. Mix on low speed until the ingredients are just incorporated and no dry streaks of flour remain. Be careful not to overmix.
- Gently fold in your chosen 2 cups of mix-ins by hand using a spatula until they are evenly distributed throughout the dough.
- Using a cookie scoop (or by tablespoon), drop rounded balls of dough onto the prepared baking sheet, leaving about an inch between each. Gently flatten each cookie ball very slightly with the palm of your hand or the back of a spatula.
- Bake for 10-12 minutes, or until the edges are golden brown and the centers appear set but still look soft.
- Remove the cookies from the oven and let them cool on the baking sheet for 5 minutes before transferring them to a wire cooling rack to cool completely.
- Enjoy your perfectly customized vegan kitchen sink cookies!
Notes:
- Proper Flour Measurement: Always fluff flour with a fork, spoon it into a measuring cup, then level with a knife for accurate results.
- Avoid Overmixing: Mix the dough only until ingredients are just combined to prevent tough cookies.
- Chill Dough: For less spread and richer flavor, chill the dough for 30 minutes before baking.
- Enhanced Appearance: Press extra mix-ins onto the tops of the cookie dough balls before baking for a more appealing look.
- Texture Adjustment: Reduce baking time by 1-2 minutes for a softer, chewier cookie, or increase by 1-2 minutes for a crispier one.
Nutrition Information (per cookie):
Calories: 235 kcal | Carbohydrates: 31g | Protein: 2g | Fat: 12g | Saturated Fat: 4g | Polyunsaturated Fat: 2g | Monounsaturated Fat: 3g | Trans Fat: 1g | Sodium: 155mg | Potassium: 30mg | Fiber: 1g | Sugar: 20g | Vitamin C: 0.003mg | Calcium: 30mg | Iron: 2mg
Additional Information:
Author: Toni Okamoto
Course: Dessert
Cuisine: American
Method: Oven
Diet: Vegan
Photos by Alfonso Revilla
Tried this recipe? Please tag us on Instagram at @PlantBasedOnABudget! We love to see your delicious creations!