
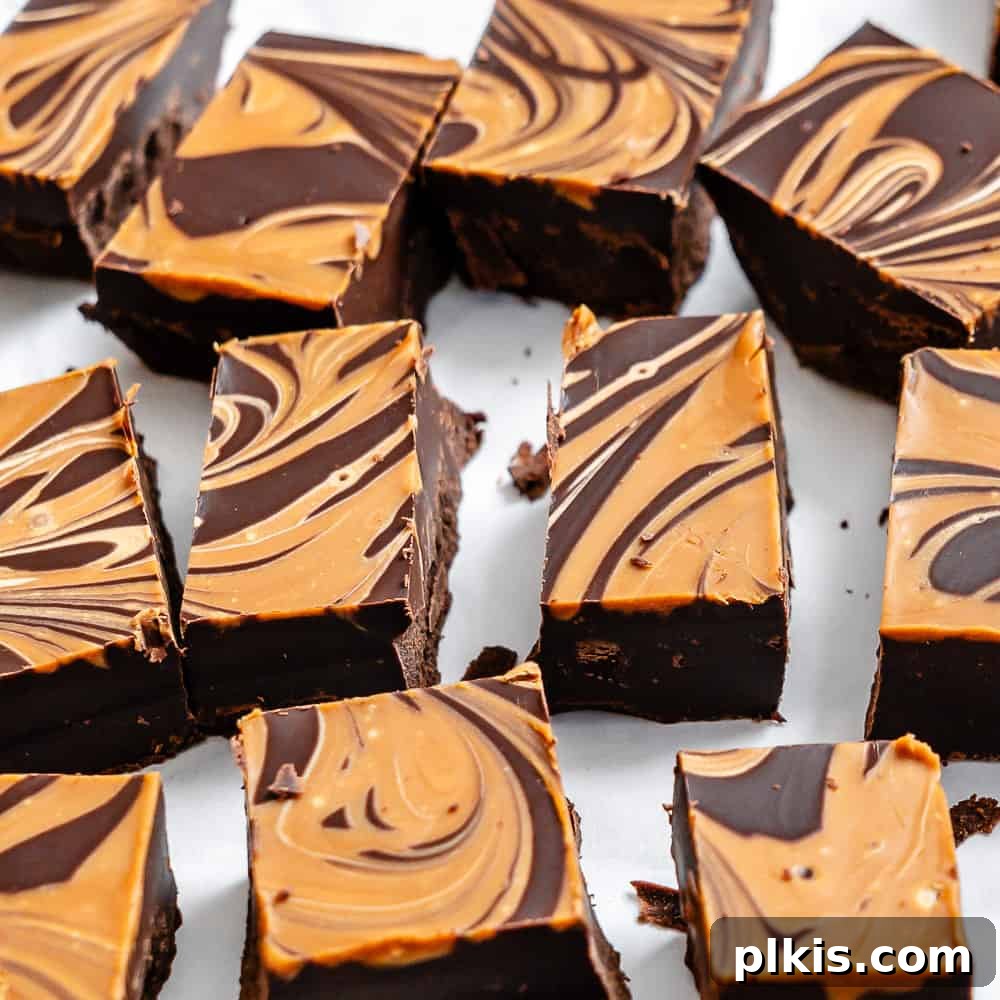
Welcome to the world of effortless indulgence with this incredible 2-Ingredient Biscoff Fudge! If you’re searching for a quick, decadent, and utterly irresistible dessert that requires minimal effort but delivers maximum flavor, your quest ends here. This recipe for homemade cookie butter fudge is designed for simplicity, using just two core ingredients to create a rich, creamy, and warmly spiced treat. Perfect for satisfying a sweet craving, preparing a thoughtful edible gift, or simply enjoying a delightful snack, this freezer-friendly fudge will quickly become a cherished favorite.
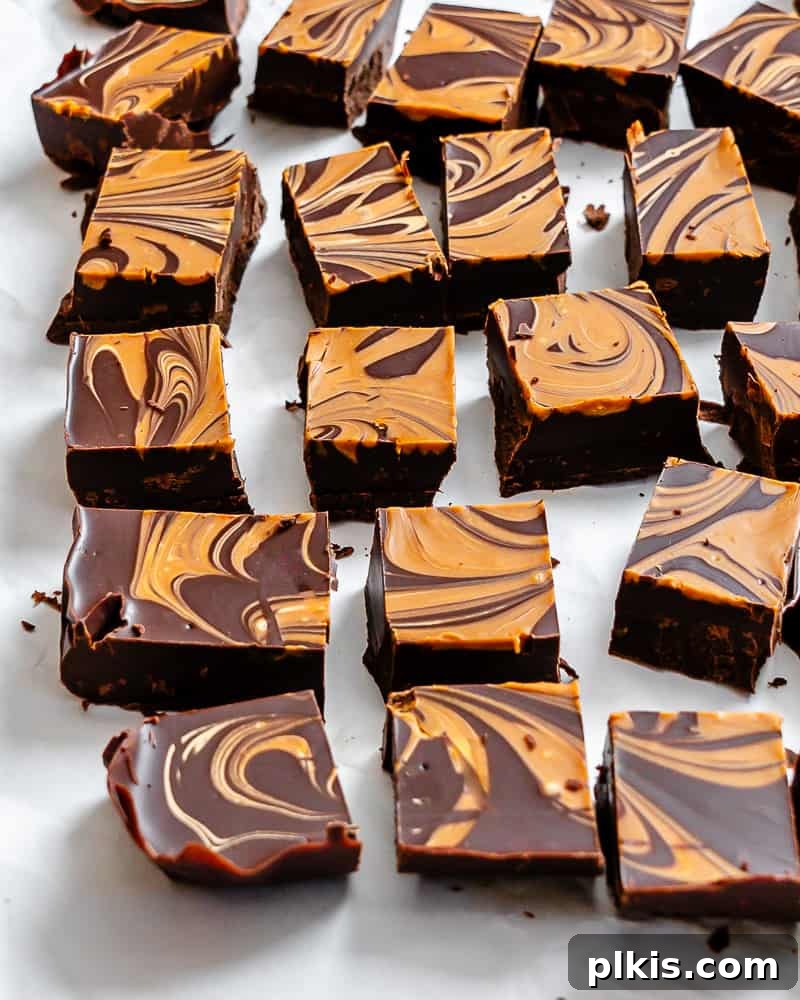
The Ultimate Easy 2-Ingredient Vegan Biscoff Fudge
Last year, we might have gone a little overboard with our Biscoff brownies and Biscoff blondies, but this year, we’re setting our sights on an even easier and more addictive Biscoff dessert. This two-ingredient Biscoff fudge recipe is a game-changer. Imagine a creamy, “chocolatey,” and distinctly biscuity delight that comes together in mere minutes. It’s a truly addictive vegan cookie butter fudge that proves you don’t need a long list of ingredients or complex techniques to create something truly spectacular.
The enchanting combination of rich plant-based chocolate and the signature warmly spiced, caramelized biscuit flavor of Lotus Biscoff has captured our hearts and taste buds. Now, you can effortlessly whip up this vegan cookie butter fudge without the need for sweetened condensed milk, heavy cream, or a candy thermometer. Forget the traditional fudge-making complexities; this recipe simplifies everything. Just melt your ingredients, mix them together, and chill. It’s that simple!
This extraordinary treat is so utterly addictive, you might want to consider making a double or triple batch if you plan on sharing it with family and guests – fair warning! It’s also an excellent choice for potlucks, parties, and holiday gifting, standing proudly alongside other simple crowd-pleasers like vegan fudgesicles, vegan peppermint bark, easy snowball cookies, and vegan chocolate crinkle cookies. Get ready to impress everyone with minimal effort!
Why You’ll Love This Easy Biscoff Fudge
- Unbelievably Simple: With just two main ingredients, this recipe couldn’t be easier to follow. No special skills or extensive baking experience required!
- Quick to Prepare: You’ll spend less than 10 minutes on active prep time, making it perfect for last-minute cravings or busy schedules.
- No-Bake Delight: Forget turning on the oven! This fudge sets beautifully in the refrigerator, keeping your kitchen cool.
- Rich & Decadent Flavor: The combination of creamy Biscoff cookie butter and rich vegan chocolate creates an intensely satisfying, sweet, and spiced flavor profile.
- Versatile Treat: Ideal for dessert, a sweet snack, holiday gifts, potlucks, or party favors.
- Diet-Friendly: A fantastic vegan and dairy-free option that doesn’t compromise on taste or texture.
- Freezer-Friendly: Make a big batch and store it for months, ensuring you always have a delicious treat on hand.
Essential Ingredients for Your Biscoff Fudge
The beauty of this recipe lies in its simplicity. You only need two core ingredients to create this fantastic fudge. However, quality matters, so choose wisely!
![The two key ingredients for Easy Biscoff Fudge [2-Ingredient]: vegan chocolate chips and a jar of smooth Biscoff cookie butter, displayed on a white surface.](https://plkis.com/wp-content/uploads/2025/12/img_63906_2.webp "Two-Ingredient Biscoff Fudge Bliss 3")
- Biscoff Cookie Butter: We highly recommend using a whole 14 oz (approximately 400g) jar of smooth Lotus Biscoff cookie butter. Its unique caramelized biscuit flavor is truly what defines this fudge. While any brand of cookie butter will technically work, Lotus Biscoff offers that authentic, beloved taste. For an interesting textural contrast, you could experiment with a crunchy version, adding delightful little biscuit pieces throughout the fudge.
- Vegan Chocolate Chips: The second star of our show! Opt for high-quality dairy-free chocolate chips or a finely chopped dairy-free chocolate bar. The type of chocolate you choose will influence the final flavor profile.
- Semi-sweet or Bitter-sweet Vegan Chocolate: These are classic choices that offer a rich, deep chocolate flavor, balancing the sweetness of the Biscoff.
- Vegan White Chocolate: For a lighter, sweeter, and more Biscoff-forward flavor, dairy-free white chocolate can be a fantastic option. Just ensure it’s made with cocoa butter for the best melting consistency and results.
Make sure your chosen chocolate is clearly labeled “vegan” or “dairy-free” to keep this recipe entirely plant-based.
Optional Enhancements: For an even more refined flavor, consider adding just a pinch of sea salt to the mixture. Salt helps to balance the sweetness and deepen the overall taste. For a beautiful finish and an extra crunch, top the fudge with 2-3 crushed Biscoff cookies, gently pressed into the mixture before chilling. This adds both visual appeal and a delightful texture.
Step-by-Step Guide: How to Make 2-Ingredient Biscoff Fudge
Making this fudge is incredibly straightforward. Follow these simple steps for a perfect batch every time!
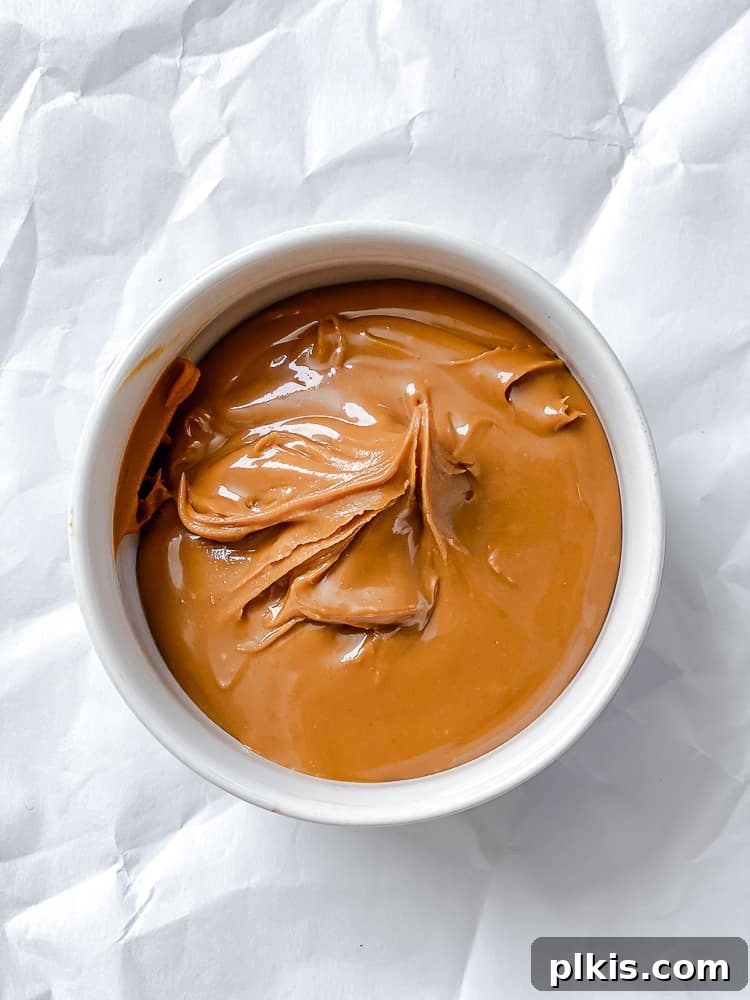
Step 1: Prepare Your Pan and Biscoff Swirl. Begin by lining an 8×8-inch (20 cm) square baking pan with parchment paper. Ensure the parchment paper overhangs the edges of the pan; this creates “handles” that will make it incredibly easy to lift the set fudge out later. Set this prepared pan aside. Next, take approximately ¼ cup of the Biscoff cookie butter, place it into a small microwave-safe bowl, and melt it in the microwave for about 30 seconds until smooth and pourable. This melted Biscoff will be used for a beautiful swirl topping later.
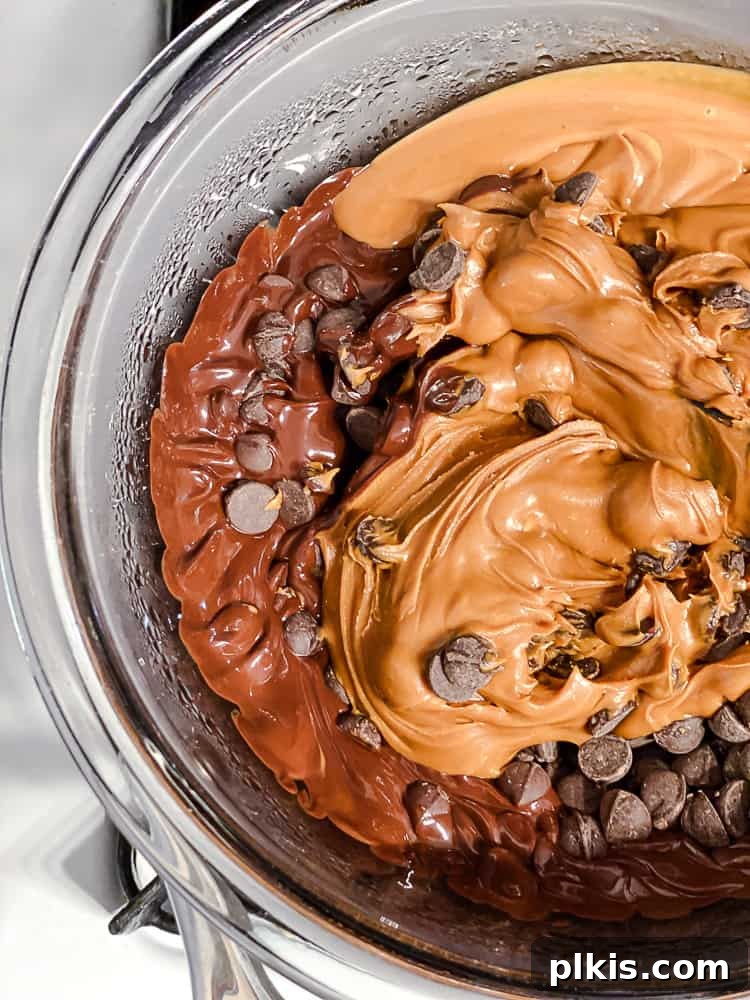
Step 2: Melt the Main Fudge Mixture. In a separate, larger heat-safe bowl (preferably one that can sit snugly over a pot without touching the water), combine the vegan chocolate chips and the remaining Biscoff cookie butter from the jar. Fill a medium-sized pot with about one to two inches of water and place it over medium heat on your stove. Once the water begins to simmer, place the bowl containing the chocolate and Biscoff over the pot, creating a double boiler. Allow the hot steam from the simmering water to gently melt the chocolate and Biscoff butter. Stir the mixture regularly with a spatula or spoon until it is completely smooth, glossy, and well combined, with no lumps remaining.
Important Double Boiler Tip: Ensure that the simmering water in the pot does NOT touch the bottom of the heat-safe bowl. Direct contact can cause the chocolate to overheat, seize, or burn. The steam alone is enough to provide gentle, even heat for melting.
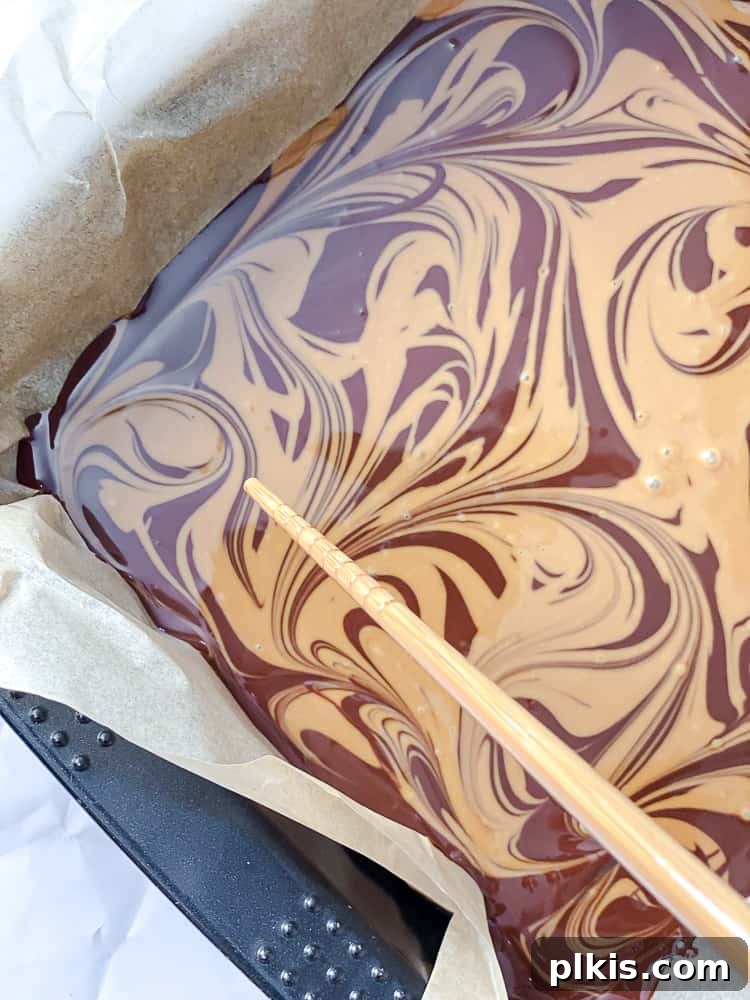
Step 3: Pour, Swirl, and Chill. Once your main fudge mixture is perfectly smooth and melted, carefully remove the bowl from the double boiler. Pour the entire melted mixture into your prepared 8×8-inch baking pan, spreading it evenly with a spoon or spatula to create a smooth surface. Now, take the ¼ cup of melted Biscoff butter you set aside earlier and drizzle it over the top of the fudge. Use a skewer, toothpick, or the tip of a knife to gently swirl the melted Biscoff into the chocolate fudge, creating beautiful patterns. For an extra touch, you can sprinkle crushed Biscoff cookies on top at this stage. Carefully transfer the pan to the refrigerator and allow the fudge to chill for a minimum of 5 hours, or ideally, overnight, until it is completely firm and set.
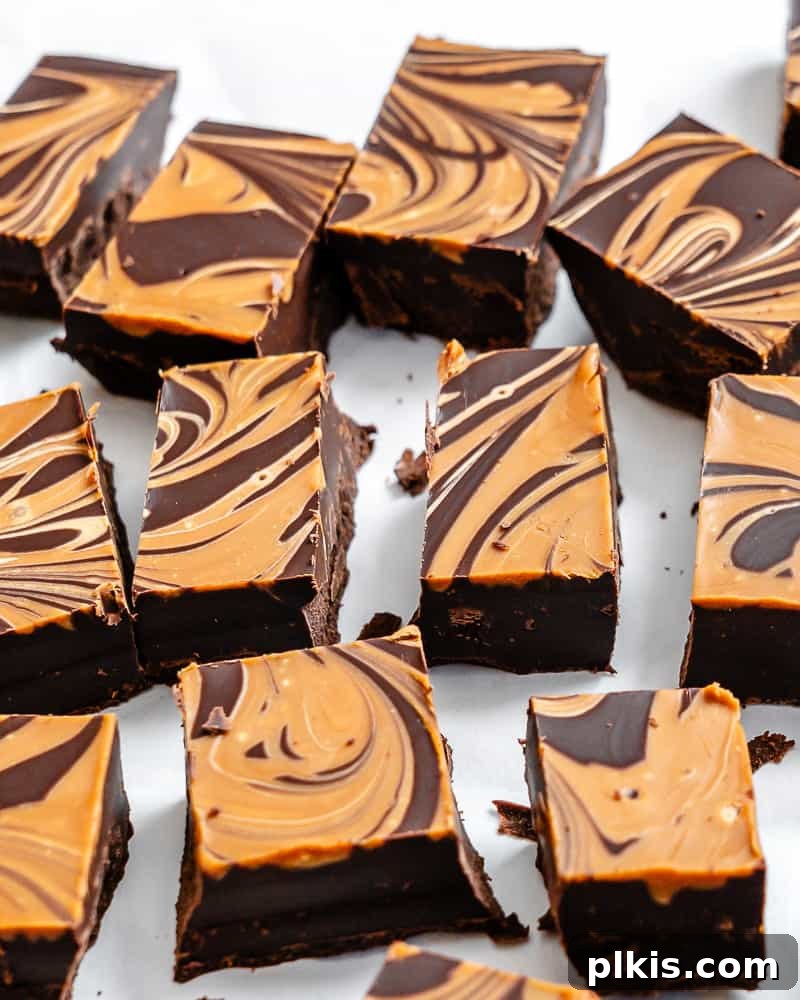
Step 4: Cut and Serve. Once the fudge is thoroughly chilled and firm, remove the pan from the refrigerator. Use the parchment paper overhang to carefully lift the entire slab of fudge out of the pan and place it onto a clean cutting board. If the fudge feels too hard directly from the fridge, allow it to sit at room temperature for 10-15 minutes to soften slightly, which will make cutting easier. For clean, precise cuts, you can dip your knife in hot water (and wipe it dry) between each cut. Slice the fudge into bite-sized cubes or desired shapes. Serve immediately or store for later enjoyment!
Frequently Asked Questions (FAQs) About Biscoff Fudge
Yes, absolutely! We’ve had fantastic results using vegan white chocolate, particularly those varieties that contain cocoa butter. Cocoa butter helps ensure a smooth, creamy texture when melted. If your dairy-free white chocolate is primarily made with other oils, results might vary in terms of consistency. Feel free to experiment, and let us know your findings!
Biscoff spread, often referred to as cookie butter, is a truly unique and delightful flavor experience. It’s crafted from crushed Lotus Biscoff cookies, which are a type of European speculoos biscuit. The taste is characterized by a sweet, caramelized brown sugar profile, beautifully complemented by warm spices such as cinnamon, nutmeg, and sometimes a hint of ginger. It’s often described as tasting like a gingersnap crossed with a graham cracker, but with a uniquely smooth, spreadable texture.
Yes, you can certainly use a 9-inch (23 cm) square pan. However, keep in mind that using a larger pan will result in a slightly thinner fudge. The taste and texture will still be delicious, but the individual pieces might be less thick. If you prefer thicker fudge, sticking to the 8×8-inch pan or increasing the ingredient quantities slightly for a 9-inch pan is recommended.
While technically possible to melt both the chocolate and Biscoff in a microwave, we generally recommend using the double boiler method. The microwave can be less forgiving, making it easier to scorch the chocolate or overheat the mixture, which can lead to a grainy texture or a seized consistency. If you choose the microwave route, do so with extreme caution: heat in short bursts of 20-30 seconds, stirring thoroughly after each interval. Once the mixture is about 80-90% melted, remove it from the microwave and continue stirring. The residual heat will often melt the remaining solids, ensuring a smooth finish.
Absolutely! This fudge is wonderfully versatile. Before chilling, you can fold in chopped nuts like pecans or walnuts, add vegan mini marshmallows, or even crushed pretzels for a salty-sweet crunch. For toppings, besides crushed Biscoff cookies, consider a sprinkle of flaky sea salt, a drizzle of extra melted chocolate, or some festive sprinkles for holidays.
The most common reason for fudge not setting is an incorrect ratio of ingredients or insufficient chilling time. Ensure you’re using the correct measurements for both the Biscoff spread and vegan chocolate chips. Also, this fudge requires a minimum of 5 hours in the refrigerator, but overnight chilling is highly recommended for the firmest, most sliceable results. If your kitchen is very warm, it might take even longer to set. If you microwaved the mixture, overheating could also affect its setting properties.
Pro Tips for Perfect Biscoff Fudge
- Always Line Your Pan: This step is non-negotiable for easy removal! Using parchment paper with an overhang creates convenient “handles” to lift the entire slab of fudge out of the pan. While optional, a light spray of cooking oil on the parchment paper can provide an extra layer of non-stick assurance, though it’s often not strictly necessary with parchment.
- Master the Double Boiler Method: Using a double boiler (bain-marie) is the safest and most reliable way to melt chocolate and cookie butter for fudge. Remember these key points:
- The bowl should sit above the simmering water, not directly in it. The steam provides the gentle heat needed.
- Stir constantly to prevent hot spots and ensure even melting.
- Be vigilant: absolutely no water should get into the chocolate mixture, as even a drop can cause the chocolate to seize and become grainy.
- The bowl itself will become very hot, so use oven mitts or a towel when handling it.
- Smooth or Chunky Biscoff – Your Choice: While the recipe calls for smooth Biscoff for a classic fudge texture, don’t shy away from experimenting. We once accidentally used chunky Biscoff and were pleasantly surprised by the delightful textural contrast it added. The small biscuit pieces provide an enjoyable crunch that complements the creamy fudge beautifully.
- Gifting Your Homemade Fudge: This vegan cookie butter fudge holds its shape well and isn’t overly sticky once set, making it an ideal candidate for homemade gifts. Package it in pretty boxes, cellophane bags, or decorative tins. It’s perfect for birthdays, hostess gifts, or as a delightful addition to holiday treat packages. We’ve had requests to make it again and again after sharing it!
- Achieve Clean Cuts: For perfectly neat squares, allow the fudge to sit at room temperature for 10-15 minutes after removing it from the fridge. This slight softening makes it easier to cut. Additionally, using a sharp, warm knife (dipped in hot water and then wiped dry) will glide through the fudge more smoothly, preventing crumbling and ensuring crisp edges.
Storage Instructions for Biscoff Fudge
Once your delicious Biscoff fudge is set and cut into pieces, proper storage ensures it remains fresh and delightful for as long as possible.
- Refrigerator Storage: Store the Biscoff fudge in an airtight container in the refrigerator for up to 2 weeks. While it’s unlikely to last that long given how delicious it is, this method will keep it firm, fresh, and ready to enjoy.
- Freezer Storage: For longer preservation, Lotus Biscoff fudge is excellent for freezing. Place the cut pieces in an airtight container or a heavy-duty freezer bag (like a Ziploc or Stasher bag), ensuring they are separated by parchment paper if stacking to prevent sticking. It can be stored in the freezer for 3-4 months.
Thawing Frozen Fudge: When you’re ready to enjoy frozen fudge, transfer it from the freezer to the refrigerator and allow it to thaw slowly overnight. Alternatively, you can bring it to room temperature for several hours. To prevent condensation from forming on the fudge’s surface (which can make it sticky), it’s best to leave the fudge to thaw completely in its sealed container before opening it. This gradual temperature change helps maintain its smooth texture and appearance.
Easy 2-Ingredient Vegan Biscoff Fudge
5 mins
5 mins
5 hrs
5 hrs 10 mins
18 servings
![completed Easy Biscoff Fudge [2-Ingredient] in squares on a white surface](https://plkis.com/wp-content/uploads/2025/12/img_63906_8.webp "Two-Ingredient Biscoff Fudge Bliss 8")
This biscoff fudge is the EASIEST cookie butter fudge – with just 2 ingredients and a few minutes of prep. A decadent treat, perfect for gifting, and freezer-friendly!
Video
Equipment
-
Measuring Cups
-
Small Pot
-
Heat-Safe Spatula
-
Heat-Safe Bowls
-
Parchment Paper
-
8×8-inch Baking Pan
Ingredients
- 1 (12-ounce) bag of vegan chocolate chips
- 1 (14-ounce) jar of smooth Biscoff cookie butter
- Optional: Pinch of sea salt
- Optional: 2-3 crushed Biscoff cookies (for topping)
Instructions
-
Prepare an 8×8-inch baking pan by lining it with parchment paper, ensuring there’s an overhang on the sides for easy removal of the fudge. Set aside.
-
Measure out ¼ cup of Biscoff cookie butter. Place it in a small microwave-safe bowl and microwave for 30 seconds until melted and smooth. Set this aside; it will be used for the swirl.
-
In a separate, larger heat-safe bowl, combine the vegan chocolate chips and the remaining Biscoff cookie butter from the jar.
-
Create a double boiler: Fill a medium pot with 1-2 inches of water and bring it to a simmer over medium heat. Place the heat-safe bowl with chocolate and Biscoff over the simmering pot, ensuring the bottom of the bowl does not touch the water. Stir continuously with a spatula until the mixture is completely melted, smooth, and glossy. Remove from heat.
-
Pour the melted fudge mixture into the prepared 8×8-inch pan and spread it evenly with a spoon or spatula.
-
Drizzle the reserved ¼ cup of melted Biscoff over the top of the fudge. Using a skewer or a knife, gently swirl the melted Biscoff into the chocolate fudge to create decorative patterns. Optionally, sprinkle crushed Biscoff cookies on top.
-
Place the pan in the refrigerator for at least 5 hours, or preferably overnight, until the fudge is completely firm and set.
-
Once set, lift the fudge out of the pan using the parchment paper overhang. Place it on a cutting board. If too hard, let it soften slightly at room temperature for 10-15 minutes. Use a sharp, warm knife (wiped clean between cuts) to cut the fudge into bite-sized cubes. Serve and enjoy!
Notes
- Line the pan: Always line your baking pan with parchment paper, leaving an overhang on the sides. This makes lifting the fudge out incredibly easy and prevents sticking.
- Double boiler precision: When using a double boiler, ensure the water in the pot is simmering gently and does not touch the bottom of the melting bowl. This prevents scorching the chocolate and keeps the mixture smooth. Avoid getting any water into the chocolate.
- Texture variation: For an added textural element, consider using crunchy Biscoff cookie butter instead of smooth. The small cookie pieces offer a delightful crunch.
- Cutting tips: If the fudge is very firm from the refrigerator, let it sit at room temperature for a few minutes before cutting. For ultra-clean cuts, warm your knife under hot water, wipe it dry, and then slice. Repeat for each cut.
Nutrition
Carbohydrates: 23g
Protein: 3g
Fat: 15g
Saturated Fat: 6g
Fiber: 1g
Sugar: 16g
Calcium: 25mg
Iron: 1mg
Additional Info
Toni Okamoto
Dessert
American
Stovetop
Vegan
Tried this recipe?
Please tag us at @PlantBasedOnABudget! 🙂