
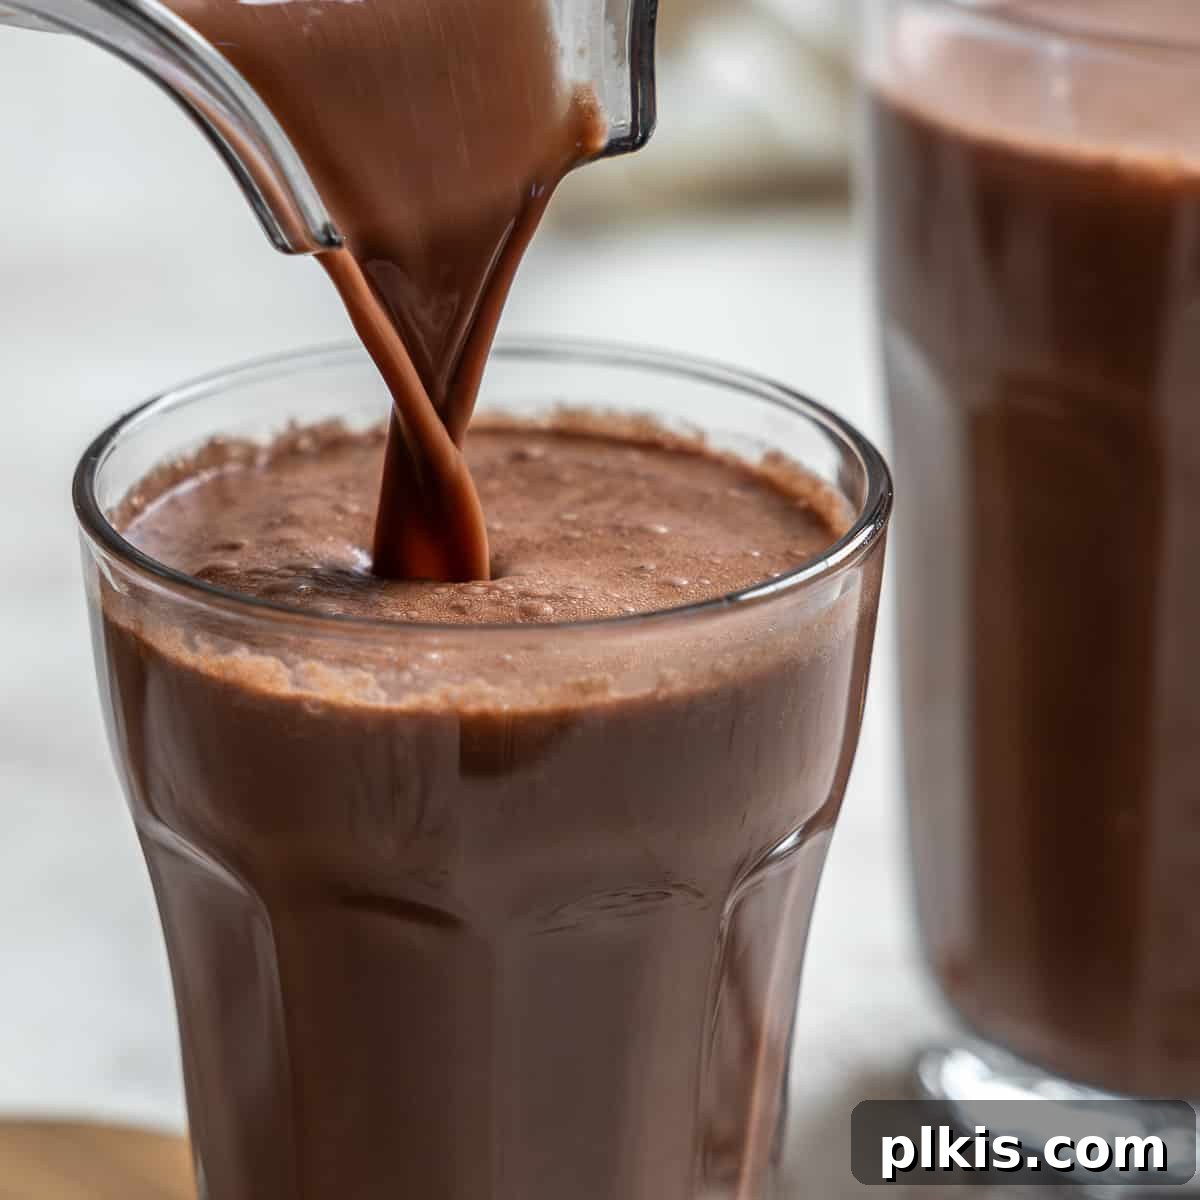
Welcome to the ultimate guide for crafting your own delectable, healthy, and budget-friendly chocolate oat milk right in your kitchen. This versatile, dairy-free milk offers a smooth, creamy, and refreshing experience, perfect for enjoying on its own, with cereal, in chia puddings, or any recipe calling for plant-based milk. Ditch the store-bought versions filled with unnecessary additives, gums, thickeners, and excessive sugars. Our simple 4-ingredient recipe not only saves you money but also ensures you’re fueling your body with wholesome ingredients. Plus, we’ll share indispensable tips to guarantee a perfect, non-slimy batch every single time!
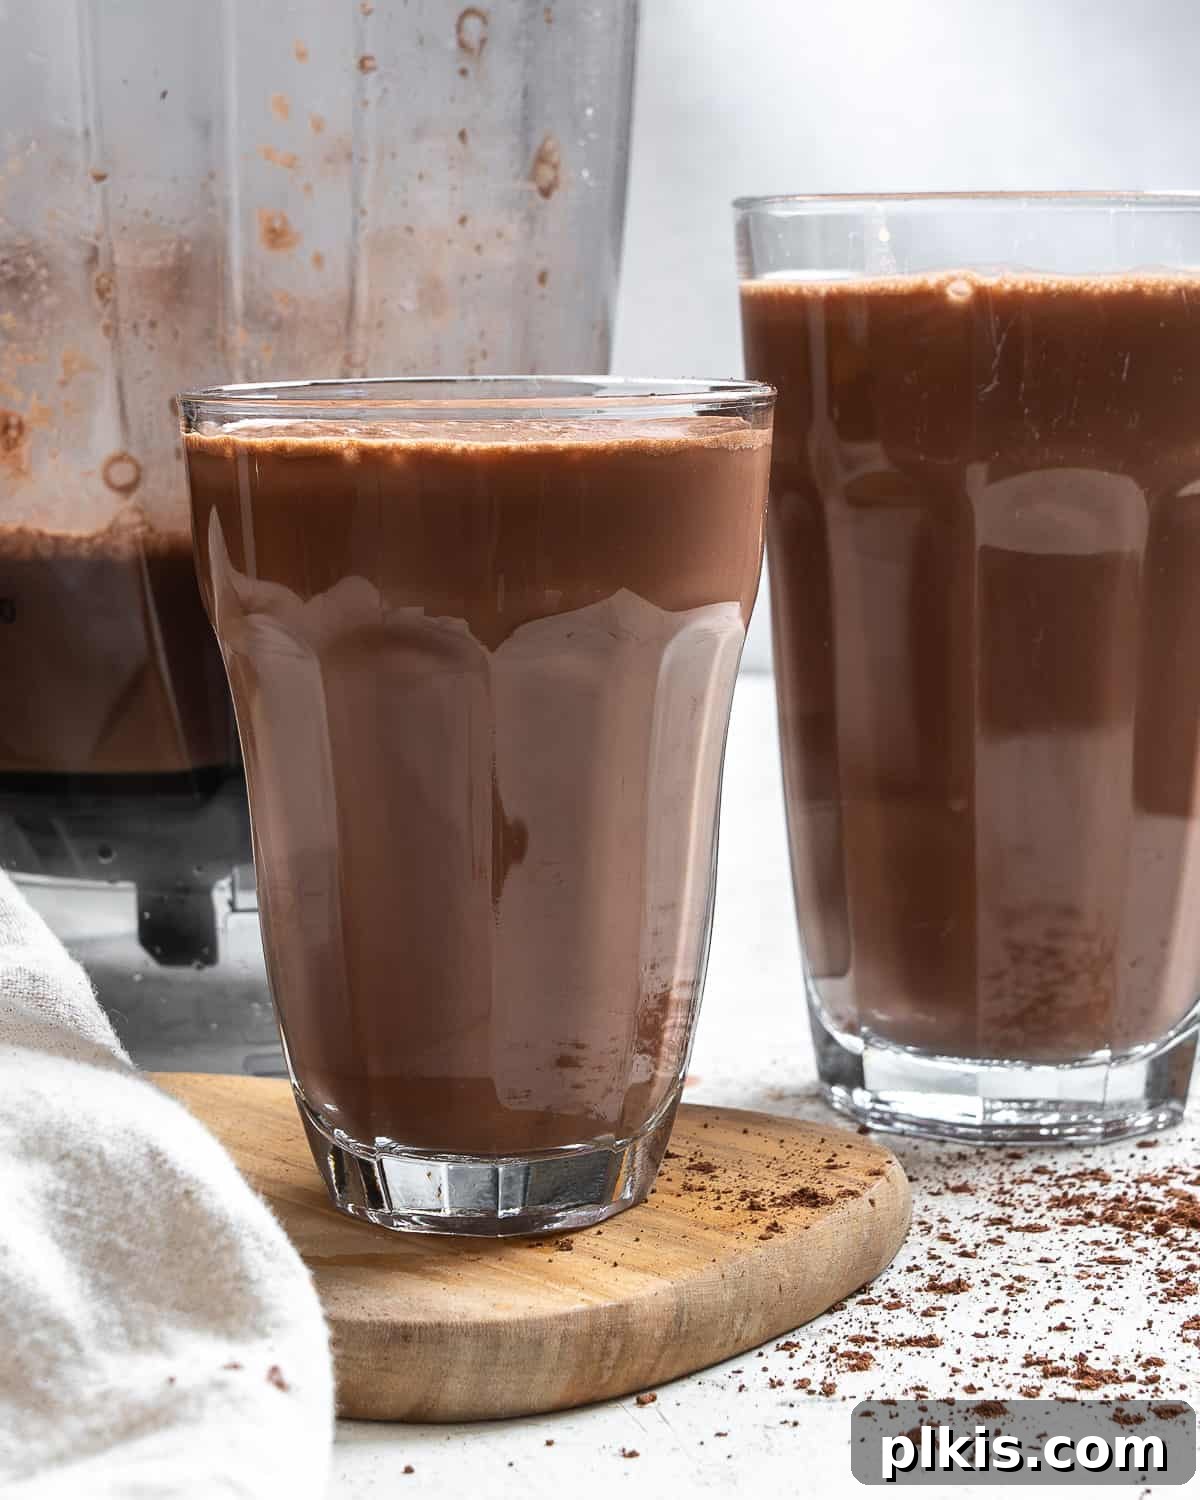
Table of Contents
- Why Choose Homemade Chocolate Oat Milk?
- The Simple Ingredients and Clever Substitutes
- Recipe Variation Options for Your Perfect Brew
- How to Make Chocolate Oat Milk: Step-by-Step
- Top Tips to Avoid Slimy Oat Milk: Secrets Revealed
- Frequently Asked Questions (FAQs)
- Pro Recipe Tips for Best Results
- Delicious Ways to Enjoy Your Chocolate Oat Milk
- Storage Instructions and Shelf Life
- More Vegan Drink Recipes to Explore
Why Choose Homemade Chocolate Oat Milk?
Get ready to indulge in an enthusiastically child and adult-approved chocolate treat with this incredibly simple and delicious chocolate oat milk recipe. Beyond its irresistible flavor, crafting your own oat milk offers numerous advantages over store-bought alternatives. You effectively eliminate unnecessary additives, gums, thickeners, and often an abundance of refined sugars that are prevalent in many commercial versions, whether liquid or powdered. This homemade delight is not only significantly more cost-effective but also remarkably beneficial for your health.
This wholesome dairy-free chocolate milk is both indulgent and nutritious, packed with gut-beneficial fiber, potent antioxidants from the cocoa, moderate levels of plant-based protein, and essential vitamins and minerals like iron, zinc, and magnesium. Furthermore, it’s naturally free from gluten (if certified gluten-free oats are used), dairy, and soy. For those with nut allergies, it’s easily made nut-free, and you have complete control over the sweetener, choosing between regular sugar, unrefined options, or sugar alternatives to suit your dietary needs.
The best part? This homemade chocolate oat milk recipe requires only about 5 minutes of active preparation time, with no soaking necessary, unlike many nut milk recipes. We’ve compiled several expert tips to ensure you achieve a perfectly smooth, non-slimy consistency every single time. If you’re eager to explore more homemade plant-based milks, don’t forget to check out our cashew milk recipe for another creamy option.
The Simple Ingredients and Clever Substitutes
Crafting your own chocolate oat milk is incredibly straightforward, requiring only four core ingredients that you likely already have in your pantry. Each component plays a vital role in achieving that perfect balance of flavor, creaminess, and health benefits.
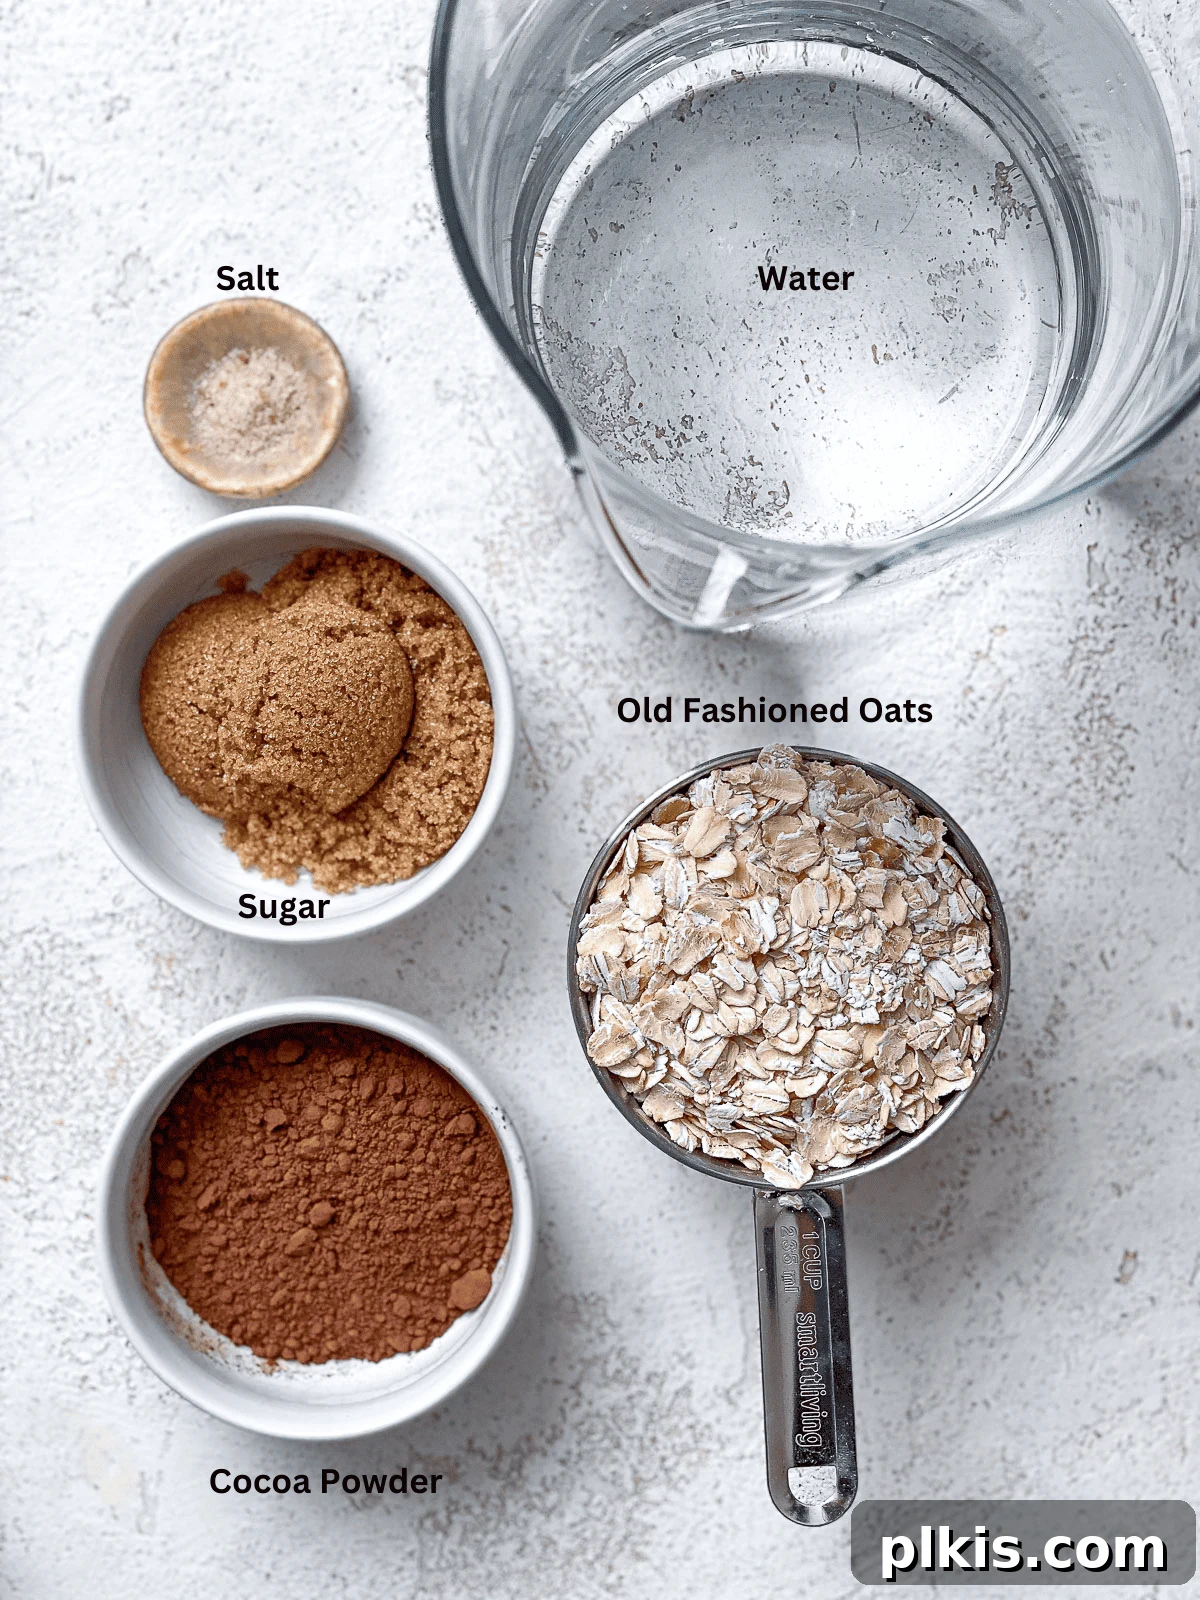
- Oats: The foundation of our milk. We recommend using whole old-fashioned rolled oats (regular or organic). These provide the best texture and flavor. If you require a gluten-free diet, ensure you opt for certified gluten-free oats to avoid cross-contamination. Avoid instant oats, as they tend to produce a much slimier consistency.
- Water: The primary liquid base. Always use cold or ice-cold water. Cold temperatures help prevent the oats from releasing too much starch, which can lead to a slimy texture. Filtered water can enhance the overall taste, but regular tap water works perfectly well.
- Sweetener: To achieve that delightful sweetness. Maple syrup, agave nectar, or rice syrup are excellent liquid options that blend seamlessly. For granulated choices, you can use date paste (or even blend a couple of actual pitted dates for natural sweetness), regular white sugar, brown sugar, or coconut sugar. If you prefer a sugar-free alternative, a plant-based sweetener like stevia or erythritol can also be used, adjusted to your taste.
- Cocoa powder: The star for that rich, deep chocolate flavor. Opt for high-quality unsweetened cacao powder or cocoa powder (either natural or Dutch-processed) for the best results. Dutch-processed cocoa powder offers a darker color and milder, less bitter chocolate taste, while natural cocoa powder provides a fruitier, more intense chocolate note.
- Salt: A pinch of salt is crucial. It doesn’t make the milk salty, but rather balances the sweetness and remarkably enhances the depth of the chocolate flavor, making it pop.
To make plain oat milk, simply omit the cocoa powder from the recipe. You can also reduce the amount of sweetener or omit it entirely if you prefer an unsweetened version for savory applications or to sweeten later with other ingredients.
Recipe Variation Options for Your Perfect Brew
Once you’ve mastered the art of making homemade chocolate oat milk, you’ll quickly discover how effortless it is to create a myriad of delicious flavor variations with minimal additional effort or cost. Experimentation is key to finding your perfect blend!
- Cashews for extra creaminess: For an even creamier and richer oat milk, consider pairing oats with other nuts or seeds. Raw, unsalted cashews are particularly excellent for this; you only need a small handful. Remember to soak cashews for at least 30 minutes (or overnight for optimal creaminess) before blending if you want the smoothest result. Alternatively, nut flours like cashew flour, almond flour, or even nut-free sunflower seed flour can be added for a similar creamy effect without soaking.
- Nut butter: As an alternative to whole nuts or flours, adding a spoonful of your favorite nut butter (we highly recommend raw cashew butter for its neutral flavor) can instantly boost the creaminess and richness of your oat milk. No soaking is necessary when using nut butter. Almond butter or peanut butter would also work, adding their distinct flavors.
- Vanilla extract: While technically optional, a dash of pure vanilla extract is a fantastic pairing with chocolate. It adds a warm, aromatic depth that elevates the overall flavor profile of the chocolate oat milk, making it taste more gourmet.
- Warm spices: For a cozy and inviting twist, add a pinch of cinnamon to taste. Cinnamon perfectly complements chocolate and adds a lovely warm, toasty deliciousness. Other spices like nutmeg, a tiny hint of ground ginger, or even a pre-made pumpkin pie spice blend can create unique and delightful flavor profiles.
- Coffee kick: A small amount of instant coffee or espresso powder can work wonders by enhancing the chocolatey flavor, making it taste even richer and more complex without necessarily tasting like coffee. For a true morning pick-me-up, increase the amount of coffee powder to create a delicious mocha oat milk. This is perfect for coffee lovers seeking a dairy-free mocha.
You can also completely transform this recipe by replacing the cocoa powder with other ingredients for different flavored oat milk variations. Imagine delightful vanilla oat milk (just add more vanilla extract), vibrant fresh berry oat milk (blend in strawberries, raspberries, or blueberries), or a robust coffee-flavored oat milk (by adding more coffee or cold brew) for endless possibilities.
How to Make Chocolate Oat Milk: Step-by-Step
Making your own chocolate oat milk is a surprisingly simple process that yields incredibly rewarding results. Follow these straightforward steps for a perfectly creamy and delicious batch.
- Step 1: Blend Oats and Water. Begin by adding the old-fashioned rolled oats and cold water to a high-speed blender. Blend on high for precisely 1 minute. Blending for too long can over-process the oats, releasing excessive starch and resulting in a slimy texture. A short, powerful blend is all you need to break down the oats sufficiently.
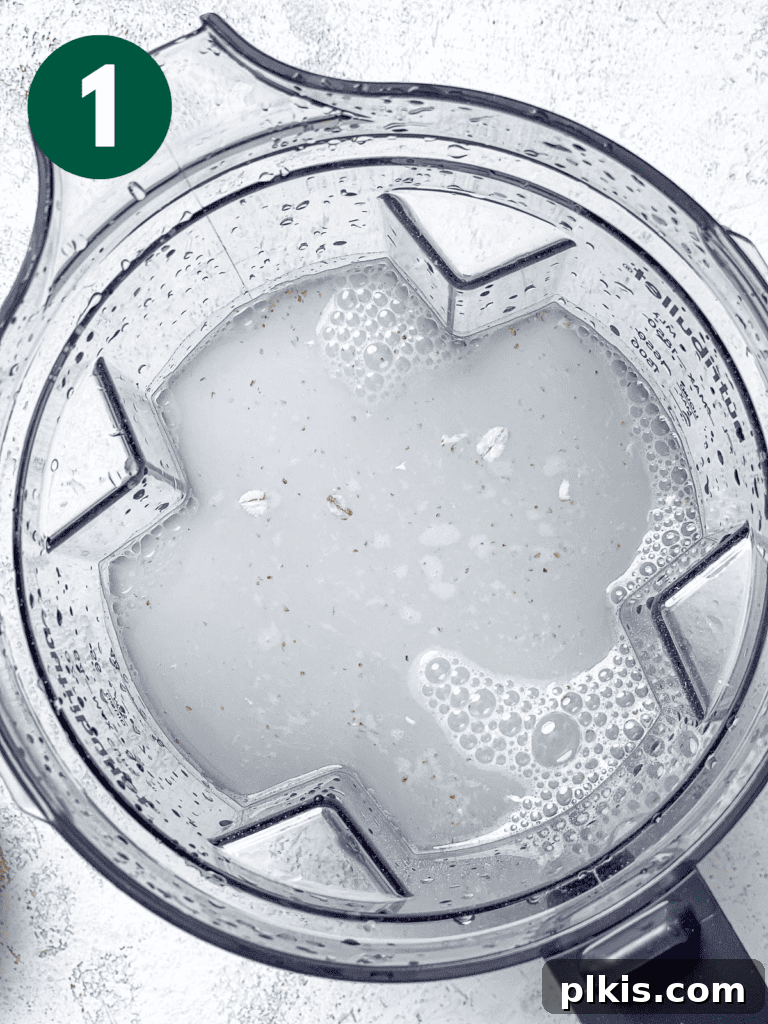
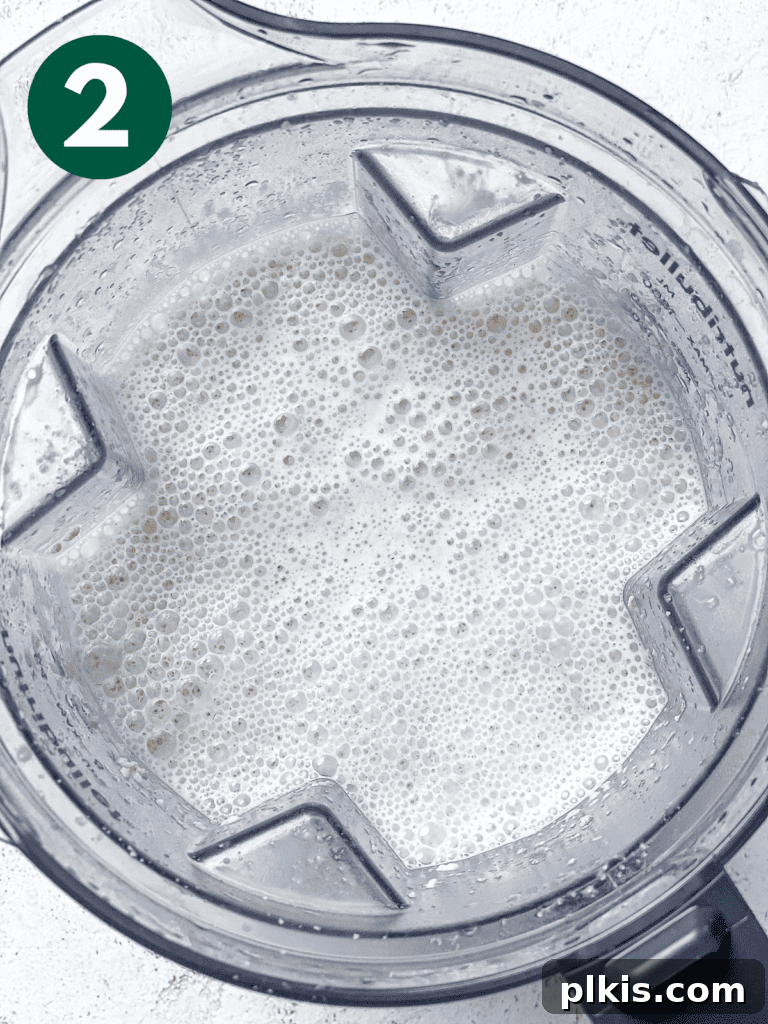
A Note on High-Speed Blenders: If you own an exceptionally powerful high-speed blender, like a Vitamix, it’s theoretically possible to blend on its highest setting for up to 2 minutes and attempt to skip the straining step. However, be aware that this might lead to a slightly thicker or less refined consistency, and some individuals may still prefer the smoother texture achieved through straining.
- Step 2: Strain the Oat Milk. Carefully pour the blended oat mixture through a fine-mesh nut milk bag or several layers of clean cheesecloth suspended over a large bowl or pitcher. Allow the liquid to strain naturally, letting gravity do most of the work. This typically takes a few minutes.
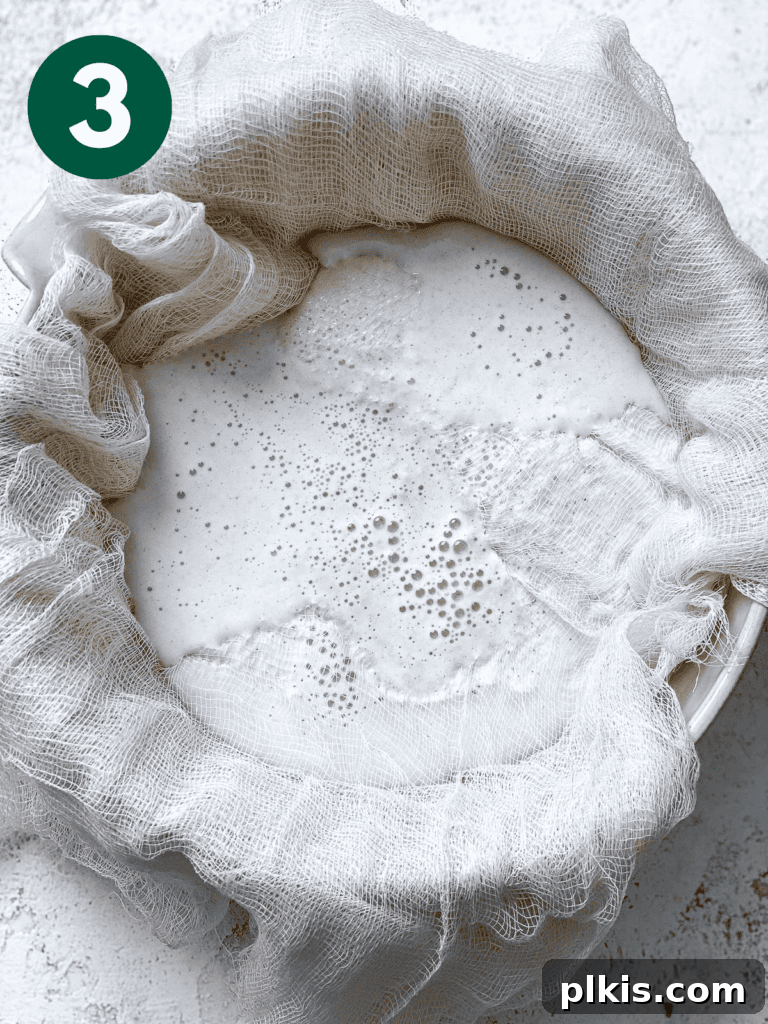
Crucial Tip for Straining: It is absolutely essential not to press or squeeze the nut milk bag or cheesecloth while straining. Squeezing will force extra starches out of the oat pulp, which is the primary cause of sliminess in homemade oat milk. Be patient and let it drip naturally for the smoothest possible result.
- Step 3: Combine with Chocolate and Sweetener. Rinse your blender clean to remove any residual oat particles. Then, pour the freshly strained oat milk back into the blender. Add the cocoa powder, your chosen sweetener (sugar, maple syrup, etc.), and the pinch of salt. Blend again for approximately one minute, or until all the ingredients are thoroughly combined and the milk is a uniform chocolate color.
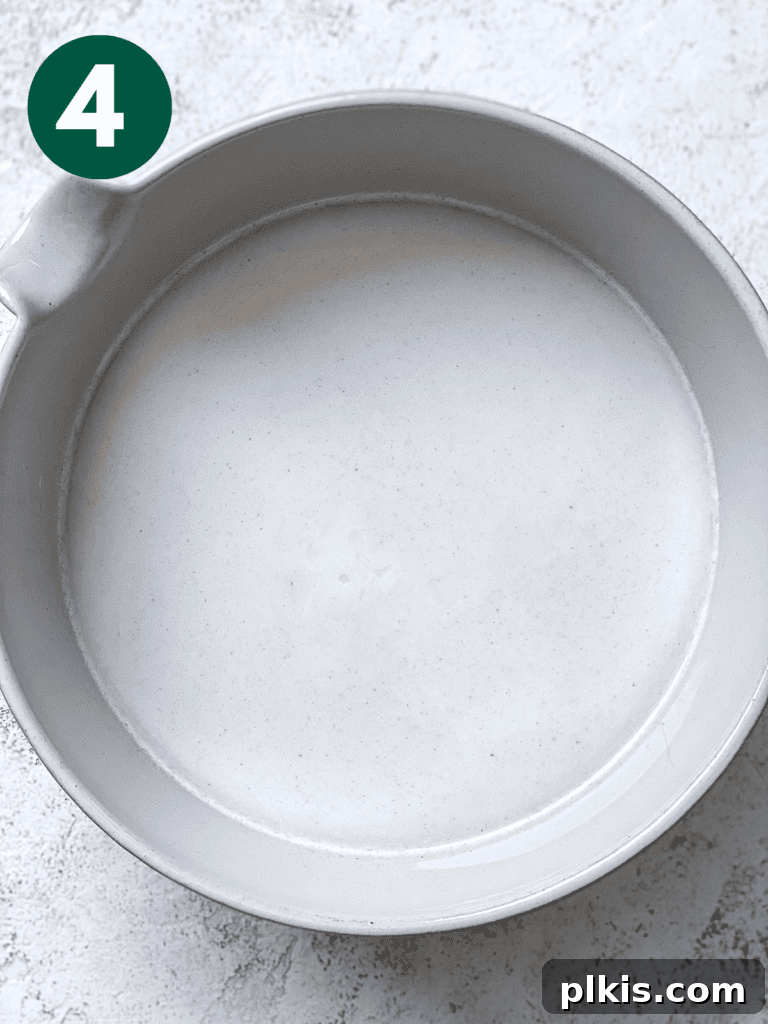
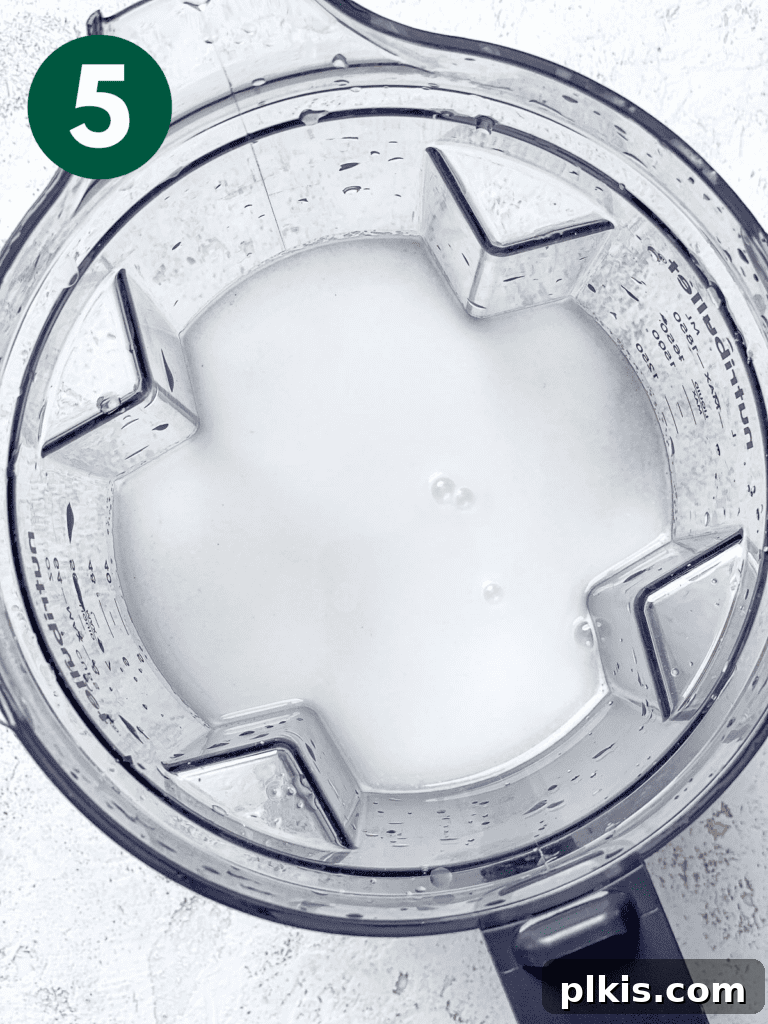
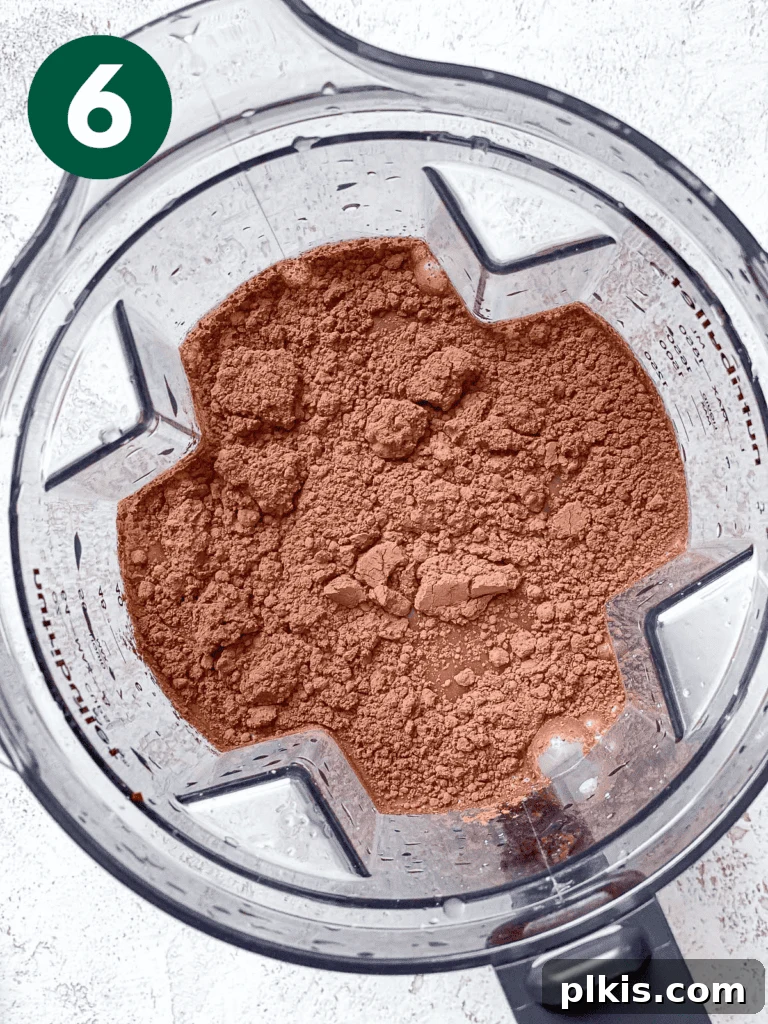
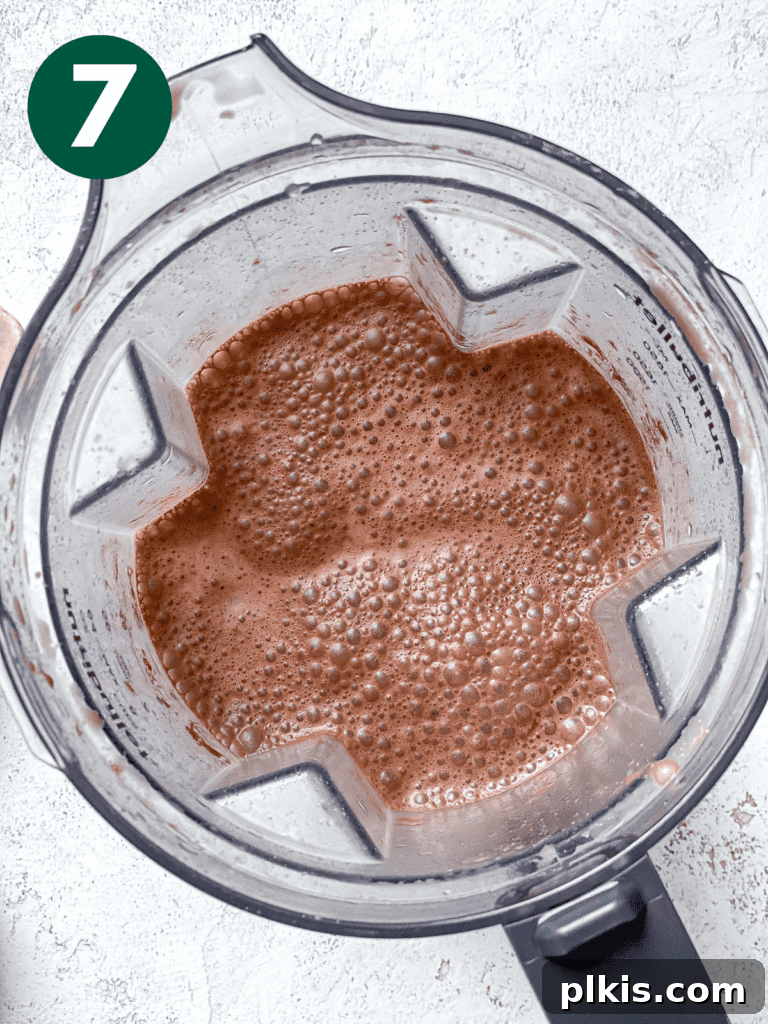
- Step 4: Taste, Adjust, and Enjoy! Taste your freshly made chocolate oat milk. This is your chance to adjust the sweetness or chocolate intensity. Add more cocoa for a richer flavor, or more sweetener if you prefer it sweeter. Once perfected, enjoy it immediately, or for an even more refreshing experience, transfer it to a lidded pitcher and chill in the fridge for a short while before serving.
Top Tips to Avoid Slimy Oat Milk: Secrets Revealed
Oats are naturally starchy, and these starches can gelatinize when exposed to liquid and heat, leading to that undesirable “slimy” or “gummy” texture. While some people don’t mind a slight sliminess, for those striving for perfectly smooth oat milk, these tips are invaluable. By understanding the science behind oat milk production, you can minimize starch release and achieve a consistently creamy result.
- Soak and Rinse Your Oats (Optional, but effective). While our primary recipe doesn’t require soaking, some experts claim that pre-soaking oats can be a game-changer for eliminating sliminess. If you choose this method, soak your oats in cold water for about 15-30 minutes, then drain them thoroughly and rinse them under cold running water. This process helps to wash away some of the surface starches before blending, resulting in creamier oat milk with significantly reduced sliminess.
- Always Use Ice-Cold Water. This is perhaps the most crucial tip. Warm or even room-temperature liquids will activate the enzymes in the oats that cause the starches to thicken and become slimy, much like the stickiness you find in cooked oatmeal. Using ice-cold water keeps these enzymes dormant, minimizing starch release during blending. For best results, you can even add a few ice cubes to your water before blending, ensuring the temperature remains very low.
- Keep Blending Time Short and Sweet. Over-blending is a common culprit for slimy oat milk. We’ve found that blending for just 1 minute provides a wonderful creaminess without excessive starch activation. However, if you’re particularly sensitive to sliminess, you can reduce the blending time to just 30-45 seconds. In such cases, if you find the milk too watery, we highly recommend adding a small handful of raw cashews or sunflower seeds to boost creaminess without adding more oat starch.
- Exercise Caution When Straining. As mentioned in the instructions, resist the urge to squeeze the nut milk bag or press down on the oat pulp. This action will inevitably force out residual starches that would otherwise stay behind, leading to a slimy consistency. Be patient and allow the milk to drip through naturally. For an exceptionally smooth plant milk, you can even strain the liquid twice through a clean nut milk bag or cheesecloth.
- Utilize a Food Enzyme Capsule. This is a more advanced, but highly effective, method. Amylase, a broad-spectrum digestive enzyme found in many food enzyme capsules, is specifically designed to break down starches. Simply open a capsule and blend its contents into your oat milk. The amylase will actively work to break down the starches responsible for sliminess, resulting in an incredibly smooth and thin consistency.
Frequently Asked Questions (FAQs)
Yes, you can heat oat milk. However, it’s important to note that homemade oat milk, especially if not thoroughly strained to remove starches, can thicken or become somewhat slimy when heated. For best results when heating, use it gently over low heat, stirring continuously, or incorporate it into recipes where a thicker consistency is desired (like creamy soups or sauces). Commercially produced oat milk often contains stabilizers to prevent this.
Oat milk has a mild, subtly sweet, and creamy flavor with a distinctive, almost oatmeal-like undertone. It’s generally less “nutty” than almond or cashew milk, making it a versatile base for many drinks and recipes. This particular version is wonderfully infused with rich chocolate flavor, making it reminiscent of a classic chocolate milk but with a unique, wholesome twist from the oats.
Homemade oat milk offers several advantages. It’s free from added gums, emulsifiers, and preservatives often found in commercial brands. You have complete control over the ingredients, allowing you to adjust sweetness and choose organic or gluten-free options. It’s also significantly more cost-effective to make at home. While store-bought versions are often fortified with vitamins like D, B12, and calcium, you can achieve similar fortification at home with supplements (see Pro Recipe Tips).
Pro Recipe Tips for Best Results
- To adjust the creaminess: If you desire a thicker, more luxurious consistency, resist the urge to simply increase the oat-to-water ratio, as this will almost certainly lead to slimy oat milk. Instead, for enhanced creaminess, blend in a small handful of raw, soaked cashews or sunflower seeds. These add richness without excess starch.
- For the smoothest plant milk: For an ultra-smooth, restaurant-quality texture, consider straining your oat milk twice. You can also strain it through an even finer material than a standard nut milk bag, such as a clean, thin kitchen towel or a very fine mesh sieve lined with muslin cloth. This will remove maximum sediment and starch.
- To fortify homemade oat milk: Store-bought plant milks are often fortified with essential nutrients. You can replicate this at home by blending the contents of a supplement capsule (e.g., vegan vitamin D, calcium, or B12) directly into your finished oat milk. Always consult with a healthcare professional before adding supplements to your diet.
- If the plant-based milk turns out slimy: Don’t despair or discard it! First, try straining it once more through a very fine cloth. If sliminess persists, consider blending in a food enzyme capsule (as described above). Alternatively, the slightly slimy texture won’t even be noticed if you use it in cooked applications like oatmeal, baked goods, or even creamy sauces.
- To utilize leftover oat pulp: Don’t let the leftover oat pulp go to waste! It’s still packed with fiber and nutrients. Incorporate it into your morning smoothies for added thickness and nutrition, enjoy it mixed with vegan yogurt and fresh fruit, or stir it into overnight oats or hot oatmeal. It can also be a fantastic addition to baked goods like muffins, bread, or even savory veggie burgers for added texture and fiber.
Delicious Ways to Enjoy Your Chocolate Oat Milk
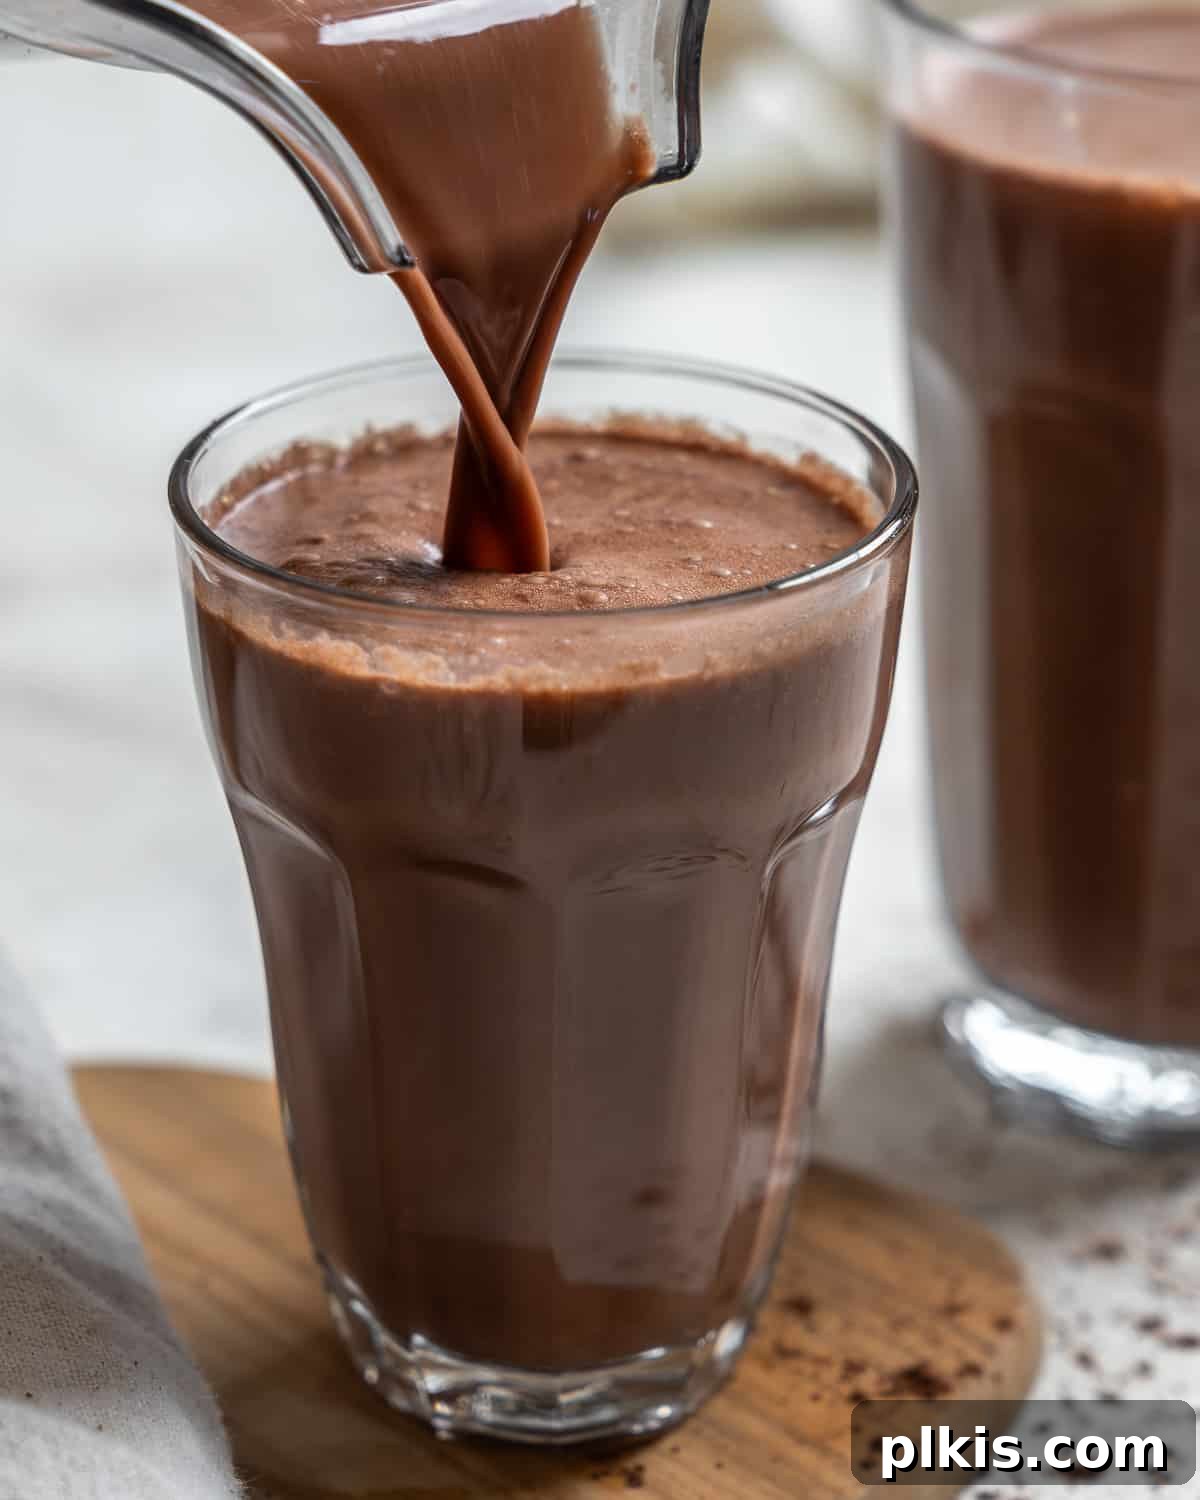
Homemade chocolate oat milk is incredibly versatile and can elevate a multitude of dishes and drinks. Beyond simply drinking it straight, here are some delightful ways to incorporate this creamy, chocolatey goodness into your daily routine:
- Morning Cereal or Granola: A classic pairing! Pour over your favorite breakfast cereal or crunchy granola for a dairy-free, chocolatey start to your day.
- Smoothies: Use it as the base for a rich and creamy chocolate smoothie. Combine with frozen bananas, a scoop of vegan protein powder, and maybe a dollop of peanut butter for an indulgent yet healthy treat.
- Hot Chocolate or Mocha: Gently warm the chocolate oat milk for an instant, luxurious hot chocolate. Add a shot of espresso for a homemade mocha.
- Chia Pudding: Create a decadent chocolate chia pudding by mixing chia seeds with your chocolate oat milk and letting it set overnight in the refrigerator. Top with fresh berries or a sprinkle of cocoa nibs.
- Oatmeal Base: Cook your morning oatmeal using chocolate oat milk instead of water or plain milk for a richer, more flavorful bowl.
- Baking: Substitute dairy milk with chocolate oat milk in recipes for muffins, pancakes, waffles, or even chocolate cakes and brownies to add a subtle oat flavor and ensure they remain dairy-free.
- Coffee & Tea: A wonderful creamer for your morning coffee or a unique base for certain tea lattes.
- Frozen Desserts: Experiment with making homemade chocolate oat milk ice cream or popsicles for a refreshing summer treat.
Storage Instructions and Shelf Life
Proper storage is key to enjoying your homemade chocolate oat milk for as long as possible. Since it is free from preservatives, its shelf life is naturally shorter than commercial varieties.
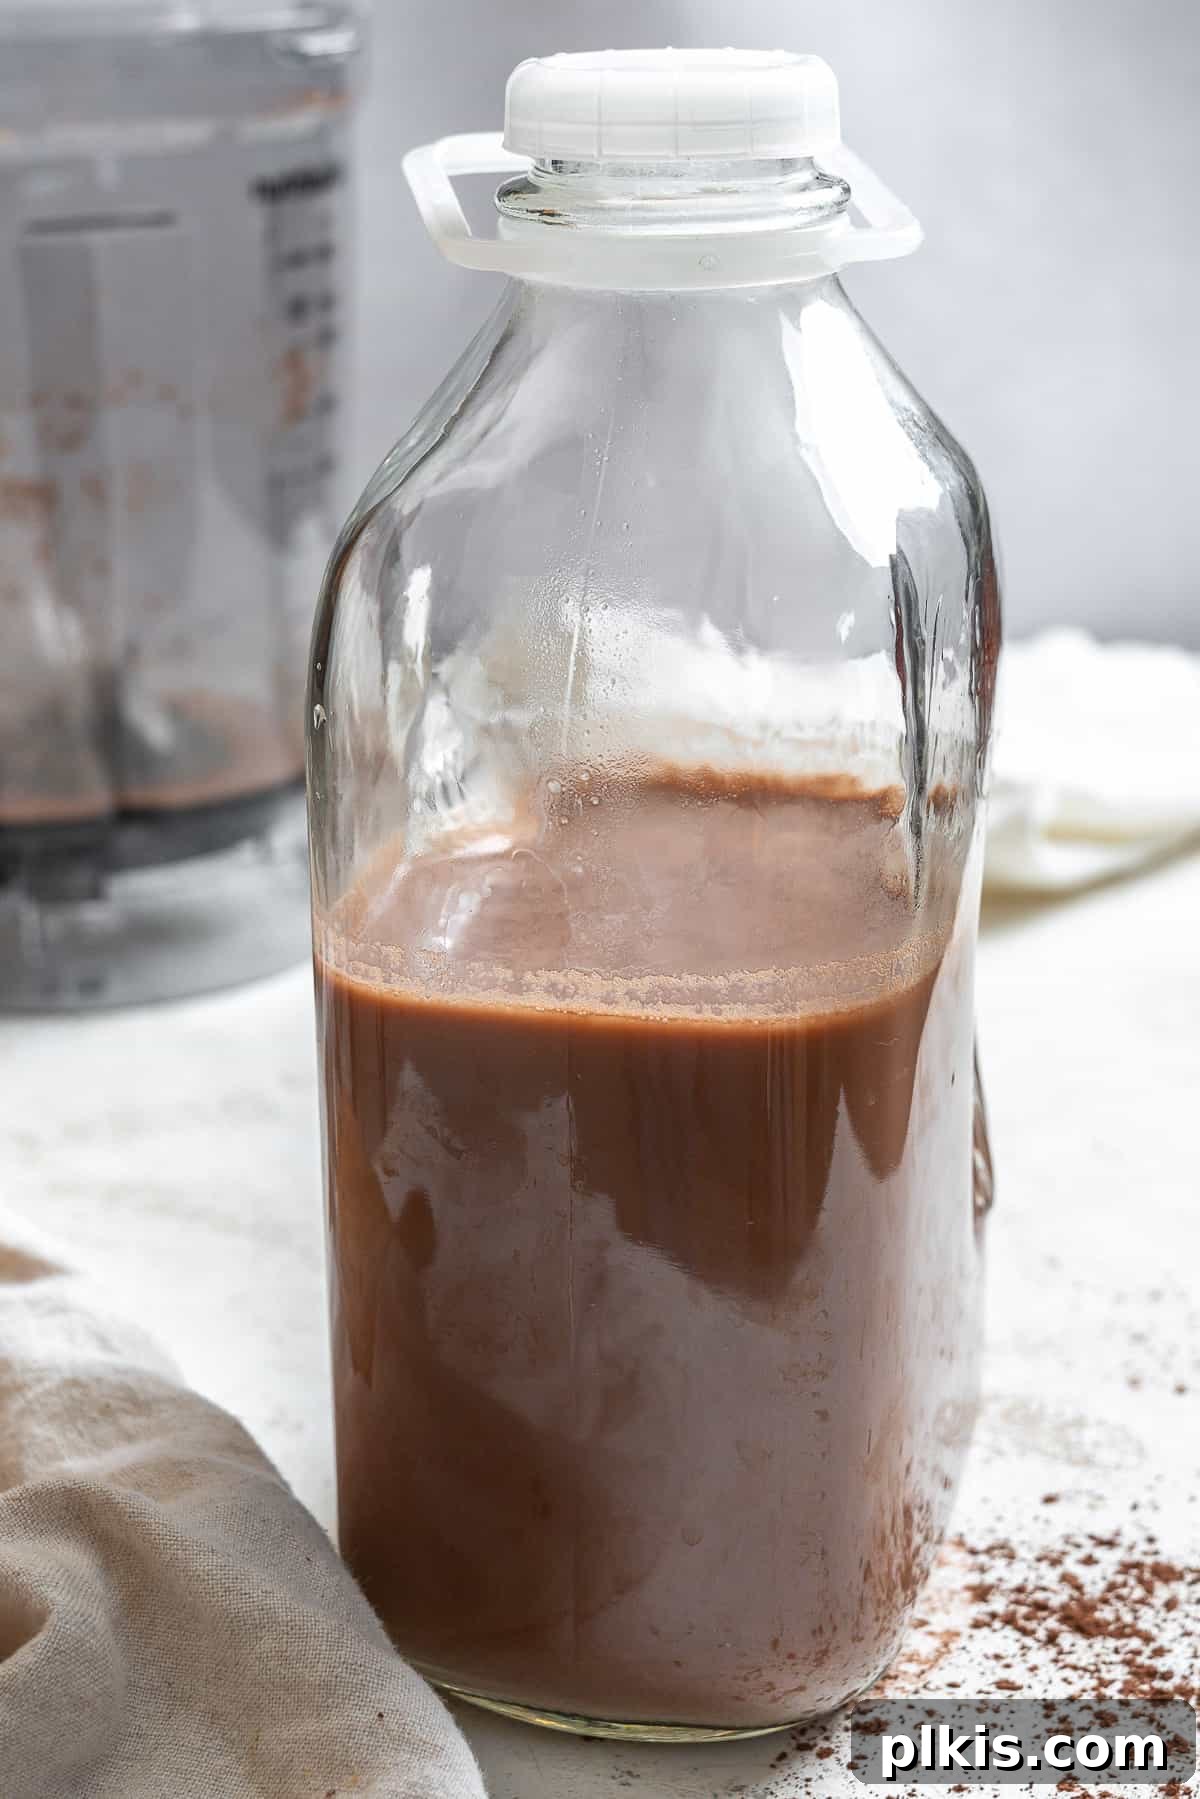
Once prepared, pour your homemade chocolate oat milk into a clean, airtight lidded pitcher or bottle. Store it in the refrigerator for 3-5 days. It’s normal for the oat solids to separate and settle at the bottom over time, so be sure to give the container a good shake between servings to reincorporate everything and achieve a consistent texture.
You can also freeze it for up to 3 months. To freeze, pour the oat milk into ice cube trays or freezer-safe containers, leaving a little room for expansion. While freezing is convenient, be aware that the texture can become somewhat gritty or slightly separated upon thawing. To restore its smoothness, you may need to pulse it in a blender or strain it once more after it has fully thawed. This is perfectly normal for homemade plant milks.
More Vegan Drink Recipes to Explore
If you’ve enjoyed making this chocolate oat milk, you’ll love exploring other refreshing and delicious vegan drink recipes. Our collection is designed to be budget-friendly and packed with flavor. Here are a few more favorites to inspire your next culinary adventure:
- Mango Bubble Tea
- Mexican Horchata
- Mexican Hot Chocolate
- Golden Milk
- Healthy Coffee Milkshake (Cinnamon Hemp Seed Coffee Shake)
- Cherry Chocolate Smoothie (Cherry Banana Smoothie)
You may also enjoy browsing our entire collection of budget-friendly vegan drink recipes for even more ideas and inspiration!
Photos by Alfonso Revilla
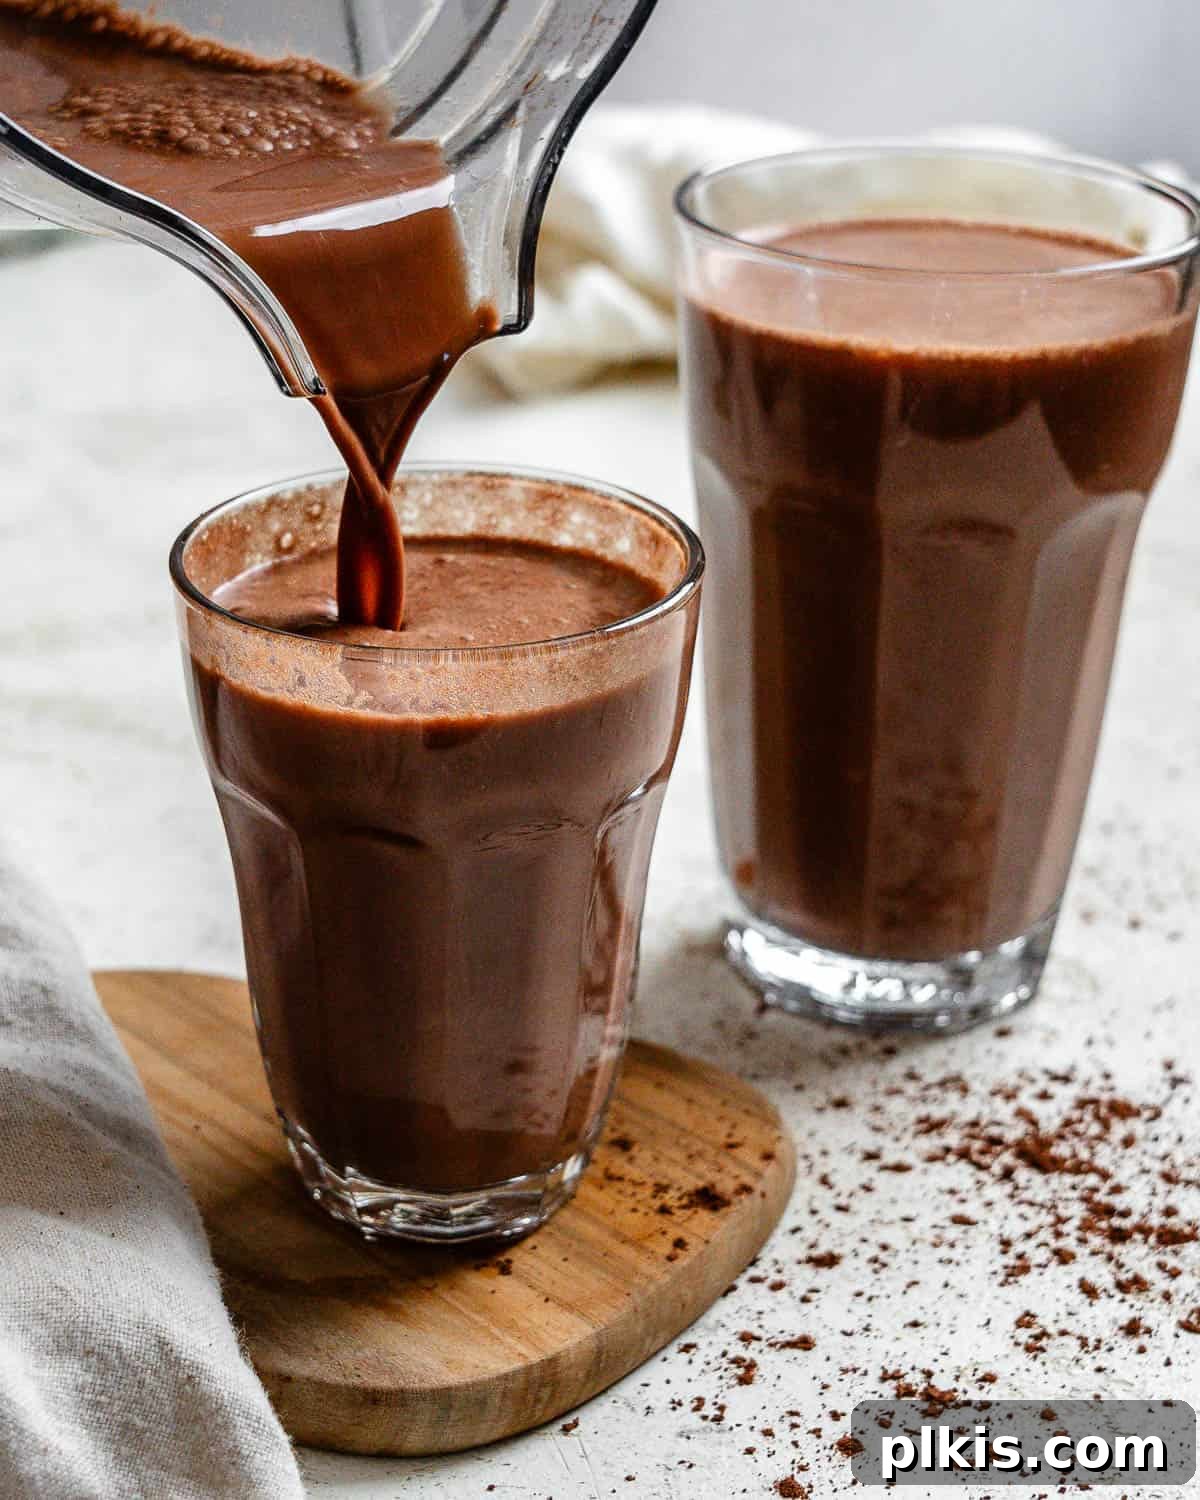
Homemade Chocolate Oat Milk
15 mins
0 mins
15 mins
6 servings (about 6 cups)

Print Recipe
This 4-ingredient homemade chocolate oat milk is a healthy, budget-friendly, smooth, creamy, refreshing, and dairy-free milk perfect for drinks, cereal, chia pudding, and more. Includes vital tips to avoid sliminess!
Equipment
- Measuring Cups
- Measuring spoons
- High-speed blender
- Nut milk bag or cheesecloth
Ingredients
- 1 cup old-fashioned oats (certified gluten-free if needed)
- 6 cups of cold water
- 3 tablespoons of unsweetened cocoa powder (or cacao powder)
- 3 tablespoons of sweetener (maple syrup, agave, sugar, or to taste)
- ¼ teaspoon sea salt
Instructions
- Add the oats and cold water to a high-speed blender. Blend for exactly 1 minute. Avoid over-blending to prevent sliminess.
- Strain the blended oat mixture using a nut milk bag or several layers of cheesecloth into a clean bowl. Allow it to strain naturally for a few minutes. Do NOT press or squeeze the bag, as this will result in slimy oat milk.
- Rinse the blender thoroughly. Pour the strained oat milk back into the clean blender. Add the cocoa powder, sweetener, and sea salt. Blend for another minute until all ingredients are fully combined and smooth.
- Taste the chocolate oat milk and adjust the sweetener or cocoa powder levels if desired.
- Pour the finished chocolate oat milk into a pitcher or bottle with a lid and store it in the fridge. Serve chilled for the best experience.
Notes
- To adjust the creaminess: For creamier homemade oat milk, blend in a small handful of raw, soaked cashews or sunflower seeds. Increasing the oat-to-water ratio can lead to a slimy texture.
- For the smoothest plant milk: Strain the oat milk twice through a very fine material, such as a kitchen towel, to remove maximum sediment and starch.
- To fortify homemade oat milk: You can blend the contents of a vegan supplement capsule (e.g., vitamin D, calcium, or B12) into the finished milk for added nutrients.
Nutrition
Calories: 80kcal
Carbohydrates: 17g
Protein: 2g
Fat: 1g
Saturated Fat: 0.4g
Polyunsaturated Fat: 0.3g
Monounsaturated Fat: 0.4g
Sodium: 29mg
Potassium: 87mg
Fiber: 2g
Sugar: 6g
Calcium: 17mg
Iron: 1mg
Additional Info
Author: Toni Okamoto
Course: Drink
Cuisine: American
Method: No cook
Diet: Vegan
Tried this recipe? Please tag us at @PlantBasedOnABudget! 🙂